Roast Turkey Recipe
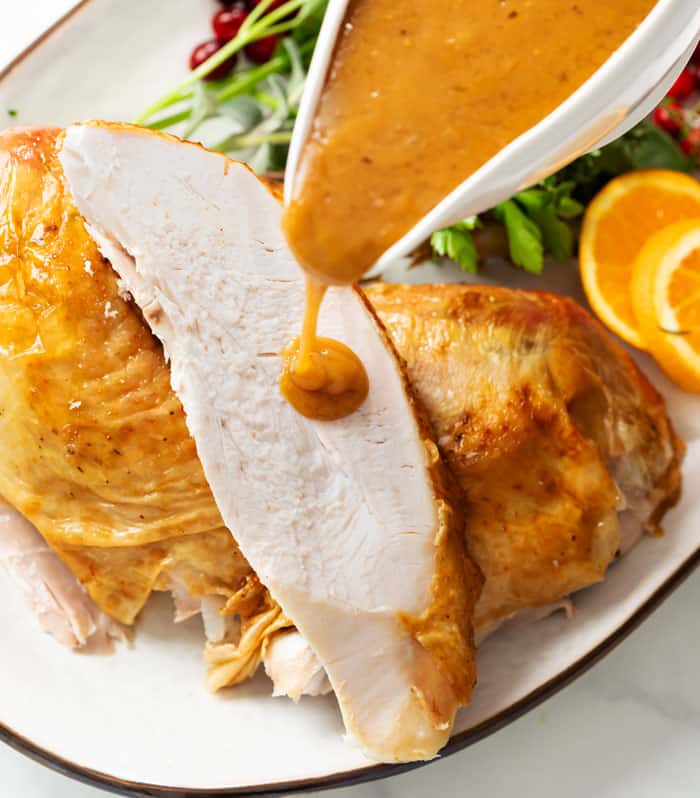
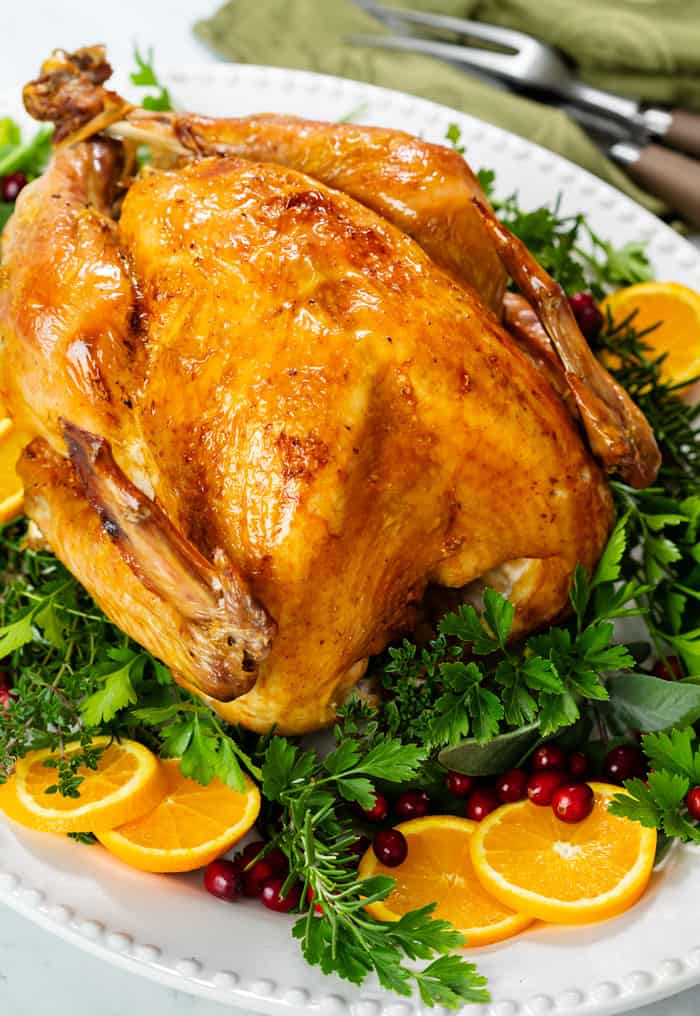
This Traditional Roast Turkey Recipe is cooked to the perfect temperature inside and out, with extra crispy brown skin and juicy and flavorful turkey meat! Start it upside down and finish it breast side up for the absolutely perfect result!
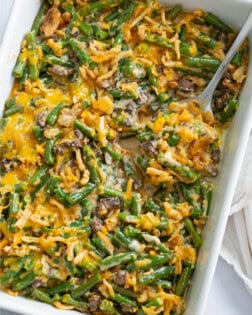
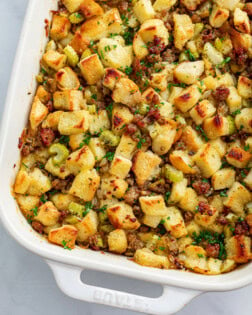
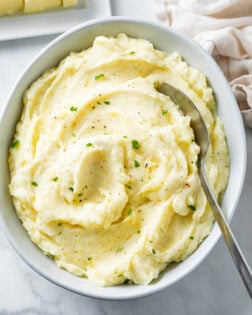
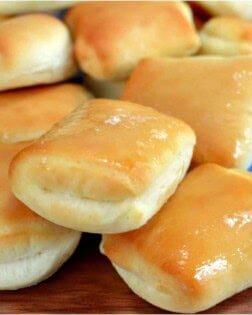
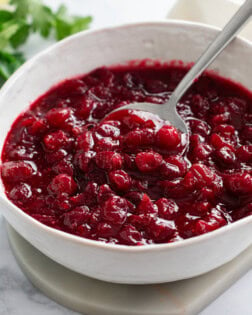
Be sure to try my Green Bean Casserole , Mashed Potatoes, Sausage Stuffing, Cranberry Sauce, and Dinner Rolls next!
Roast Turkey Recipe
Let me start with this: this roast turkey recipe is not that hard. I have a lot of information in this post because there are a lot of questions that come up when it comes to turkey.
The reason for that, I believe, is that it can be difficult to determine the best way to roast a large piece of meat that is prone to drying out and has different cuts that are best cooked to different temperatures.
I’m here to answer these questions and break down the BEST way to roast a turkey that leaves you with perfectly cooked white and dark meat and that’s juicy and flavorful. (And brown and crispy on the outside.)
Let’s start with a quick overview:
Key Points Before We Begin:
- Choose a fresh (not frozen) turkey with little to no salt solution added if you plan on brining.
- Dry Brining = ULTIMATE results. Juicy inside, extra brown and crispy outside. Easier than a wet brine.
- Start roasting breast-side-down at 425°, finish roasting breast side up at 350°. This gives the dark meat a head start while protecting the breast and keeping it moist.
- Dark meat is better at 175°-180°, breast meat is best at 165°.
- No larger than a 15-pound turkey. Otherwise roast 2 turkeys.
- Factor 1 lb. turkey per person.
- Use a meat thermometer! (A real one. Not the red pop-up.) Preferably with 2 probes. I’ve linked to one at the bottom of this post as well as other tools you’ll need.
- Let it rest 20-30 minutes before you slice.
How To Pick a Turkey
- Don’t get an overly large turkey: It’s much better to roast 2 smaller turkeys than one very large turkey, 15 pounds should be the max size that you choose.
- Make sure you’re selecting a whole turkey and don’t accidentally purchase a very large turkey breast. (I’ve done that before.😂)
- If you plan on brining your turkey: Get fresh turkey instead of a frozen one as those typically have a salt solution already injected into it. Purchase the turkey 2-3 days prior to roasting to allow sufficient brining time.
- If not brining: Ensure you have enough time for your turkey to defrost if purchasing a frozen turkey. (See section below for defrosting information)
How Much Turkey Per Person
- You’ll want factor in one pound of turkey per person.
- If you love leftover turkey, plan on 1 ½ pounds of turkey per person.
How to Defrost a Turkey
- Defrosting in the refrigerator is ideal. You need 24 hours of defrosting time for every 4 pounds of turkey. Place the turkey in a roasting pan to catch any liquid that leaks as it defrosts.
- OR submerge the turkey in cold water, it will take 30 minutes per pound and you’ll want to change out the water every 30 minutes.
Prepare the Turkey for Roasting
- Brine it (A few days ahead of time. See next section below)
- Remove neck and the giblets from the cavity. I like to gently boil them in about 2 cups of water (pouch removed), while the turkey roasts. Once it gets down to 1/3 cup, I save that liquid and add it to my drippings to make gravy.
- Pat completely dry.
- Allow the turkey to sit out and come close to room temperature before roasting for even cooking. Placing a cold turkey in the oven can dry out the outside before the inside has a chance to finish cooking.
Brining
- Turkey is a type of meat that can be prone to drying out. A brine helps keep it juicy and adds flavor. It can be in a dry or liquid form and contains salt which penetrates through the meat and not only gives it flavor, but breaks down the protein fibers and makes it juicy and tender.
- To learn all about it and check out some brining recipes, check out my post on how to brine a turkey.
What to Stuff a Turkey With
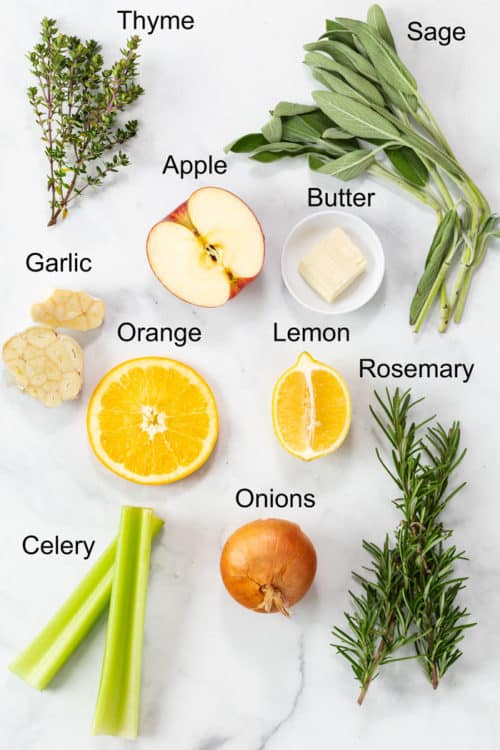
All of the following ingredients are great for stuffing a turkey and add a wonderful aroma to the kitchen:
Butter, Thyme, Sage, Rosemary, Garlic, Apples, Lemon, Oranges, Celery, Onions.
If you plan on stuffing your turkey with a breading mixture (like my delicious sausage stuffing), it will need to reach 165°, which happens after the turkey is already done (since it bakes right in the middle). To avoid drying out your turkey, remove the stuffing from the turkey after it’s done roasting and transfer it to a casserole dish. Bake at 350° until it reaches 165°.
Trussing
- Tying the turkey legs with kitchen twine (or “trussing”), is optional, I like to do it to keep the legs secured in place.
- Some Chefs are against trussing as it can prevent excess air from circulating around the thighs as they cook, because they’re pressed up against the breast.
Make Sure there is Airflow in the Pan
- Make sure there is airflow underneath the turkey when you roast, the air circulation makes the skin nice and crispy. You don’t want the turkey to sit in it’s own juices.
- If you don’t have a roasting pan with a rack: Let the turkey sit on top of vegetables like carrots, celery, onions, and garlic. (This makes the vegetables taste great too!)
Basting
- Basting a turkey is to spoon, brush, or pour liquid over it throughout the cooking process to keep it moist. The liquid can be drippings from the pan, or chicken/turkey broth.
- If you don’t have drippings to work with during the beginning of the roasting process, use some broth at first, the switch to pan drippings.
- If desired, you may baste your turkey every 30 minutes.
- If you brined your turkey, you can do it in fewer increments.
What Temperature to Roast a Turkey
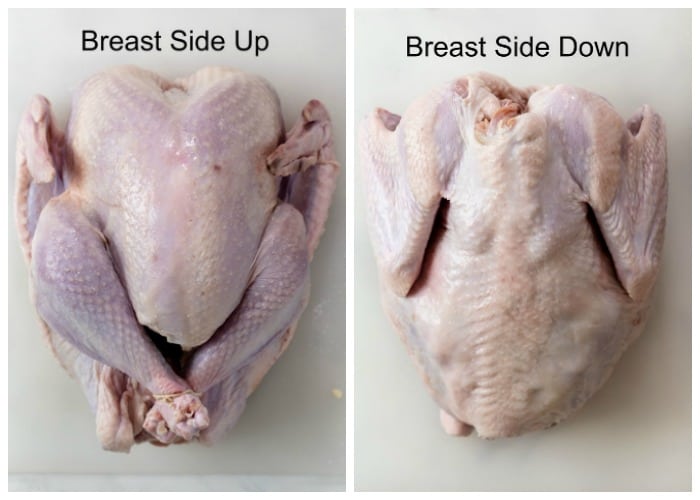
For this recipe, we start breast-side-down at 425° and finish breast-side-up at 350°:
- This is the best way to crisp up the bottom and allow the thighs (the dark meat), to get a head start in cooking. Dark meat is much more tender and flavorful if cooked to a higher temperature (around 175°-180°) while the breast is best at 160°-165°. This cooking method achieves that perfectly.
How to Roast it
Note: See recipe card below this post for ingredient quantities and full instructions.
Remove the neck and giblets and pat dry. Add 3/4 cup chicken broth to the bottom of the roasting pan.
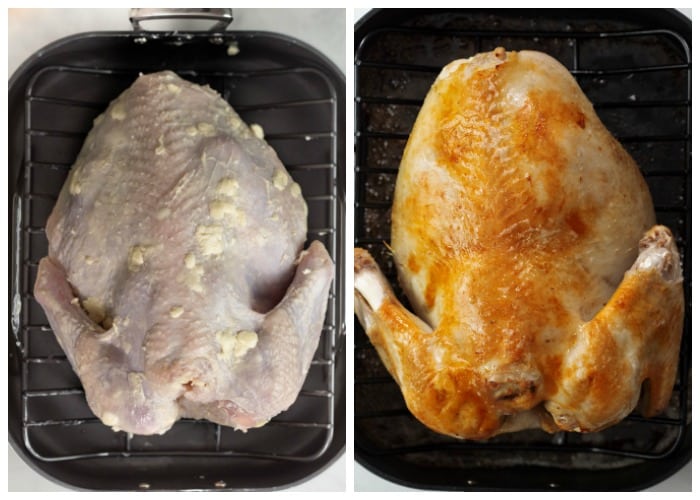
Rub the turkey generously with butter and olive oil and place it breast-side-down in the pan. (Salted butter is fine for an unbrined turkey. Use unsalted for a brined turkey.)
Roast the turkey in a 425° oven for 45 minutes. Rotate the pan 180° halfway through.
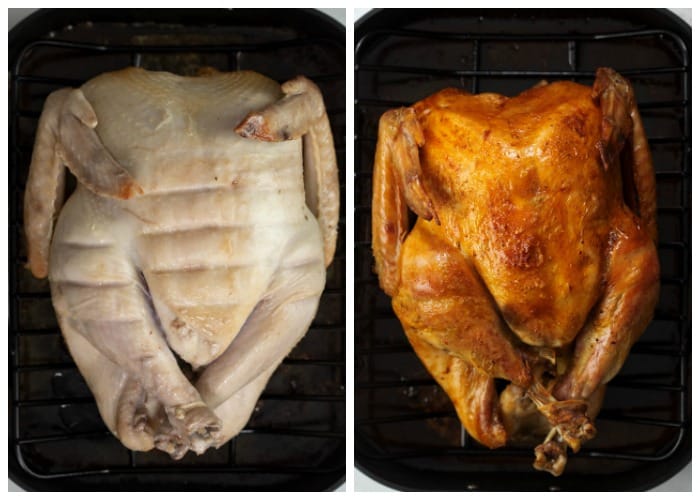
Decrease heat to 350° and carefully flip the turkey, breast-side-up. Add another 3/4 cup chicken broth to the roasting pan and baste the turkey with it.
Roast until the breast reaches 160°, then pull from the oven and let it sit for 20-30 minutes prior to serving. It will increase to the necessary 165° during this time.
How Long to Roast Turkey
- The general rule of thumb is 13 minutes per pound at 350° for an unstuffed turkey, and 15 minutes per pound for a stuffed turkey.
- Note: Brined turkeys will cook faster. Cooking the turkey at a higher temperature first also decreases the cooking time to about 10 minutes per pound.
- The turkey is done when the thick part of breast meat reaches 165°.
- Important Note: Most sources measure the temperature of the thick part of the thigh, but by cooking the turkey breast-side-down for the first 45 minutes, we’re allowing the thighs to get a head start and thus will reach 165° sooner than the breast. This is preferred because 175°-180° is ideal for dark meat, 165° is ideal for breast meat. This gives you the best result all-around for white and dark meat.
- A visual indicator that the turkey is done is if the legs wiggle easily and the juices run clear when you press the thigh into the body.
- Pull the turkey from the oven when the breast hits 160° and let it rest for 20-30 minutes. The meat will continue to heat and reach the necessary 165° temperature.
- Pro Tip: As the turkey nears completion, check on the color and increase heat to 500° if additional browning is desired.
Let it Rest (without foil)
- Let the turkey rest for a full 20-30 minutes prior to serving to let the meat fully absorb the warm juices. Cutting right into the turkey will cause the juice to run out everywhere.
- Resist the urge to keep the turkey warm by topping it with foil. The steam will create condensation and we want our skin to stay crispy! The turkey will remain warm on the inside and will even continue to cook a bit, no need for foil.
My Secret Weapon For Even Browning
- This heating gun (affiliate link) is a handy way to add a bit of additional browning on any uneven spots without the risk of drying it out by broiling it in the oven for too long. Dry brining the turkey dries out the skin and makes it nice and brown, but if you skipped this step, this trick can help. 😉 Use it while the turkey is still in the roasting pan to catch any additional drippings.
- Use this tool with caution and note that the end stays hot for a bit, give it time to cool down.
Tools to Help With Roasting
(Amazon affiliate links)- Check out all of my kitchen essentials here.
- Meat Thermometer– The single most important thing to have. Use one probe for the thigh, one for the breast. Never rely on the red popping thermometer.
- Ove Gloves- Makes it easy to grip the turkey and flip it over easily while protecting your hands. (Be sure to wash them after handling the turkey.)
- Roasting Pan– I use All-clad which is a little more expensive but super high quality and you’ll have it forever.
- Kitchen Twine, Turkey Baster & Poultry Lifters
- Unsalted Chicken Broth- to add to your drippings if they taste too salty to make gravy with.
- Gravy Boat– This one keeps the gravy warm!
What To Make With Leftover Turkey
- Turkey Soup
- Homemade Stock
- Chicken and Rice Soup (with turkey, of course!)
- Chicken Vegetable Soup
- Chicken Tortellini Soup
- Chicken Broccoli Rice Casserole
- Chicken Tetrazzini
- Creamy Chicken Tortilla Soup
- Chicken Enchilada Soup
More for Your Holiday Table
Check out all of my Thanksgiving recipes here and my Christmas recipes here!
- Green Bean Casserole
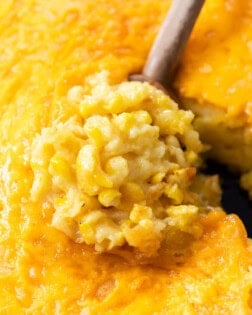
- Corn Casserole
- Sausage Stuffing
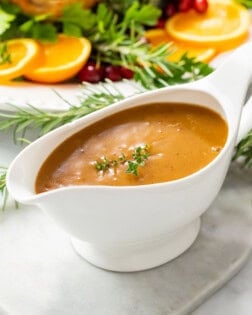
- Turkey Gravy
- Homemade Mashed Potatoes
- Copycat Texas Roadhouse Rolls
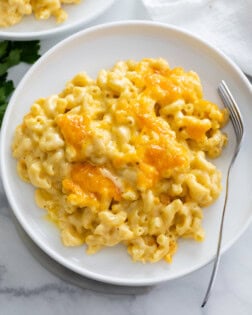
- Baked Mac and Cheese
- Cranberry Sauce
- BEST Dinner Rolls
Check out all of my Thanksgiving and Christmas recipes!
Roast Turkey Recipe
Ingredients
- 1 turkey, 10-15 lbs.
- 1 stick unsalted butter, at room temp
- 4 tablespoons olive oil
- 1 ½ cups chicken broth, reduced sodium or sodium free*
To Stuff the Turkey
- 1 tablespoon Butter
- 1/2 lemon
- 2 sprigs fresh rosemary
- 1 bunch fresh thyme
- 1 bulb garlic, cut in half crosswise
Turkey Seasoning:
- ¾ teaspoons EACH: Dred rosemary, oregano, thyme, sage
- 1/8 teaspoon EACH: Nutmeg, pepper
Equipment
Instructions
Prepare the Turkey
- Optional: Brine your turkey 2-3 days prior to roasting.
- Remove the neck and giblets and pat the turkey completely dry.
- Let the turkey sit out for an hour or until it gets close to room temperature. This ensures it will cook evenly.
- Stuff the turkey with 1 Tbsp. butter, lemon, thyme, rosemary, and garlic. Optional: Truss the legs by tying kitchen twine around them.
- Move oven rack 1 level below the center. Preheat oven to 425° F.
- Massage the entire turkey with the stick of butter and olive oil, getting into every nook and cranny. Rub with the seasoning mix.
Roast Breast Side Down
- Place *half* of the chicken broth on the bottom of the pan. Place the turkey breast side down on a roasting rack and tuck the wings underneath the bird.
- Roast for 20 minutes. Rotate the pan 180°. Roast for 25 more minutes.
- Remove from the oven and decrease heat to 350° degrees.
Roast Breast Side Up
- Carefully flip the turkey so that it’s breast-side-up (Use Ove-Gloves or oven mitts). Add the remaining chicken broth to the roasting pan. Baste the turkey with the broth.
- *At this point, the thighs are around 110° and the breast is around 85° (just what we want)!
- Insert a meat thermometer into the thickest part of the breast and return it to the oven.
- Roast until the thermometer reads 160°. Remove from the oven. It will reach 165° while it rests. Pro Tip: As the turkey nears completion, check on the color and increase heat to 500° if additional browning is desired.
- Let it sit for a full 20-30 minutes to allow the meat to fully absorb the juices before you slice into it.
- While the turkey rests, prepare turkey gravy with the drippings in the pan.
Notes
- Check out all of my Thanksgiving recipes here.
- *If you brined your turkey I recommend using sodium free chicken broth so that your drippings aren’t too salty for making gravy.
- I don’t recommend cooking a turkey any larger than 15 lbs. It’s much better to cook 2 smaller turkeys. (Better flavor, texture, and double the drumsticks!)
- Be sure to save the carcass and any additional scraps for making stock and Turkey Soup!
- For a smaller group, try my easy roast chicken recipe.
Tools to Help With Roasting
(Amazon Affiliate)- Meat Thermometer- The single most important thing to have. Use one probe for the thigh, one for the breast. Never rely on the red popping thermometer.
- Ove Gloves- Makes it easy to grip the turkey and flip it over easily while protecting your hands. (Be sure to wash them after handling the turkey.)
- Roasting Pan- I use All-clad which is a little more expensive but super high quality and you'll have it forever.
- Kitchen Twine, Turkey Baster & Poultry Lifters
- Unsalted Chicken Broth- to add to your drippings if they taste too salty to make gravy with.
- Gravy Boat- This one keeps the gravy warm!


 Get my Cookbooks!




I roasted my 1st turkey with this method! This roasting method recipe worked for a 15.7lb turkey- I wet brined for a day prior. It ended up taking about 4 hours total because I took it out to baste and temp check quite a lot, and the timeline was what I expected! We don’t have a fancy oven or thermometer setup but still had great success. Next year I will use a proper roasting pan and baster instead of silicone brush for an easier time (as you recommend!) Thank you so much for sharing this detailed and reliable recipe! 💙
Nice work Chelsea!! I’m so happy you did so good your 1st time around!! Thanks so much for the great comments and for taking the time to leave a review!!💖
I followed this recipe for Thanksgiving 2024. It came out great! It was deliciously seasoned and the turkey was moist. It browned nicely all over which made it a beautiful centerpiece for carving.
I am soooo thrilled to hear that Karen!! You absolutely made my day, thank you so much for taking the time to leave a review!! 🙂 -Stephanie
I’m using an electric roaster. How long should i roast it for and on what temperature?
Hi Robby, I’ve never used an electric roaster and I can’t advise without having tested it. ❤️
I just want to say that I came across your webpage by googling recipes.. I have been trying to find perfect, easy to follow recipes for my family and I.. I am not much of a cook when it comes to doing it on my own.. so recipes are something I definitely need. 😉
I am obsessed with your website! You have AMAZING recipes and you lay out everything so perfectly.. and easy to follow! I’ve been looking through all your recipes for days and I can’t get enough! I have yet to try one, but I know without a doubt it will be amazing.. You and your webpage are exactly what I was looking for! I am no longer going to look anywhere else!! so, I wanted to say THANK YOU and I ordered your book! 🙂 I am actually excited about cooking now!!
Whooo hoo!
Hey Kelley!!! That is fantastic news! I am thrilled that you are loving my site, the info, layout, etc.! I really appreciate you taking the time to let me know, and I can’t wait for you to start cooking up some recipes! Thank you so much, so happy to have you here and I can’t wait for you to get your cookbook!! XOXOX! -Stephanie ❤️
Turkey is intimidating but this recipe made it super clear and easy to follow along with. Our turkey came out PERFECT!!! Will be using this every year.
I know what you mean Alexandra, turkey can be very intimidating. I’ll admit I get a little anxious every Thanksgiving when that Turkey is cooking, but this hasn’t failed me yet. I’m so happy yours came out perfect. Nice work!🙌 Thanks so much for taking the time to leave a comment and review!
I loved this recipe but just a note to others it may be ready MUCH sooner than anticipated! I dry brined my turkey using your brining recipe and added the seasoning mix after brining. I used a 13 pound turkey and brined for about 36 hours or so. Added butter and olive oil (which took off most of the seasoning so in the future I’d just put the seasoning after the butter/oil), stuffed with poultry herbs, garlic, lemon, and half an orange. I baked at the higher temp for 45 minutes then reduced to 350 but rather than my turkey needing another 130 minutes or so it was ready in an hour. I definitely wasn’t ready for it at that point so we turned the oven down to 175 and left it to warm for about an hour while we prepped other Thanksgiving sides. The turkey was DELICIOUS and everyone seemed really pleased with it; lots of compliments and this was my first turkey so thank you for such a wonderful recipe! I’m thinking maybe next turkey I’ll still brine but cook at a lower temp rather than 350 🤔.
Hi Natasha!! I think you were counting on about 13.5 minutes per pound of meat in your calculation. (That’s the only way I can arrive at about 130 minutes left after the initial 45.) – This is a good rule of thumb if we had been roasting at 350 degrees the whole time. But in this recipe, we start at 425. So that speeds up the process a little bit. Another important thing to note is brined turkeys cook more quickly, the salt in the brine breaks down a lot of the protein, causing the dark meat to become tender in less time. (You may not have seen this note in the blog post and I’ll try to make it more prominent)- “Note: Brined turkeys will cook faster. Cooking the turkey at a higher temperature first also decreases the cooking time to about 10 minutes per pound.” -This would give us 130 minutes for a 13-pound turkey, which leaves us with 85 minutes left after flipping. This is closer to your 1-hour timeframe.
That said, I think your approach to decreasing the heat and keeping it in the oven was very smart. I have had occasions where my turkey breast has reached as much as 168 degrees (after resting), but the very very middle of the turkey still needed a little more time. The thermometer takes away a lot of the guess work, but not quite all of it- the precise shape of the turkey can even play a role I think. So you may have avoided having to put it back in the oven after you’re ready to eat, which is good news. lol.
If I had to make a recommendation for next year, I would do a calculation of 9-10 minutes per pound (assuming you brine it again), but it’s not a bad idea to lower the temp and give it just a little more time anyway if the breasts are super thick.
I hope that makes sense and helps!! ❤️❤️❤️
Thank you so much for the reply! It didn’t even occur to me that the overall cook time included the 45 minutes at 450 so that’s where I went wrong 😅 and now of course that makes perfect sense. I’ll definitely keep your tips in mind for next year. And it was definitely such a hit with my guests! Now I feel like I can roast any bird!
It can get confusing fast, LOL. I’m glad that we thought this through, it’ll make next year even better! Thank you so much for your feedback too!!! Have a GREAT holiday season ahead!!
This is how I made our turkey last year; it was the best ever! I can’t wait to do it again tomorrow! So moist and flavorful, with a perfect amount of crispiness.
I’m so happy to hear that Amy!! I am DEFINITELY making it this way tomorrow too, you just can’t go wrong. Thank you SO MUCH for the review, and Happy Thanksgiving!!!
I’m so happy you’ve had success with this recipe Amy, have an awesome Thanksgiving, and thanks so much for the great review!🩷
Hi, do I roast it uncovered or covered? I have the All Clad roasting pan with a lid. Thanks!! ☺️
It’s roasted uncovered! ❤️
Have you ever cooked your turkey in a Roaster Oven? As opposed to the oven.
Hi Debi, I haven’t. ❤️