 Get my Cookbooks!
 Dinner Rolls (BEST Recipe!)

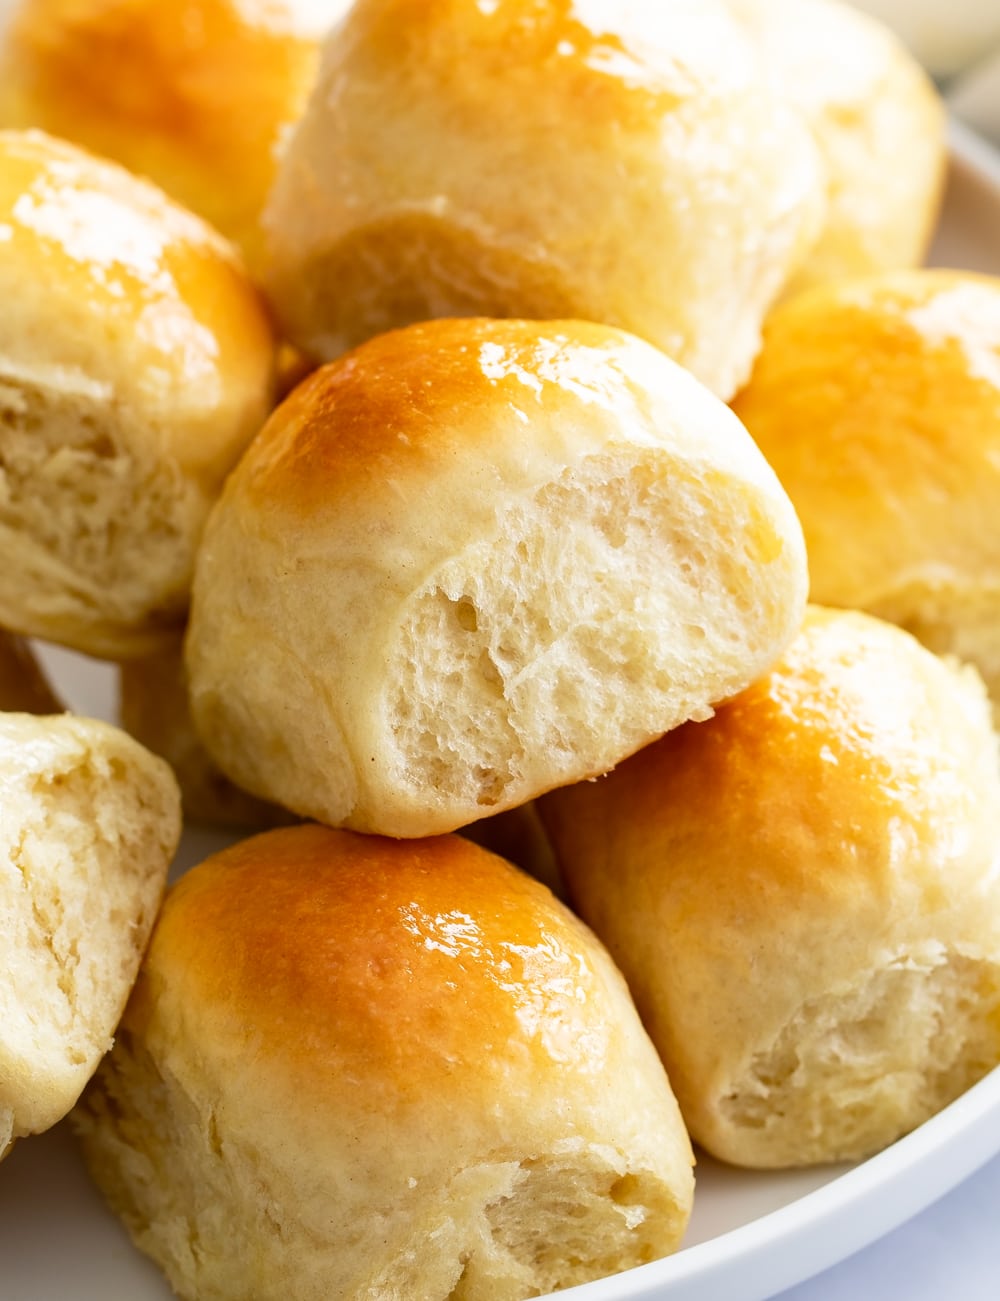
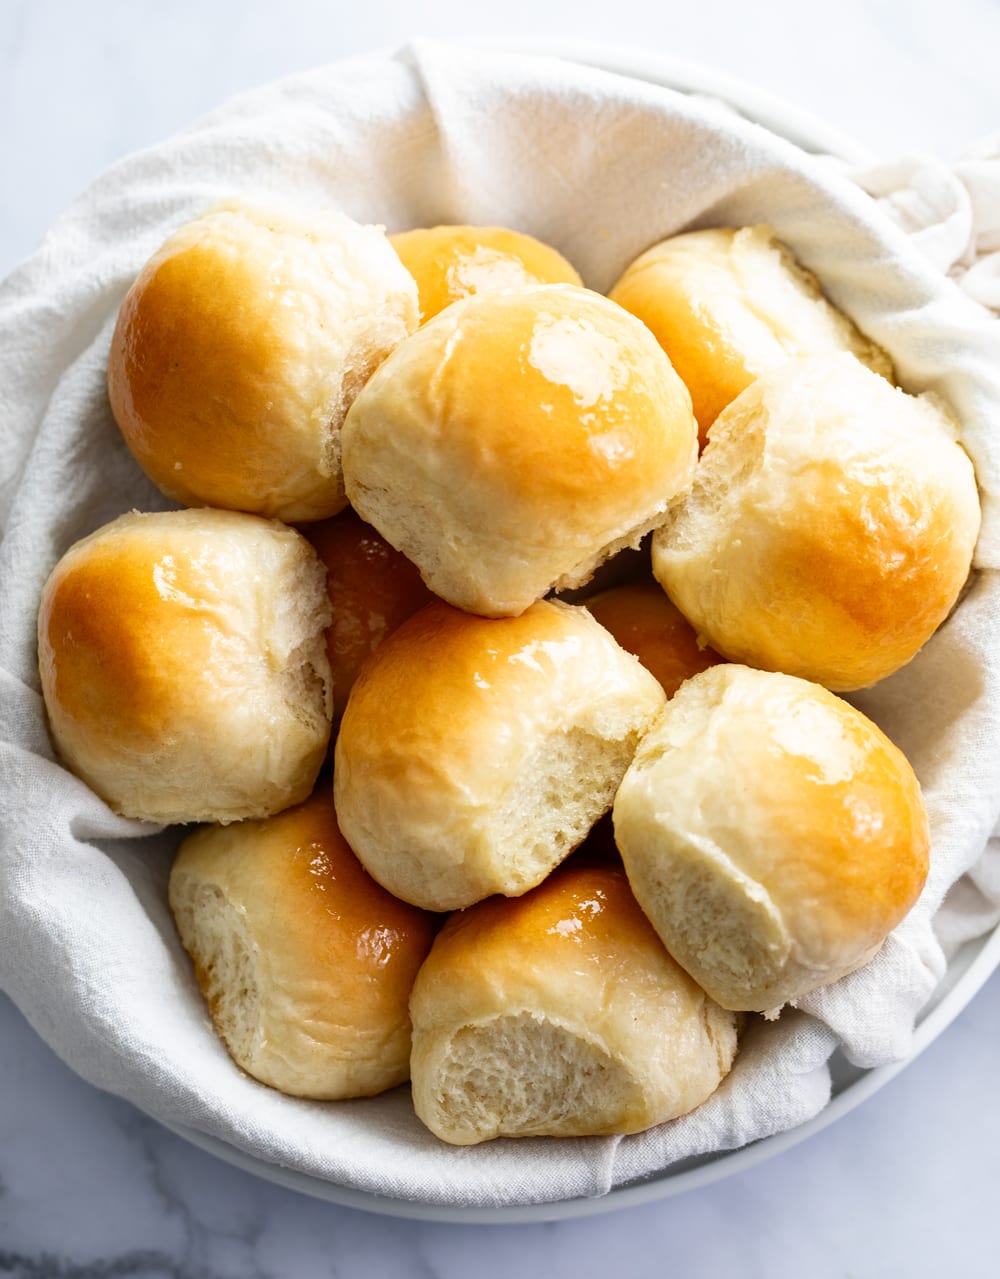
These light and fluffy Dinner Rolls will be the best you’ve ever tasted. They have a hint of sweetness and incredible pillowy texture. The sweet and savory honey butter topping is the perfect finishing touch!
Bonus: You don’t have to be a baking expert to nail this easy recipe!
Dinner Rolls
You’ve never tasted Dinner Rolls like this! These homemade rolls are so soft, light, and fluffy, with a hint of sweetness and the best homemade flavor. This will definitely be your go-to roll recipe! My favorite part is that you don’t need a lot of ingredients or fancy techniques to nail this!
Be sure to check out my pro-tips below to ensure ultimate success. BONUS– You can make these ahead of time and refrigerate or freeze them until ready to bake!
How to Make It
See recipe card below this post for ingredient quantities and full instructions.
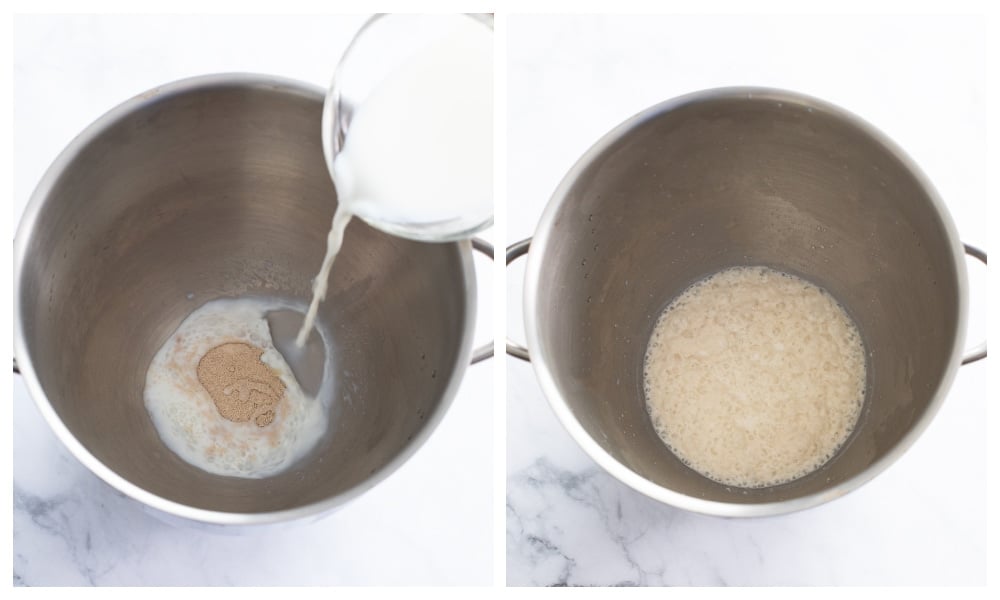
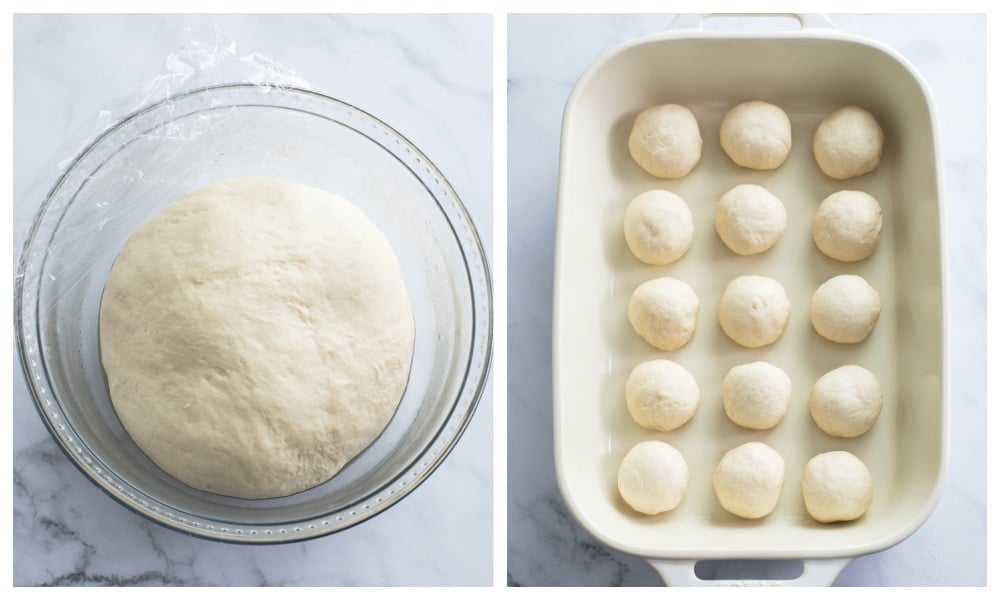
Combine warm milk with yeast. Stir in 1/2 of the honey. Cover with saran wrap and let sit for 5-10 minutes, you will see foam on the top.
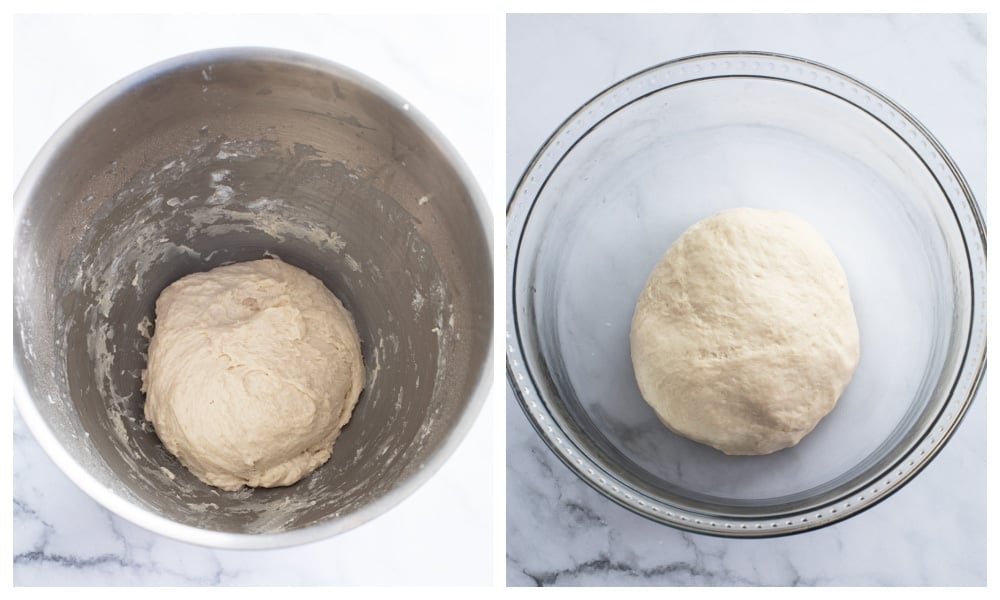
Stir in the remaining honey, cornstarch, salt, egg, butter, and 1/3 of the flour. Mix on low speed and add the remaining flour gradually. If the dough is too sticky to work with, add 1 tbsp flour at a time until the dough is manageable. Knead in the bowl for 3 minutes. Transfer to a lightly greased bowl and cover with saran wrap.
Want to save this recipe?
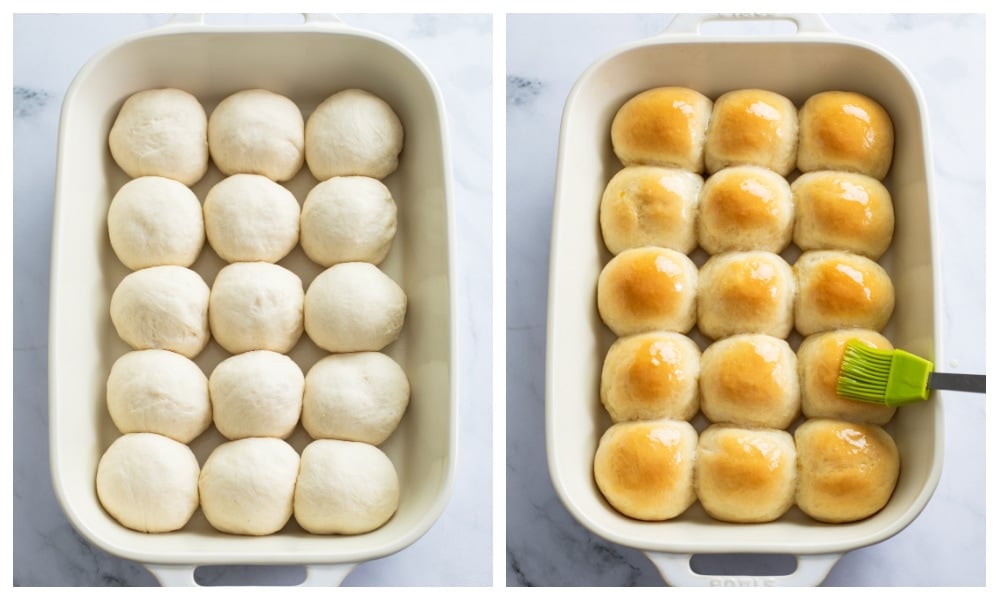
Place in a warm spot to rise until doubled in size, 1-2 hours. Punch the dough down, then roll into 15 balls and place in a lightly greased 9 x 13-inch baking dish.
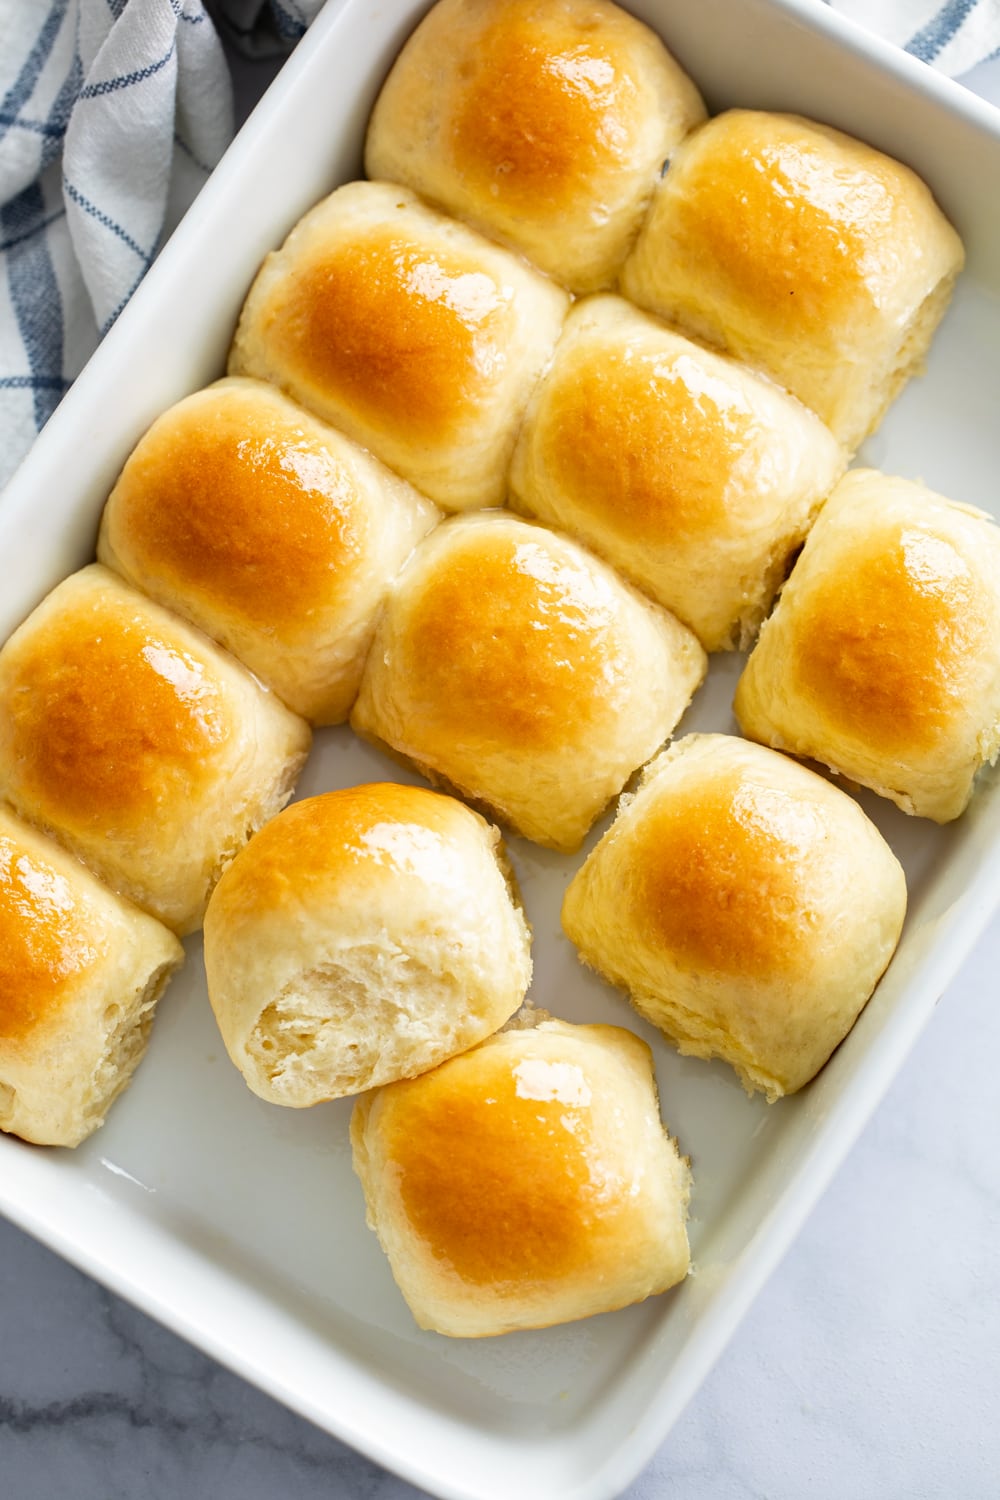
Cover with saran wrap and place in a warm place to rise until doubled in size, about 1 hour. Bake at 375° F for 18 minutes. Brush with honey butter and bake for 3-5 minutes. Serve warm.
Make Ahead Methods
Method 1: Refrigerate Unbaked Rolls
- Form the dough, let it rise, and shape into rolls. Don’t do the second rise.
- Cover with saran wrap and refrigerate for 1-2 days.
- Remove from the fridge. Keep covered and let rise for 1-2 hours before you plan on baking, then bake as outlined.
Method 2: Bake and Reheat
- Bake for 18 minutes, before the tops start to brown too much.
- Don’t top them with the melted butter yet. Let them cool completely and store them in an airtight container.
- When ready to serve, bake for 5-7 minutes at 375°, until the tops are golden brown.
- Top with melted honey butter and serve!
Method 3: Freeze Unbaked Rolls
- Form the dough, let it rise, and shape into rolls. Flash freeze on a baking sheet before the second rise. Once frozen, transfer to a freezer bag.
- When ready to bake, remove from freezer bag and let them rise on a lightly greased, covered baking sheet for 4-5 hours prior to baking.
Pro Tips
- Stand Mixer– The dough can be mixed by hand with a wooden spoon if needed, note that it’ll take a bit of muscle.
- Yeast– Instant Yeast may be used instead of Active Dry if needed. Make sure it’s not expired!
- Flour–
- Weigh the flour if at all possible to ensure that you add exactly the right amount.
- Otherwise: Take a spoon and scoop it into the measuring cup as opposed to dipping the measuring cup into the flour. Use the knife to level off the top. This is important to have an accurate measurement.
- Cornstarch– This is my secret ingredient! It creates extra soft, tender rolls with a light and fluffy crumb.
- Egg Substitute
- ¼ cup unsweetened apple sauce, plain yogurt, or buttermilk can be used instead of an egg if needed.
- I have (accidentally) omitted the egg in this recipe and they’ve still come out great! (The dough is also less sticky and easier to work with, without the need for additional flour.) -Though I do prefer the texture and taste with an egg.
- Milk– The warm temperature of the milk is needed to activate the yeast. I microwave it in 30-second increments until it’s warm to the touch. A kitchen thermometer is also helpful to ensure accuracy. Note that if the milk is too hot, it will kill the yeast.
- Shaping the Rolls:
- Optional: Weigh the dough and divide that number by 15 to determine how much each one should weigh. -Eyeballing it is fine too! (My dough in this photo weighed 811 grams, or 54 grams pre roll.)
- Don’t flour your hands or work surface while shaping the dinner rolls to keep the dough nice and tight. Pinch the dough into one central spot to create a tight ball and place them seam-side-down in the baking dish.
- Leftovers– Leftover rolls make the BEST slider rolls! (Especially with holiday leftovers!)
- 📘 Find this recipe on page 241 of my 2nd cookbook, Let’s Eat!
Additions/Variations:
Add when the flour is added:
- Cheese: 1 cup of soft, shredded cheese can be added. I love adding sharp yellow cheddar cheese.
- Herbs: 2 tbsp fresh or 2 tsp dry herbs can be added. Options include rosemary, thyme, chives, parsley, oregano, and basil! 1 teaspoon garlic powder can be added with the herbs as well!
Storage
- Store in an airtight container for 2-3 days or refrigerate for up to 1 week. You can also freeze leftover rolls to enjoy another day.
Tools For This Recipe
(Amazon affiliate links)- Check out all of my kitchen essentials here.
- Kitchen Thermometer – To test the temperature of the milk, it should be 110-115° to properly activate the yeast.
- Kitchen Scale– To weigh the flour, it’s super important to use the right amount.
- Stand Mixer– A life saver for making dough and baked goods. I use Cuisinart brand.
- Large Silicone Spatula– Make it easy to handle/manage the dough.
- Large Glass Bowl– To place the dough for rising.
- Bench Scraper– Makes it easy to divide the dough into 15 parts.
- 9 x 13-inch Baking Dish– The perfect size for baking these rolls.
- Pastry Brush– To brush the honey butter on top.
Other Holiday Favorites
-

- Green Bean Casserole
-

- Au Gratin Potatoes
-
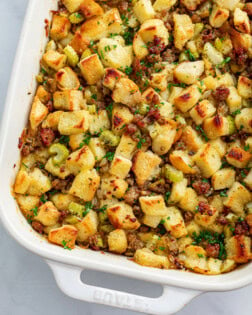
- Sausage Stuffing
-

- Homemade Mashed Potatoes
-
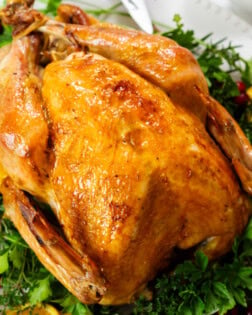
- Roast Turkey
-

- Corn Casserole
Get My Free E-Book!
- I’ve got a FREE e-Book with 7 super popular dinner recipes! Click here to join my email list and I’ll send your e-Book right over!
- And be sure to follow me on Instagram, Pinterest, & Facebook!
Tried This Recipe?
Leave a review, I love hearing your feedback! ⭐⭐⭐⭐⭐

Dinner Rolls (BEST Recipe!)
Ingredients
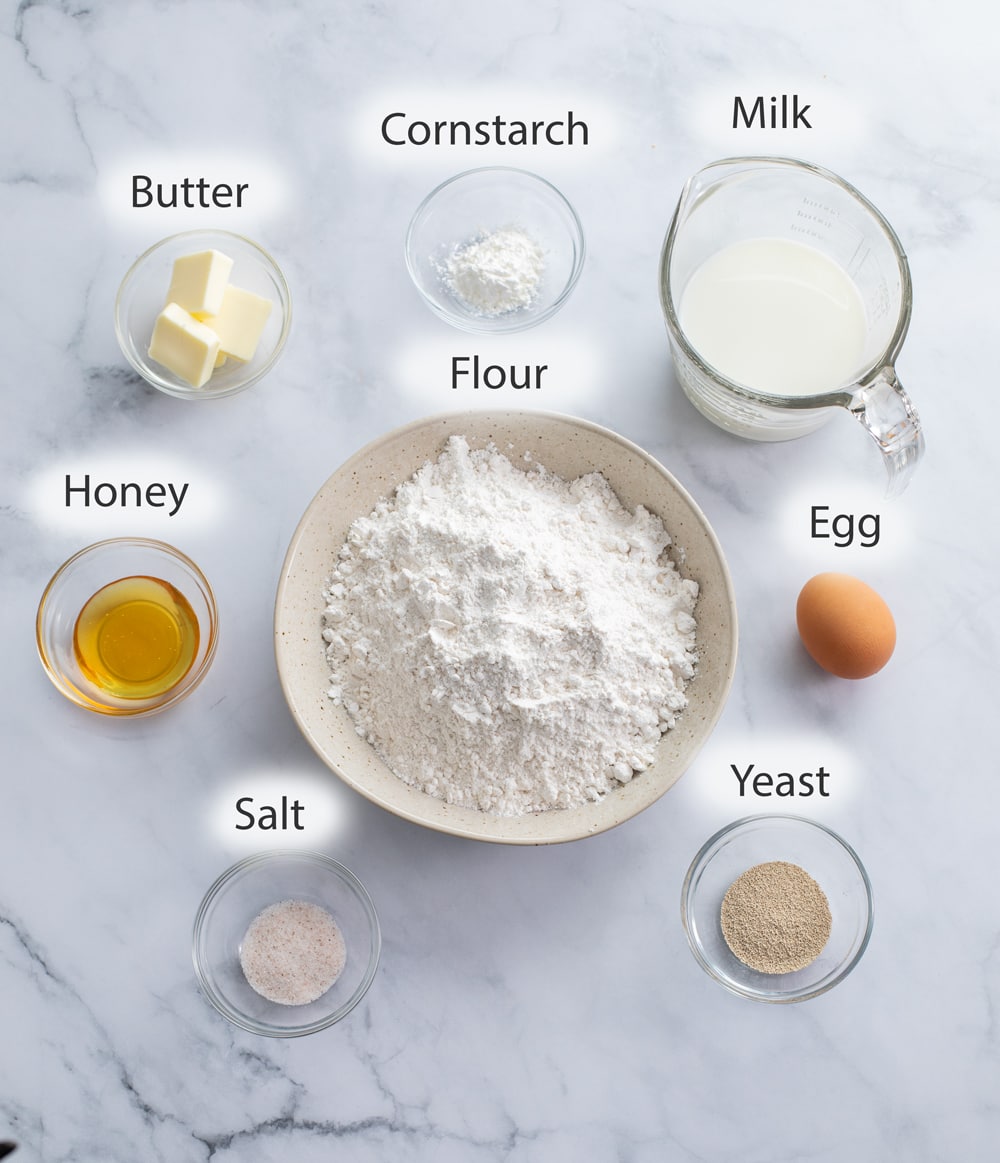
- 1 cup warm milk, 110-115° F. Any fat content is fine.
- 2 ¼ teaspoons Active Dry Yeast, or 1 packet. Instant yeast may also be used.
- 2 tablespoons honey, can sub sugar
- 2 teaspoons cornstarch
- 1 teaspoon salt
- 1 large egg
- 4 tablespoons unsalted butter, room temperature. Cut into 4 cubes
- 3 ¼ cups (390 grams) all-purpose flour
Butter Topping
- 2 tablespoons salted butter, melted
- 1 tablespoon honey
Instructions
- Combine the warm milk and yeast in the bowl of your stand mixer. Stir in 1 tablespoon of honey. Cover with plastic wrap and let it sit for 5-10 minutes, it’s ready when you see foam on the top.
- Stir in the remaining honey, cornstarch, salt, egg, butter, and 1/3 of the flour. Mix on low speed with the paddle attachment. Add the remaining flour gradually, while mixing, for 30 seconds.
- Switch to the dough hook attachment and beat on medium-low speed for 2 minutes. If the dough is too sticky to work with, beat in 1 tablespoon of flour at a time until the dough is workable. The dough should still be sticky, but manageable. *Don't use any more flour than needed to work the dough. (I usually add 5-6 tbsp.)
- Dust your hands with flour and knead the dough in the bowl for 3 minutes.
- Use a silicone spatula to scrape the dough out of the bowl and transfer it to a large, lightly greased bowl. Cover it with saran wrap and let it rise in a warm place until doubled in size, 1-2 hours. (The cooler it is, the longer it takes.)
- Punch the dough down to release the air. Shape each into 15 tight, smooth balls of equal size. Place in a lightly greased 9 x 13-inch baking dish.
- Cover with plastic wrap and let rise in a warm place for 1 hour, until doubled in size.
- Preheat oven to 375° F.
- Bake for 18 minutes.
- Combine the melted butter and honey. Remove the rolls from the oven and brush the tops with honey butter. Return to the oven and bake for 3-5 more minutes, until the tops are golden brown. Watch them carefully during this time.
- Cool for a few minutes, then serve warm! (See notes for storage info!)
Notes
- Make Ahead Method- See blog post for 3 make-ahead options!
- Stand Mixer- The dough can be mixed by hand with a wooden spoon if needed, note that it’ll take a bit of muscle.
- Yeast- Make sure it’s not expired!
- Flour-
- Weigh the flour if at all possible to ensure that you add exactly the right amount.
- Otherwise: Take a spoon and scoop it into the measuring cup as opposed to dipping the measuring cup into the flour. Use the knife to level off the top. This is important to have an accurate measurement.
- Cornstarch- This is my secret ingredient! It creates extra soft, tender rolls with a light and fluffy crumb.
- Egg Substitute
- ¼ cup unsweetened apple sauce, plain yogurt, or buttermilk can be used instead of an egg if needed.
- I have (accidentally) omitted the egg in this recipe and they've still come out great! (The dough is also less sticky and easier to work with, without the need for additional flour.) -Though I do prefer the texture and taste with an egg.
- Milk- The warm temperature of the milk is needed to activate the yeast. I microwave it in 30-second increments until it’s warm to the touch. A kitchen thermometer is also helpful to ensure accuracy. Note that if the milk is too hot, it will kill the yeast.
- Shaping the Rolls:
- Optional: Weigh the dough and divide that number by 15 to determine how much each one should weigh. -Eyeballing it is fine too! (My dough in this photo weighed 811 grams, or 54 grams pre roll.)
- Avoid adding flour to your hands or to your work surface when shaping the rolls, this ensures the dough stays nice and tight. Pinch the dough into one central spot to create a tight ball and place them seam-side-down in the baking dish.
- Leftovers- Leftover rolls make the BEST slider rolls! (Especially with holiday leftovers!)
- 📘 Find this recipe on page 241 of my 2nd cookbook, Let’s Eat!
Storage:
- Store in an airtight container for 2-3 days or refrigerate for up to 1 week. You can also freeze leftover rolls to enjoy another day.
Nutritional information is an estimate and is per roll. There are 15 rolls in this recipe. The honey butter topping is included in the calculation.


I’m just getting back into baking and found this recipe. Having never worked with yeast before I want sure what to expect. They came out light and fluffy. My team at work enjoyed them so much. Please keep putting recipes out!
I’m soooo happy to hear that!! Amazing! Nicely done- I’ll keep the recipes coming!! Thank you so much for the review! ❤️
Hi, I did read your make ahead options, but I’m wondering if the rolls can be made fully baked then frozen and defrosted the day of using( warming a bit)? I would add butter on top then. Thanks!
Hi Dawn! Yes you could do that, I would pull them from the oven 2 minutes early, let them cool completely on a wire cooling rack, wrap each in foil, then transfer them to a freezer bag. To thaw, let them do so in the packaging to keep them moist (2-4 hours at room temp). Then bake in the foil at 325 for 10-15 minutes, remove the foil for the last 1-2 minutes to brown the tops more if preferred!
Quick question! Can the milk be substituted with almond milk? Thanks in advance! ☺️
Hey Ashley! You can, here’s what to expect:
Flavor: Slightly nuttier and a little sweeter (even “unsweetened” has a hint)
Texture: Can be just a bit less rich/soft because almond milk has way less fat than dairy milk
Browning: Rolls may brown less deeply, since milk sugars/proteins help crust color
Made these for Thanksgiving, they were a hit! Sweet and soft, and great for making turkey sliders with the leftovers:)
AWESOME! Nicely done, I’m so glad that you enjoyed them, this is one of my favorite things on the Thanksgiving table!
Made these for my family tonight with soup and everyone loved them, almost. These have a strong honey flavor, which i really liked, but my daughter doesn’t like honey. I think I’ll try making them again with sugar instead. I know honey is sweeter than sugar. Do you think that would sub 1:1 or should I use a bit more sugar? Thanks for this great recipe!
Hi Beth! I would do a 1:1 sub for sugar/honey, yes! I’m so glad that it was a hit with most of the fam! 🙂
In making this recipe in the bread machine using the dough setting, would I still need to let the dough rise 1-2 hours and then form into balls and rise again. Or after the dough setting is done, could I form them into balls and let them rise then?
Hi! If it rises in the bread machine, you’ll just need to form into rolls and rise again. If it just mixes the dough without rising, it’ll need to rise outside of the machine, then form into rolls, and rise again.
Can these be made in a bread machine using the dough setting?
Hi Crystal, that should work just fine, but I haven’t tested it myself. ❤️
If making with instant yeast, do I follow the recipe as written, or do I mix it in with flour and skip the first rise as the yeast jar indicates?
Thanks!
Hi Kayla, you would follow the recipe as written 🙂
soft and very addicting
I’m so happy to hear it, thank you!