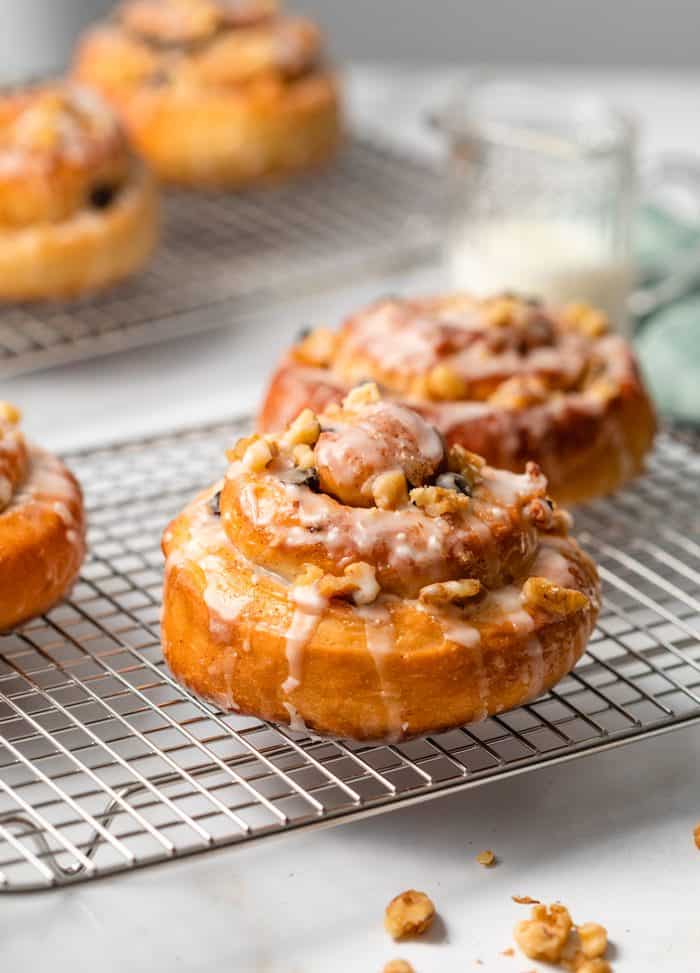
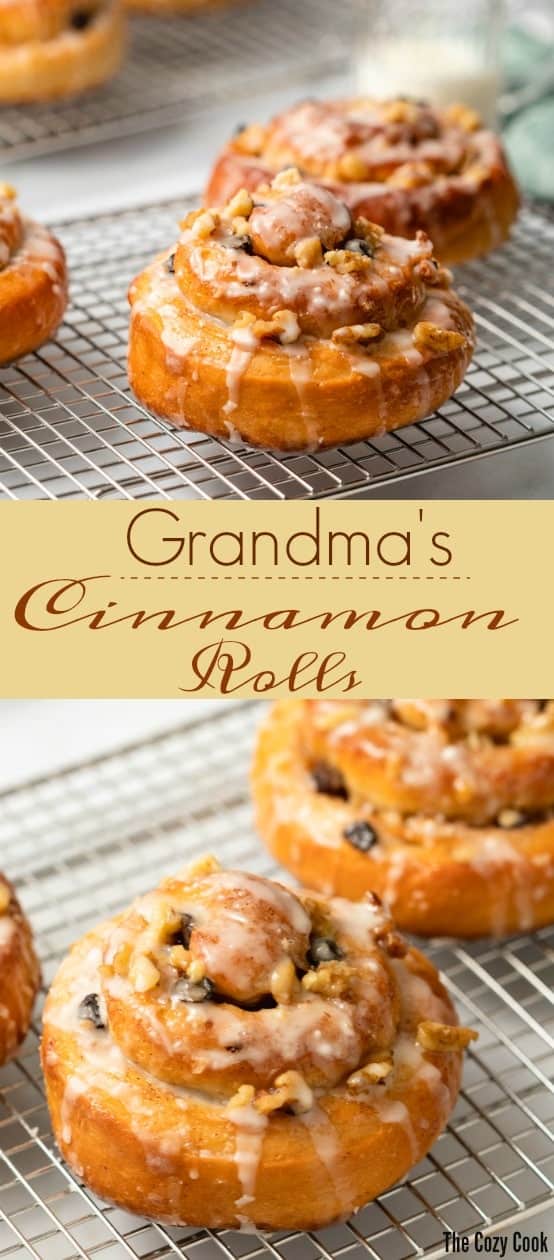
These homemade cinnamon rolls have been passed down for generations in my family. The soft, airy dough is rolled in a cinnamon sugar mixture, tossed with raisins and nuts, and drizzled with icing.
Just the smell of these sweet and fluffy cinnamon rolls brings me back so far in time. This recipe came from my grandmother, (AKA my Bachi). The name of the recipe as it was printed out was “Gossipy Sweet Rolls” and my sister absolutely hated that name. (So naturally, that’s what we called it. 🤣)
These was a holiday tradition in our house, we had them at every Thanksgiving, Christmas, and Easter. It’s a perfect way to bring the family together in the morning over coffee to talk about the fun-filled family day that lies ahead. And of course, kids love them too. Not to mention, you can make them ahead of time. Read on, my friends. Read on.
Can you make cinnamon rolls ahead of time?
Yes! You can make this cinnamon roll dough 3-4 days ahead of time and store it in the refrigerator until you are ready for it to rise, roll out, and bake! Just note that it will take longer for the dough to rise as it will need to first come down to room temperature first.
You can also prepare these rolls completely 1-2 days beforehand, just store them in an airtight container at room temperature or in the refrigerator in the meantime. I recommend heating them in a 320 degree oven for 5-10 minutes prior to serving.
Can you freeze them?
Yes, these cinnamon rolls can be frozen. Simple store them in an airtight container in the freezer, they are best if used within 3-4 months. To serve them, remove them from the freezer and let them come to room temperature. Then warm them in a 320 degree oven for 5-10 minutes.
What if my dough doesn’t rise?
If you’re baking on a chilly Fall or Winter day, it might be tougher to get your dough to rise as it needs to do so in a warm place. These tricks can get you out of a bind, just note that it may take longer for your dough to rise if these methods are needed:
–Method #1: (👉I like this method best)Preheat the oven to 315 degrees, leave the oven on, and place the bowl on top of a warm spot on the oven. For me, the warmest spot is right in the front of the oven between the front two burners.
–Method #2: Place a baking tray on the bottom rack in the oven. Remove the top rack. Boil water and pour it into the tray, then place the bowl of dough on top and close the door.
-Method #3: (Assuming you have a warm place for the dough to rise but it still isn’t)-Take a new package of yeast and mix it with 1/4 cup of warm water and 1/2 teaspoon of sugar. Let it sit for 10 minutes until it starts to foam. Knead the yeast mixture into the dough, and place it in a warm place to rise.

How do you scald milk and why?
-Scalding milk is the first step in this recipe, and it requires you to bring the milk to a near boil, remove it from the heat, and allow it to come to room temperature.
-Scalding milk helps to ensure that the dough is light and fluffy by killing the protein in the milk, which keeps the gluten intact. The gluten is what aids in the breakdown of the sugar and yeast, which in turn allows it to rise.

You should also try these!
- Copycat Texas Roadhouse Rolls & Butter
- Oreo Truffles
- Shortbread Cookies
- French Toast Sausage Roll-ups
Get My Free Meal Plan
I’ve got a Free Meal Plan with 7 of my super popular recipes (complete with grocery list)! Sign up for my email list and I’ll send it over now along with weekly dinner recipes!
And follow me on Facebook, Instagram, and Pinterest!

Homemade Cinnamon Rolls
Ingredients
Dough
- ½ cup milk
- ½ cup sugar
- 1 tsp salt
- ½ cup margarine or shortening
- ½ cup warm water, 105 degrees
- 2 packages Active Dry Yeast
- 2 eggs, beaten
- 4 1/2 cups all-purpose flour, plus ½ cup more as needed
Filling
- 6 Tablespoons butter, melted
- 1 cup very finely chopped pecans or walnuts, plus more for garnishing
- 1/2 cup sugar
- 1 tsp cinnamon
- 1 cup raisins
Icing
- 1 cup powdered sugar
- 1 Tablespoon milk
- ½ teaspoon vanilla
Instructions
Dough Instructions
- Scald the milk by bringing it to a near boil, then remove it from the heat. Add the sugar, salt, and margarine/shortening and stir until combined. Let it reduce to lukewarm in temperature, (105 degrees.)
- Add the warm water to a large bowl and stir in the yeast until dissolved. Add in the lukewarm milk mixture along with the beaten eggs and 1 cup of flour. Beat until smooth, a hand mixer makes this easier.
- Add 3 ½ cups flour and mix until a soft dough forms. If it is too sticky, you can add up to ½ cup additional flour.
- Turn the dough onto a floured surface and knead for 8 minutes, until smooth and elastic.
- Grease a large bowl and add the dough to it. Turn the dough so that all sides are greased.
- If making the dough ahead of time, refrigerate the dough for 3-4 days from here. Then remove the dough once ready to continue and let it come to room temperature before proceeding.
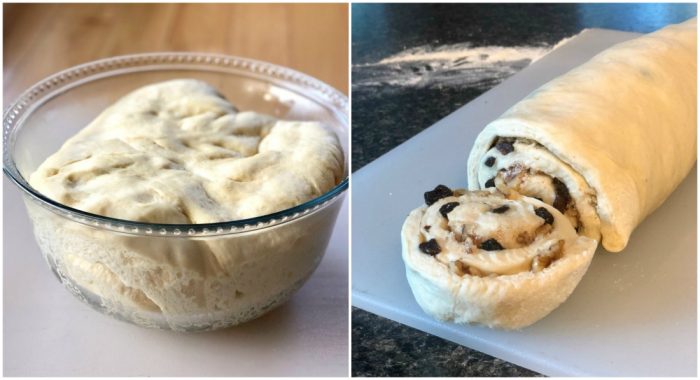
- Cover the bowl and put it in a warm place to rise until doubled in size, this takes at least 1 hour. *See my dough rising tips in the notes if needed.
- Punch the dough down, cover, and let it rise again until nearly doubled in size, about 30 minutes.
Assembly instructions
- Place the dough back onto a floured surface and roll into two individual 16 x 15 inch rectangles. (Each makes about 10 rolls)
- Brush the top of the dough with melted butter.
- In a medium bowl, combine the chopped nuts, sugar, cinnamon, and raisins. Sprinkle it evenly over the top of each rectangle to within ½ inch of the edge and pat it down gently.
- Locate the 16 inch side closest to you and tightly roll the dough up to form a cylinder. Repeat for the other rectangle. Seal the edges and cut 1 ½ inch slices, placing them onto a greased baking sheet as you do so.
- Cover and let the rolls rise until doubled, about 30 minutes.
- Preheat the oven to 425 degrees.
- Bake the rolls for approximately 10 minutes, until they are a nice golden brown. Keep a close eye on them as the oven is hot.
- Combine the ingredients for the icing and spread it over the warm rolls. Sprinkle with additional chopped nuts if desired. Serve immediately for super fresh results!


 The Cozy Cookbook is here!


I screwed up and they still turned out so great. I ended up putting in a whole cup of water so I had to keep adding more flour…so I was so nervous….but they still came out the best I’ve made. I can’t wait to see how they come out when I make them the right way. Thank you!!
Nice work saving this one Carly! Happy to hear it worked out in the end. Thanks for the review!❤️
I’m wondering how these compare with regular cinnamon rolls with brown sugar and cream cheese icing? My family loves cinnamon rolls. Are these similar in taste/texture? I also like to pour some whipping cream over the risen buns just before baking for extra softness.
Could I halve this recipe for an 8×8 inch pan?
Hi Jody, I think that you would find these to be similar in taste and texture as what you are describing! And yes, it can be halved and baked in a 8×8 inch pan! 🙂
Instructions do not print all pages
Hi Carol, I just tried it and the complete recipe printed, 2 pages. Try clicking here, that’s the print button at the top of the recipe card, I’m not sure if that’s how you were trying to print it.
The best cinnamon rolls I have ever made!
I didn’t have shortening, so I used butter. I used less powdered sugar for the icing as I prefer my less sweet. The bread is soft and the family loved it. Definitely will make again. This recipe is a keeper. Thanks for sharing and for all your tips♥️
Hi Pat! I am so happy that you enjoyed these rolls as much as I do. It’s such a sentimental recipe for me because it always reminds me of my grandmother and so many special holidays! 🙂 Thank you so much for taking the time to leave a review, I really appreciate it and am glad that you’ll be making this a traditional recipe yourself!
Hi I have a question. I want to make these for Easter breakfast, how many rolls does this recipe make?
Hi Cate! This recipe makes 20 rolls! This is an absolutely perfect recipe for Easter, that’s when we always had these growing up! 🙂 The servings for each of my recipes are listed right at the top of the recipe card as well, just to save you time for the future! ENJOY!!
Thx
For your dough rising method 1 – do you turn the oven OFF once it has reached 315 degrees or keep it on while the dough is inside?
I keep it on during this time! I’ll be more specific in the instructions! 🥰
Thank you!
The dough is left on top of the stove not inside of it so you can keep the oven on.
Correct, thank you for clarifying that! 🙂
I have a question for you I made everything this morning I am at the point where my buns are rising. Can I wait and bake them this evening so they are fresh for the family?
Hi Janine, you can allow the bread to rise a bit longer than indicated but I wouldn’t extend the time too long due to the eggs that are in the dough unfortunately, as that poses a risk.
Sometimes when I make bread I’ll bring a cup or two of water to a boil in the microwave. When it shuts off I slide the bowl of dough in and just shut the door. It’s a little “proofing box” , so to speak, it really helps speed the rising!