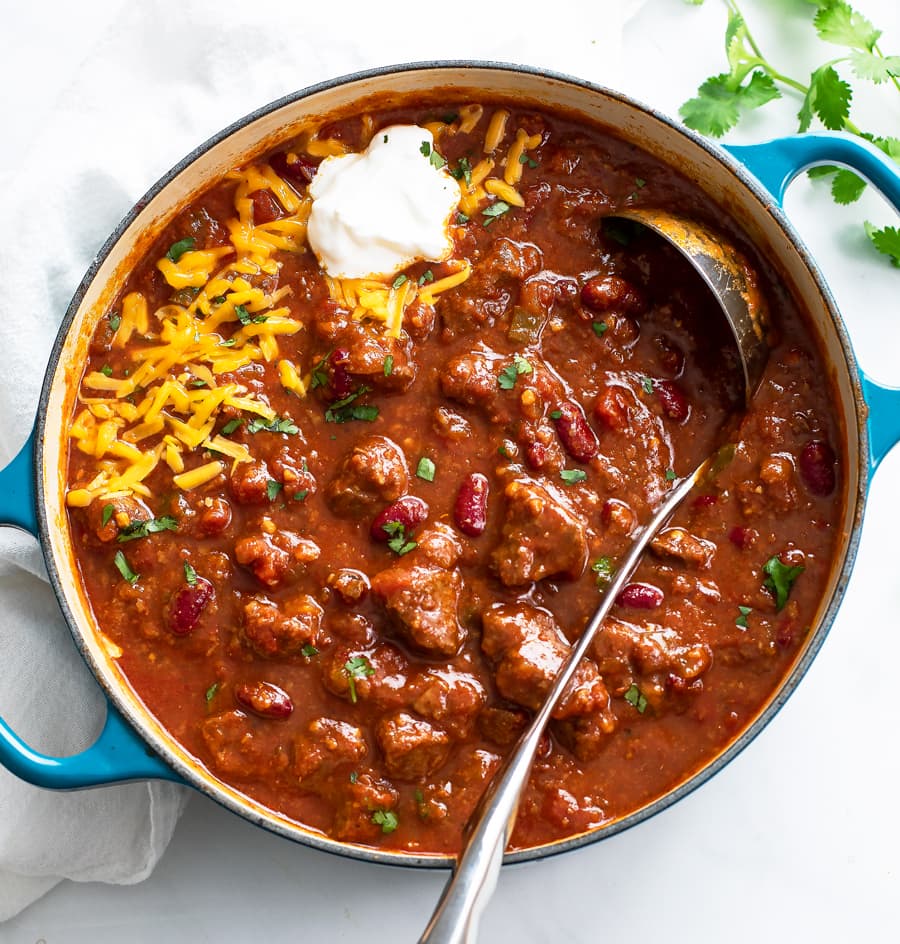
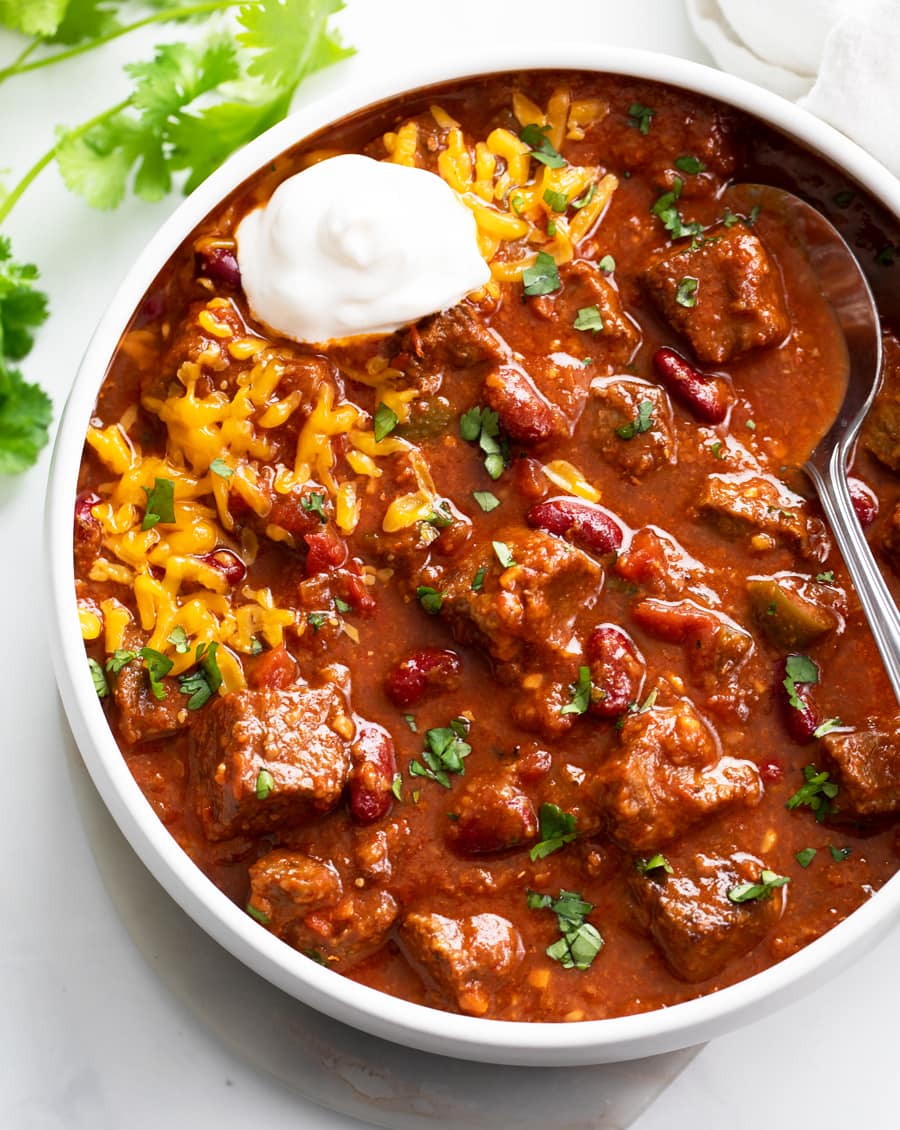
This Chili Con Carne recipe has tender cuts of beef that simmer slowly in a flavorful sauce. It can be made with or without beans and can be served with sour cream, shredded cheese, cilantro, and more!
Be sure to try this with a side of homemade cornbread!
Chili Con Carne
Is there anything more cozy than a big ol’ batch of Chili Con Carne? I think not. The name of this dish translates to “chili with meat“, and it originated in San Antonio Texas.
Since there is so much emphasis on the meat here, I like to make this with hearty chunks of beef. (A variety of cuts work well here, more on that below!)
Unlike my easy chili recipe (which is made with ground beef and takes about an hour to make), this chili simmers and reduces over the course of several hours on the stovetop to reduce it down and concentrate its flavors.
Beans are a controversial add-on in chili recipes, my preference is to add just one can of kidney beans to give the chili added flavor and texture. If you’re a bean lover, feel free to use 2 cans. If not, feel free to skip the beans altogether!
How to Make It
See recipe card below this post for ingredient quantities and full instructions.
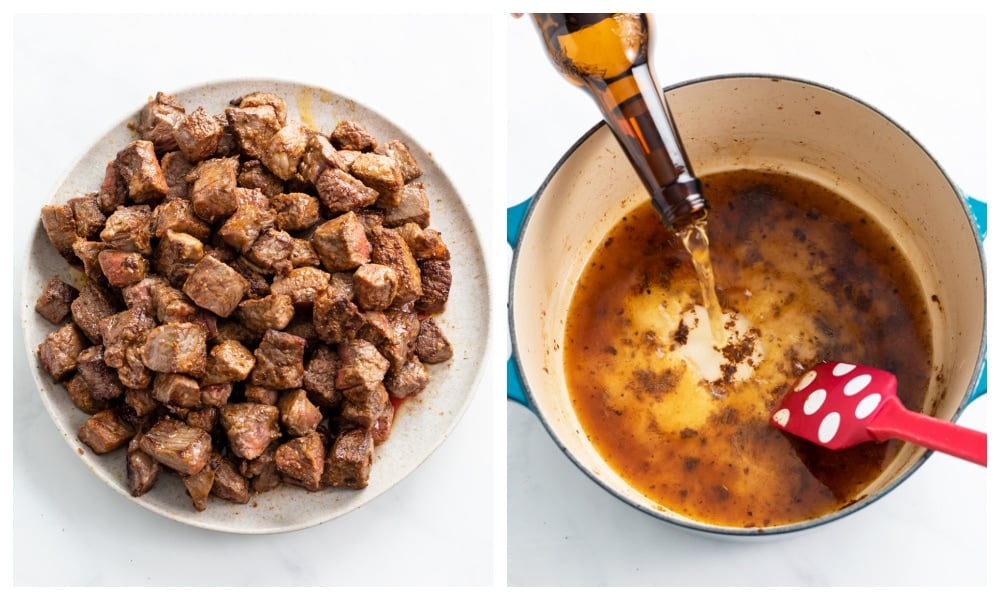
Season and sear the meat on each side until just browned on the outside, leave the middle red and cold. Transfer to a plate. Deglaze the pot with beer and reduce for 7-8 minutes.
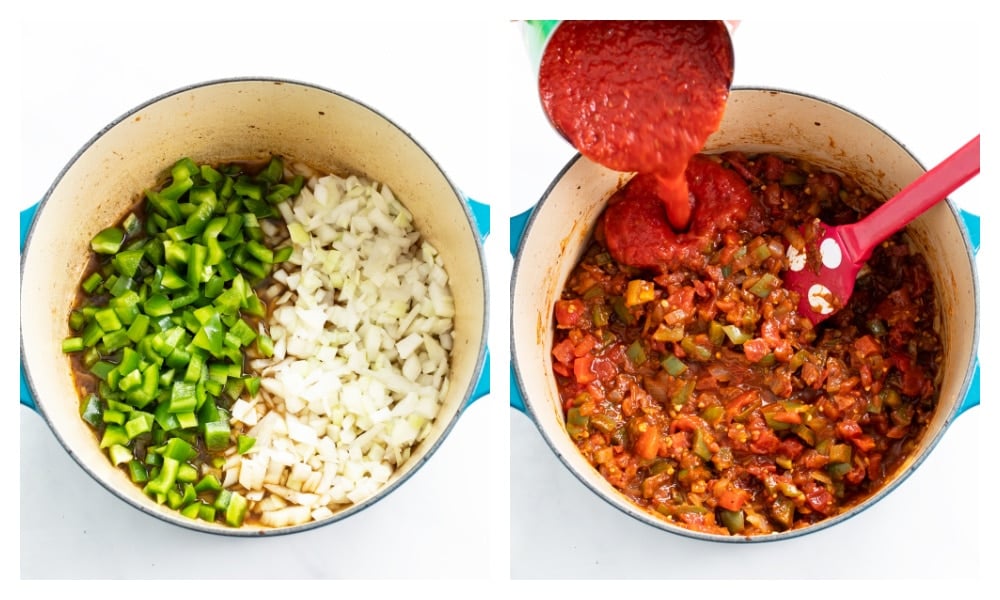
Soften the onions and peppers in the remaining beer with butter. Then add the garlic, brown sugar, tomato paste, masa harina, Worcestershire sauce, and hot sauce. Stir to combine and cook for 1-2 minutes. Add the diced tomatoes and crushed tomatoes.
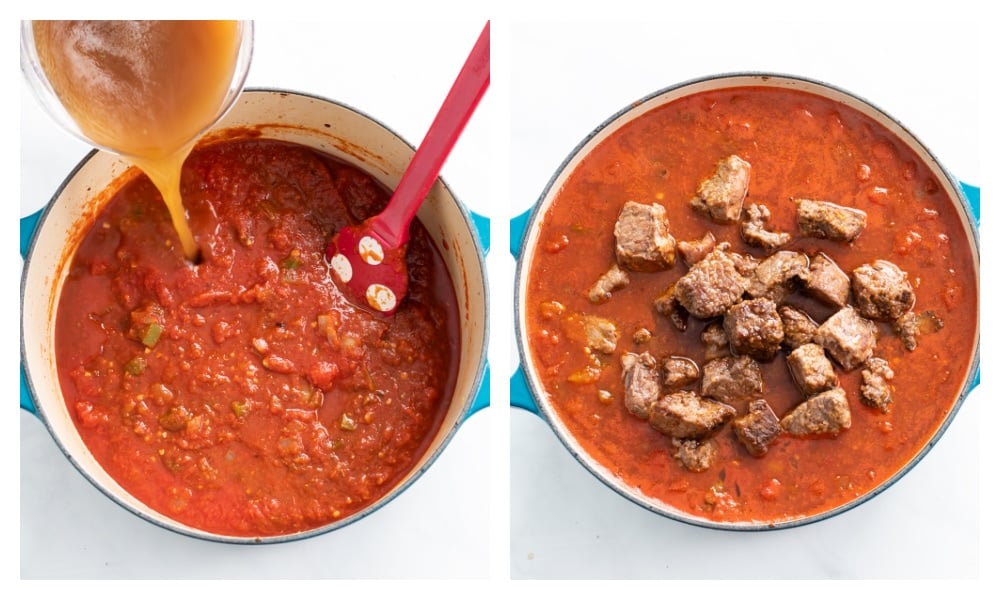
Add the beef broth. Bring to a boil, then reduce to a simmer. Add the beef back along with any juices from the plate.
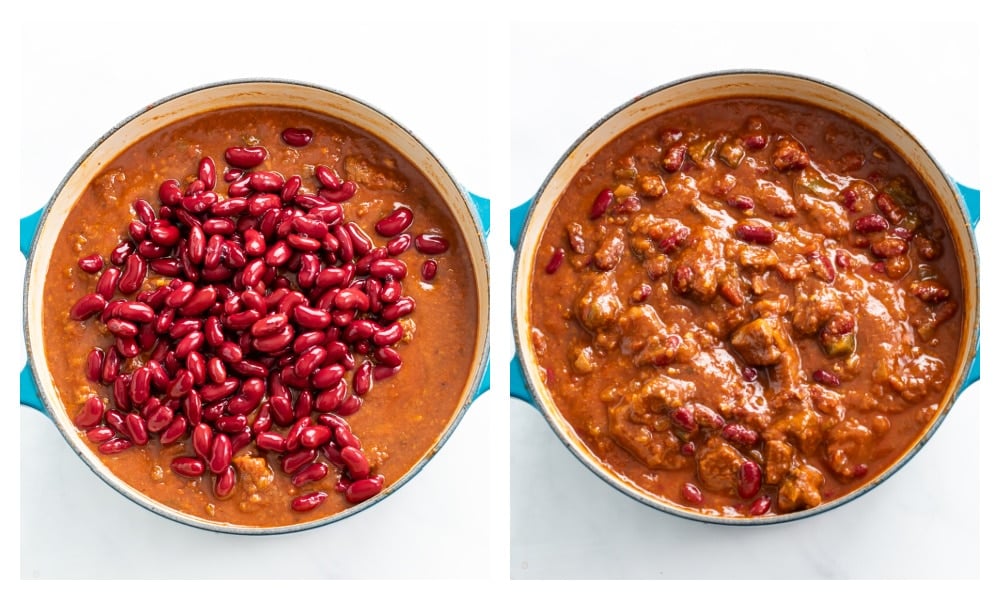
Simmer, uncovered, for 3 – 3 ½ hours, or until desired thickness is obtained. Add the drained kidney beans and heat through for 10-15 minutes. Remove the bay leaves and serve!
Best Cuts of Meat for Chili Con Carne
Since this meat is handled with care, (i.e. we don’t boil it, it’s cooked low and slow after being seared), the cuts of meat are very forgiving and any kind of meat from sirloin to stew meat will work here.
- Tender Cuts of Meat: Strip Steak, Sirloin, Flank, Ribeye, Tenderloin.
- Tougher Cuts of Meat: Chuck Roast, Rump Roast, Brisket. (Best suited for slow cooking.)
Do You Rinse Kidney Beans for Chili
- You’ll want to drain the kidney beans, but rinsing them is optional. Doing so will reduce the amount of sodium that gets carried into the dish.
- I choose to let mine sit in the strainer for awhile, but I don’t rinse them.
Make Ahead Method
- This is a recipe that tastes even better the next day, so it’s a perfect make-ahead recipe.
- Feel free to cook it for all or for part of the indicated cooking time and reheat it on the stove top 1-2 days later.
Pro Tips
- Beer: Stick to a variety of beer that you enjoy drinking on its own. Pale Ale is a great choice. Bud light can even be used
- Beer Substitute: If you can’t/don’t cook with beer, add about ¼ cup beef broth and use the liquid to “clean” the pot after searing the meat, then proceed with adding the onions/peppers as outlined.
- The longer this simmers, the thicker it will get. This starts off very soupy, but thickens and reduces over the course of several hours. The flavors blend during this time as well, it transforms slowly but surely.
- Stove Top Only: This recipe cooks uncovered on the stove top for several hours in order to reduce, concentrate, and thicken it. This cannot be replicated in a crock pot as the end result would resemble a soup.
- Masa Harina: This acts as a thickener in the chili and is optional. I like to use it because it adds a hint of corn flavor to the chili. You can find it in the ethnic aisle at the grocery store. Corn flour can also be used.
- I use Frank’s hot sauce for this recipe.
- Spice Lovers: If you like heat, I would double or triple the hot sauce and use a little more cayenne/red pepper flakes as well as 1/2 tbsp additional chili powder. Consider adding additional spice gradually and tasting until desired level is obtained.
- Sides: Cornbread, Cheddar Bay Biscuits, Buttermilk Biscuits, and rice are great side dish choices to serve alongside this recipe.
- Topping Options: Sour Cream, Cilantro, Green Onions, Shredded Cheese, Diced Avocado, and Lime Wedges.
Storage
- Store in an airtight container and refrigerate for up to 3 days or freeze for up to 3 months. Leftover chili makes a great freezer food.
Tools For This Recipe
(Amazon affiliate links)- Check out all of my kitchen essentials here.
- Le Creuset 4.5 quart Dutch Oven – This is the one that I use and it’s great for making chili and soups, as it conducts heat very well. A regular soup pot may also be used as long as it’s at least 4.5 quarts.
- Kitchen Tongs– For handling the meat during searing.
- Silicone Spatula– Be sure to run a silicone spatula underneath the chili throughout cooking to lift any ingredients that may settle to the bottom.
- Measuring Spoons– I have these magnetic ones which stay nice and organized in my utensil drawer.
- Pinch Bowls– for measuring out seasonings ahead of time.
- Chefs Knife– I have this one. It’s high quality and affordable.
Try These Next
- Swedish Meatballs
- Stuffed Bell Peppers
- White Chicken Chili
- Pepper Steak
- Baked Ravioli
- Chicken and Gravy
Get My Free Meal Plan
I’ve got a Free Meal Plan with 7 of my super popular recipes (complete with grocery list)! Sign up for my email list and I’ll send it over now along with weekly dinner recipes!
And follow me on Facebook, Instagram, and Pinterest!
Tried This Recipe?
Leave a review, I love hearing your feedback! ⭐⭐⭐⭐⭐
Chili Con Carne
Ingredients
Seasonings
- 2 tablespoons chili powder
- 1 tablespoon cumin
- 2 teaspoons oregano
- 2 teaspoons smoked paprika
- ¼ teaspoon cayenne pepper
- 1 pinch red pepper flakes
Beef
- 3 lbs. boneless beef chuck, cut into chunks
- Salt/Pepper, to taste
- 1/3 cup flour
- 3 tablespoons olive oil, plus more as needed
Chili
- 12 oz. beer, See notes
- 2 tablespoons butter
- 1 yellow onion, diced
- 2 jalapeno peppers, diced
- 1 green bell pepper, diced
- 4 cloves garlic, minced
- 2 tablespoons light brown sugar
- 3 tablespoons tomato paste
- 2 tablespoons masa harina, optional. See notes.
- 2 teaspoons Worcestershire sauce
- 2 teaspoons hot sauce
- 4 cups beef broth
- 28 oz. crushed tomatoes
- 10 oz. diced tomatoes with green chilies, undrained
- 2 bay leaves
- 16 oz. kidney beans, drained
Instructions
- Add the seasonings to a small bowl. Stir until combined and set aside.
- Pat the meat completely dry and sprinkle with salt, pepper, and 2 teaspoons of the seasoning mixture. (Save the rest of the seasoning for step 5.) Toss to combine. Sprinkle with flour and toss again.
- Heat olive oil in a large Dutch oven or soup pot (4.5 quarts or larger), over medium-high heat. Sear the meat in batches, leaving room around the meat to obtain a crisp sear around the edges. (Otherwise it will steam). Sear each batch for 1- 1 ½ minutes, tossing periodically. Remove and set aside. The middle should be uncooked.
- Add the beer and use a silicone spatula to clean the bottom and the sides of the pot, this will add more flavor to the chili. Let it bubble and reduce by about half, 7-8 minutes. Add butter, onions and peppers and soften for 5 minutes.
- Add the remaining seasonings, garlic, brown sugar, tomato paste, masa harina, Worcestershire sauce, and hot sauce. Stir to combine and cook for 1-2 minutes.
- Add the diced tomatoes, crushed tomatoes, beef broth, and bay leaves. Bring to a boil, then reduce heat to low. Add the meat back along with any juices from the plate.
- Simmer gently for 3 – 3 ½ hours, uncovered. Run a silicone spatula along the bottom of the pot periodically to lift anything that may settle to the bottom. (The chili will start off looking like a soup, but it will thicken and concentrate as it simmers. )
- Simmer until desired consistency is nearly obtained. Stir in the drained kidney beans and heat through for 10-15 minutes.
- Taste and adjust any seasonings as needed. (Wait until it’s done simmering to ensure the flavors have sufficiently melded before making any adjustments.) Feel free to add a little more brown sugar, spice, salt, etc. (I never adjust but feel free to do so!)
- Remove the bay leaves. Serve with sour cream, shredded cheese, and cilantro!
Notes
- This is a recipe that tastes even better the next day, so it's a perfect make-ahead recipe.
- Feel free to cook it for all or for part of the indicated cooking time and reheat it on the stove top 1-2 days later.
Pro Tips:
- Beer: Stick to a variety of beer that you enjoy drinking on its own. Pale Ale is a great choice. Bud light can even be used
- Beer Substitute: If you can’t/don’t cook with beer, add about ¼ cup beef broth and use the liquid to “clean” the pot after searing the meat, then proceed with adding the onions/peppers as outlined.
- Peppers: A variety of pepper choices are great in this recipe. I stuck to ones that I typically have on hand, but other options include poblano and serrano.
- Masa Harina: This acts as a thickener in the chili and is optional. I like to use it because it adds a hint of corn flavor to the chili. You can find it in the ethnic aisle at the grocery store. Corn flour can also be used.
- I use Frank's hot sauce for this recipe.
- Spice Lovers: If you like heat, I would double or triple the hot sauce and use a little more cayenne/red pepper flakes as well as 1/2 tbsp additional chili powder. Consider adding additional spice gradually and tasting until desired level is obtained.
- Sides: Cornbread, Cheddar Bay Biscuits, Buttermilk Biscuits, and rice are great side dish choices to serve alongside this recipe.
- Topping Options: Sour Cream, Cilantro, Green Onions, Shredded Cheese, Diced Avocado, and Lime Wedges.
Nutritional information is an estimate and is per serving. There are 8 servings in this recipe.


 The Cozy Cookbook is here!












Can you use ground beef instead of the beef chuck?
Ground beef won’t need as much liquid or cooking time, I would try this chili recipe with ground beef! 🙌🏻 https://thecozycook.com/easy-chili-recipe/
Thank you!
It’s not done simmering yet but it already tastes amazing. I didn’t add quite as much beef broth, maybe 2 cups, but will add more as it cooks if it’s looking too thick since I can easily thin out but much harder to thicken up! No beans though. 😊 This is definitely a keeper. It he hard past will be waiting another 2 hours! Thank you for this amazing recipe!
I’m so glad that you’re already loving it Kaycie!! Thank you so much for taking the time to leave a review!! 🙂 -Stephanie
Ok. This is the second time I made Chili Con Carne from my favorite Cozy Cook. Delicious. The meat was so tender and flavorful. I didn’t need to adjust any seasonings since I followed the recipe to a T. It was so good topped with cheddar, sour cream, and cilantro. And a nice piece of corn bread. YUM. Thanks, Stephanie!
Sounds like you’ve really got this one down Renee, I’m not surprised! Thanks so much for taking the time to leave a review!❤️
Hello! I love all yourcookbook and emails. You have amazing recipes. I am begging to can some of our favorite dishes and I was wondering if you feel this would be safe to can for quick and easy meals?
Hi Allison! I am soo happy to hear that you’re loving the cookbook and emails! Thank you so much for your support! 🙂 I always freeze it for easy meals, I don’t have a ton of knowledge about canning. I know it can be done, but I can’t speak to this specific recipe or how it would be done. I wish I could provide some more specifics for you! ❤️
I love this recipe! I used elk steak for it, and it was tender as well as delicious. I did have a question about the calorie count…is it really 724 calories, or is this a typo? All the other chili recipes you have are about 250 calories per serving. Thank you for clarifying the nutritional info. I’m guessing there was a typo and it is 247?
Hi Cori! I’m so glad that you enjoyed the chili! You are right, I had this set for 6 servings but it’s really more like 8 servings as this makes a lot. So the calorie count is 583 per serving. It’s hearty 🙂
Greatly enjoyed it but I could not get it to reduce to a thick chili . Should I have just used the beer and no beef broth? The 4 cups of beef broth I feel is why it never turned into a thicker chili for me. I did the recipe to the T it was great regardless.
Hi Kobie! The thickening comes from letting it reduce for a long time, the liquid evaporates and the chili gets thicker and thicker as a result. Did you let it simmer for several hours so that it could reduce? You do add both the beer and the broth. The beer reduces significantly though before the broth is added.
I let it simmer on low for about nearly 4 hours but I’ll just have to make another batch and try again maybe little higher heat and reduce the beer even more.
I think you’re spot on! Reduce the beer a little more and turn that heat a little higher so you get more evaporation! 🙂
Made this recipe for first time and it was delicious! I want to make it for my work function just curious if it can be made in a crockpot
Hey Chrissy! I’m so happy that you loved it! I would recommend preparing it ahead of time on the stovetop and then transferring it to a crock pot for your work function and keeping it warm. Here’s why it’s not suited for the crock pot alone: This recipe cooks uncovered on the stove top for several hours in order to reduce, concentrate, and thicken it. This cannot be replicated in a crock pot as the end result would resemble a soup.