Sweet and Sour Chicken
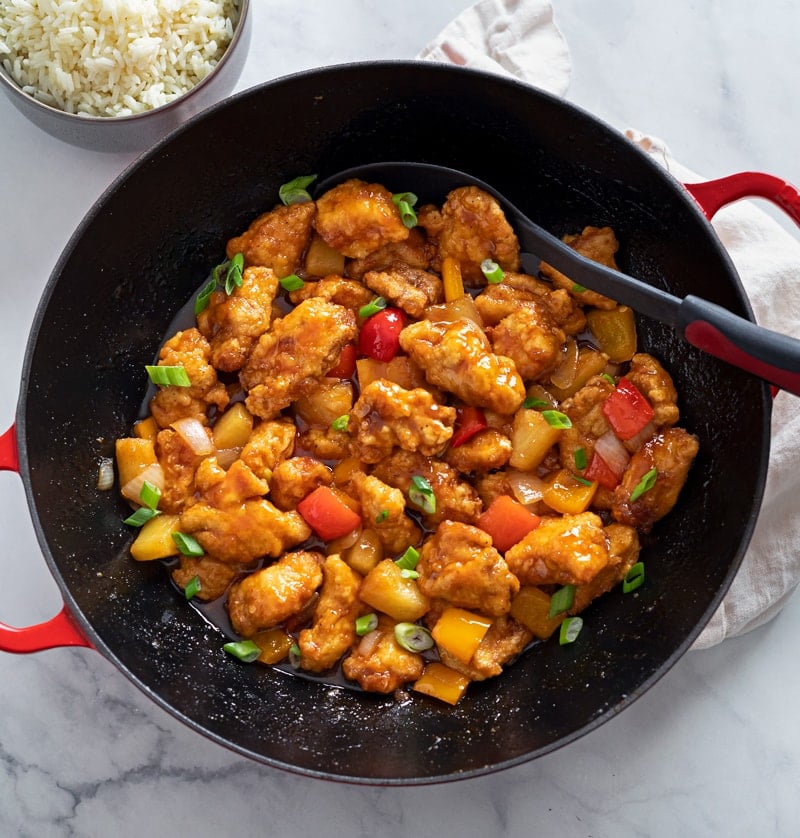
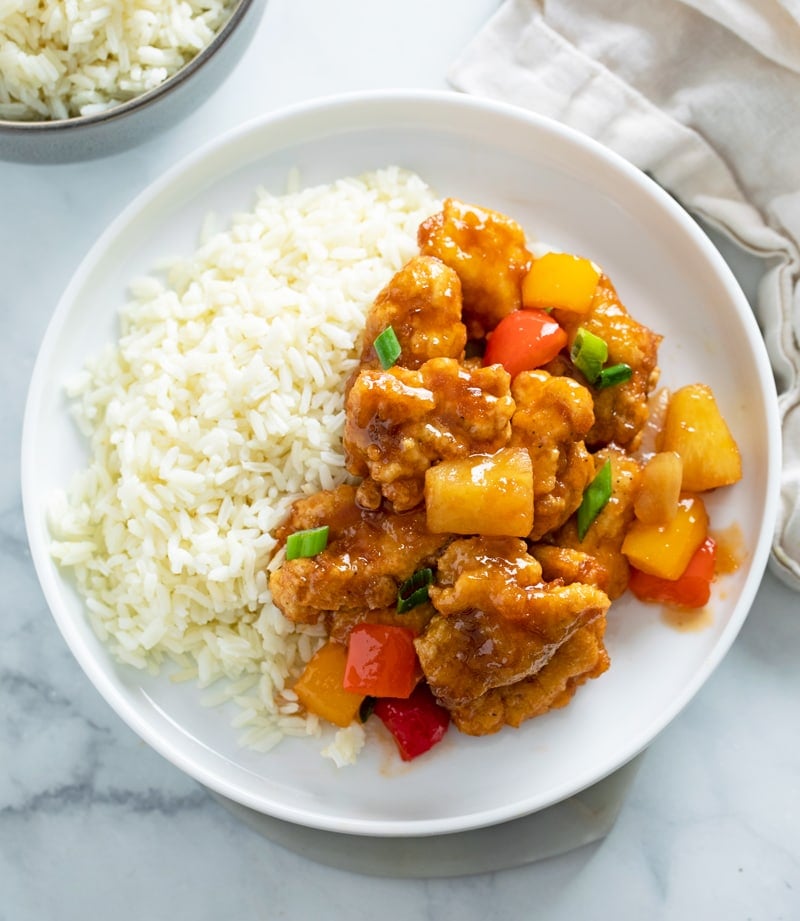
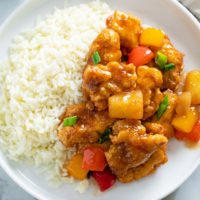
This Sweet and Sour Chicken tastes just like it’s from a Chinese restaurant! The chicken is extra crispy with a flavorful sweet and sour sauce with bell peppers and pineapple. Serve this with rice for a takeout-style meal that your family will love!
Be sure to try my Egg Roll in a Bowl and Teriyaki Chicken recipes next!
Sweet and Sour Chicken
My family absolutely loves it when I make this Sweet and Sour Chicken recipe. I have mastered the art of making extra crispy chicken that perfectly replicates what you’d get from Chinese takeout.
My trick is to dip the chicken in eggs that have been vigorously whisked, then into cornstarch, and then briefly back into the eggs just before frying. Not only does this make the chicken extra crispy, but the cornstarch on the chicken thickens up the sauce during cooking, turning it into a shiny, flavorful glaze that is perfect with a side of rice!
The bell peppers, onions, and pineapple are a must with this recipe. They don’t sound important, but they really compliment the flavor of the sauce and give you a real-deal takeout experience. 😉
How to Make It
See recipe card below this post for ingredient quantities and full instructions.
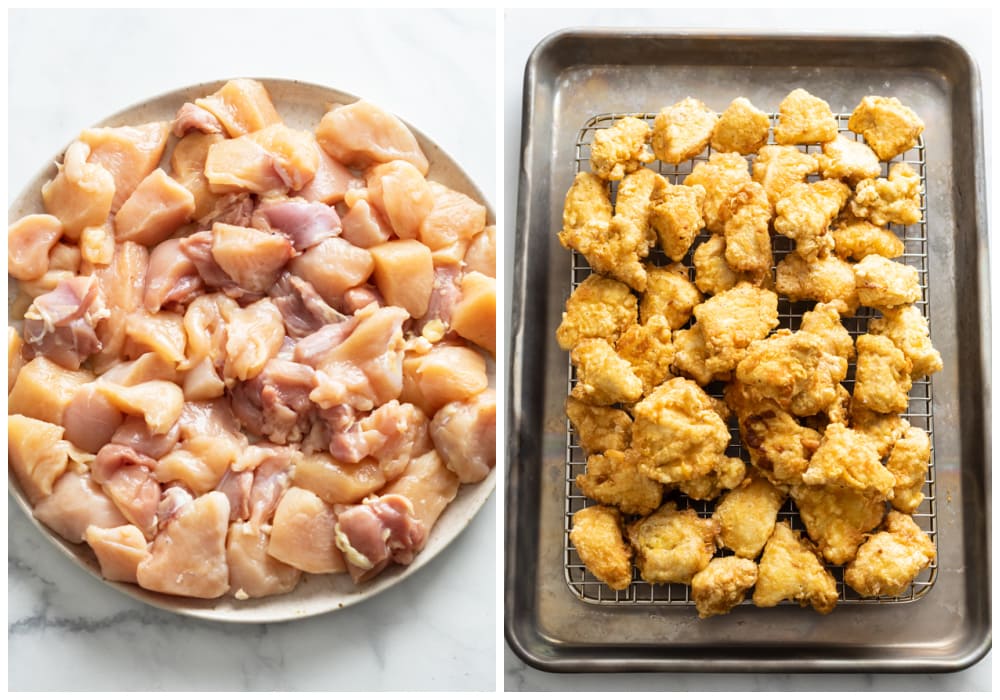
Season cubes of chicken with salt/pepper. Add the chicken to a bowl of whisked eggs and toss to coat. Dredge in cornstarch, then briefly dip the chicken back into the eggs just before frying.
Fry the chicken in 365° oil for 3-4 minutes per side, until brown and crisp. Use a slotted spoon to transfer to cooling racks.
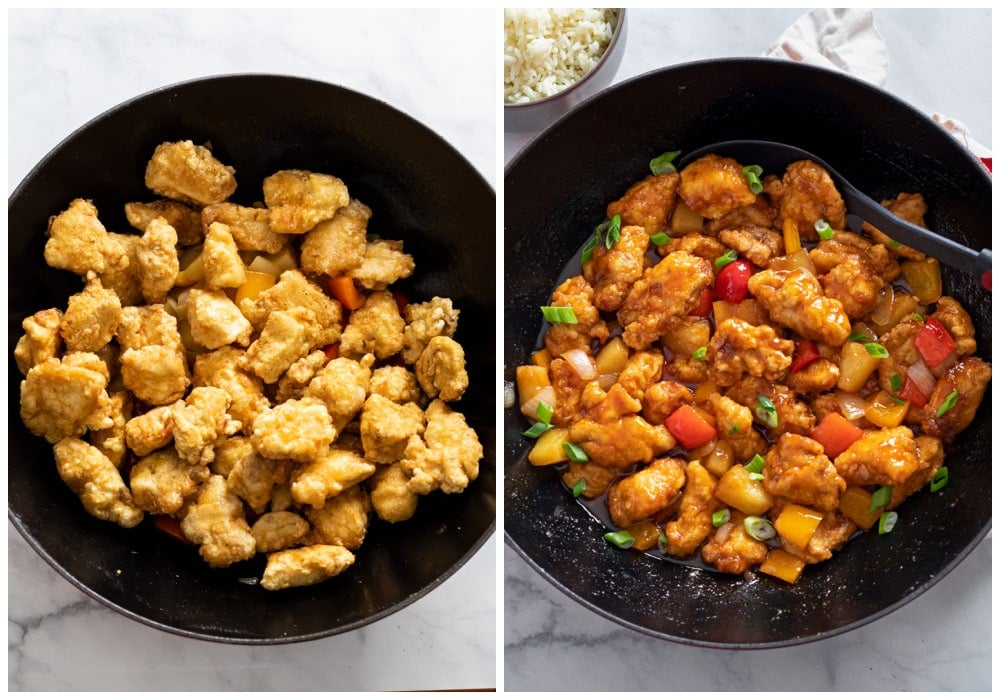
Remove all but 1 tablespoon of oil from the skillet and add the diced onions, peppers, and pineapple. Toss to coat and sauté over medium-high heat for 4 minutes. Add the sauce and bring it to a boil, then reduce to a simmer. Add the chicken and toss to coat.
Transfer to an oven-safe baking dish if needed. Bake uncovered for 10 minutes. Remove and spoon the sauce back over the chicken. Bake for 10 more minutes. Spoon the sauce over the chicken again. Garnish with green onions and serve with rice.
Pro Tips
- Make sure the oil is sufficiently heated before adding the chicken, the chicken should start frying immediately once it hits the oil. This ensures that the outer coating will stay on the chicken, making it nice and crisp.
- Peanut Oil can be used for frying as well, it adds a nice flavor that pairs well with this recipe.
- A pinch of Red Pepper Flakes and/or 2 teaspoons of hot sauce can be added to the sauce as well for an additional kick.
- This recipe is great with a side of vegetable fried rice! The notes section of the recipe card includes instructions for how I make perfectly cooked white rice as well.
- Leftovers make a great pizza topping with some blue cheese or ranch dressing drizzled on top. Try it on some Naan Pizza!
- For a little bit more of a kick, try my Firecracker Chicken. For another takeout option, try my General Tso’s Chicken.
- 📘 Find this recipe on page 121 of my 2nd cookbook, Let’s Eat!
Storage
- Store in an airtight container and refrigerate for up to 3 days or freeze for up to 3 months.
- To Freeze:
- Store the chicken and the rice separately, these are my preferred storage containers for each.
- To Reheat:
- The chicken can be reheated from a thawed state in the microwave or in a lightly greased, covered casserole dish at 350° for 15 minutes or so, or until heated through.
- The rice can also be microwaved or reheated in a lightly greased foil packet in the oven for 10 minutes or so.
Tools For This Recipe
(Amazon affiliate links)- Check out all of my kitchen essentials here.
- A wok works well for this recipe as well as a 3.5 Quart Dutch Oven.
- Deep Fryer– This can also be used.
- 9 x 13 inch Baking Dish
- Oil Thermometer– Having the correct oil temperature is important.
- Slotted Spoon– Perfect for handling the chicken during frying.
Try These Next
- Egg Roll in a Bowl
- Teriyaki Chicken
- Chicken Fried Rice
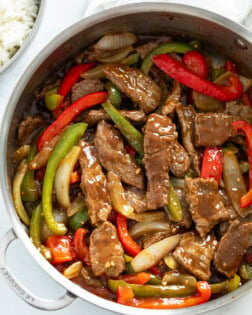
- Pepper Steak
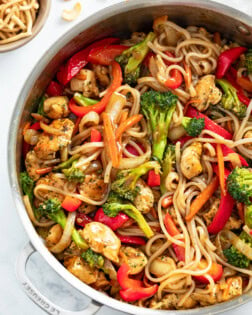
- Chicken Noodle Stir Fry
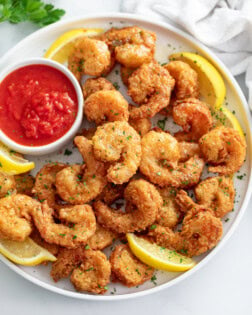
- Fried Shrimp
Get My Free E-Book!
- I’ve got a FREE e-Book with 7 super popular dinner recipes! Click here to join my email list and I’ll send your e-Book right over!
- And be sure to follow me on Instagram, Pinterest, & Facebook!
Tried This Recipe?
Leave a review, I love hearing your feedback! ⭐⭐⭐⭐⭐
Sweet and Sour Chicken
Ingredients
Chicken
- 1 ½ lbs. boneless skinless chicken breast or thighs
- Salt/Pepper
- 3 eggs, whisked
- ¾ cup cornstarch
- 1 cup vegetable oil
Sauce
- 1/3 cup sugar
- 1/3 cup apple cider vinegar
- 1/3 cup brown sugar
- 1/3 cup ketchup
- ¼ cup reserved pineapple juice
- 2 tablespoons soy sauce
- 1 teaspoon mustard powder
- 1 teaspoon garlic powder
Stir Fry
- 1 yellow onion, cut into cubes
- 1 red bell pepper, cut into squares
- 1 orange bell pepper, cut into squares
- 1 8 oz. can pineapple chunks, drained, juice reserved
- Green Onions, to garnish
Instructions
- Preheat oven to 350 degrees. Whisk together the sauce ingredients and set aside.
- Cut the chicken into 2-inch pieces and pat completely dry. Season with salt and pepper.
- Whisk the eggs vigorously in a medium bowl, until small air pockets have developed and it’s very uniform in color. Add the chicken and toss to coat.
- Heat 1 cup vegetable oil in a high-walled skillet or Dutch oven to 365 degrees. (Medium-high heat.) Just before frying, coat the first batch of chicken with cornstarch, then briefly dip each back into the whisked eggs.
- Fry the chicken in batches, leaving room around each to ensure the edges get crispy. Flip once the bottom of the chicken is light brown and crisp, about 3-4 minutes per side. Make small adjustments to the heat (up or down) throughout cooking as needed.
- Use a slotted spoon to carefully remove the chicken and place on wire cooling racks so that the bottom stays crispy. Place wax or parchment paper underneath the racks to catch excess grease.
- Once all of the chicken has been fried, remove all but 1 tablespoon of oil from the skillet and set heat to medium-high. Add the onions, peppers, and pineapple and sauté for 4-5 minutes.
- Add the sauce and bring it to a boil, then reduce to a simmer. Add the chicken and carefully toss to coat.
- If your skillet isn’t oven safe, transfer it to a lightly greased 9 x 13-inch casserole dish. Bake uncovered for 10 minutes.
- Remove and gently toss to coat. Spoon the sauce over the chicken and bake for 10 more minutes.
- Remove and spoon more sauce on top. Garnish with green onions and serve with white rice or vegetable fried rice,
Notes
- Make sure the oil is sufficiently heated before adding the chicken, the chicken should start frying immediately once it hits the oil. This ensures that the outer coating will stay on the chicken, making it nice and crisp.
- Peanut Oil can be used for frying as well, it adds a nice flavor that pairs well with this recipe.
- A pinch of Red Pepper Flakes and/or 2 teaspoons of hot sauce can be added to the sauce as well for an additional kick.
- For a little bit more of a kick, try my Firecracker Chicken. For another takeout option, try my General Tso's Chicken.
- 📘 Find this recipe on page 121 of my 2nd cookbook, Let’s Eat!
Making Perfectly Cooked Rice: I love serving this with 3 cups of white long grain rice. Here is how I make it:
- Bring 2 cups of water to a boil. (I add 2 chicken bouillon cubes to the water for enhanced flavor.)
- Add 1 cup of rinsed white long grain rice and let the liquid come back up to a boil.
- Cover tightly and reduce heat to low. Simmer for 20 minutes.
- Remove from heat and let it stand in the pot for 10 minutes with the lid on, any rice stuck to the bottom will release.
- This yields 3 cups of flavorful, perfectly cooked rice. I use a Dutch oven for this which conducts heat well.
- Note that other varieties of rice may require different liquid measurements and/or cooking times.
Storage
- Store in an airtight container and refrigerate for up to 3 days or freeze for up to 3 months.
- To Freeze:
- Store the chicken and the rice separately, these are my preferred storage containers for each.
- To Reheat:
- The chicken can be reheated from a thawed state in the microwave or in a lightly greased, covered casserole dish at 350° for 20 minutes or so, or until heated through.
- The rice can also be microwaved or reheated in a lightly greased foil packet in the oven for 10 minutes or so.
- The nutritional facts include 3 whole whisked eggs, 3/4 cup cornstarch, and assume a whole cup of vegetable oil is used. It is likely that there is much less of each that is actually consumed.
- Nutritional facts are per serving, there are 6 servings in this recipe.


 Get my Cookbooks!




Best sweet and sour chicken dish ever. The chicken was moist the sauce was simple and tasty.
I am sooooo happy to hear that Joyce!! I definitely want to make this now that I’m thinking about it! 🤩 Thank you so so much for the review!!!
Very easy and delicious . I will pass this along to my friends
That would be great Monica!! Thanks so much!!!❤️
I made this recipe for dinner and it was delicious. I did cheat though. I air fryer the chicken lol. My husband loved it. I made copy cat fried rice to pair with it. Our own Chinese food cheap dinner lol. Thanks for the idea.
Stacey
No shame in some clever short cuts Stacey… Nice work!!!💖 Thanks so much for taking the time to leave a review!
This beats any bought at a Chinese restaurant. My family loves it as well. Easy recipe to follow. I have a pan in the oven now. Love your recipes.
I’m sooo thrilled to hear that Judy, thank you SO much! I’m so glad that you’re loving the recipes!! -Stephanie 🙂
This is probably the BEST Chinese restaurant inspired recipe on your site! They are ALL so good but this beats ANY takeout we get and is a serious challenger for the “fancy” Chinese restaurant we hit up every Xmas. Could eat it every week! Even the “eww don’t put pineapple on your burger/pizza” members of the family left the dinner table with empty bowls.
Best part is, it’s so easy! Min effort and Max flavor! ❤️
Btw. Your instructions on how to make “good” rice have been life changing. (People don’t appreciate how hard rice is to get right unless someone “teaches” you. So thanks for the lesson!)
Hey Lex! I am SO thrilled that you love this recipe, I feel like it’s a hidden gem on this site! 🙂 I’m also PSYCHED that you appreciate my rice cooking tips, I think it’s easy to nail it once you are instructed, so thank you for that- and for the review! You’re the best! 🙂 -Stephanie
This was fantastic!!! The whole family loved it!! Can’t wait to try your other Asian dishes!! Thank you so much for sharing 😊
You’re very welcome Erika! I’m so happy the whole family loved it! Thanks so much for taking the time to leave a review!❤️
This is so good! My husband and boys now request this as opposed to take out because it is so much better! This recipe is very easy to follow step by step and worth every minute.
Thanks so much Chrissy! I’m so happy your family is enjoying it, extra happy to hear you found the instructions easy to follow!💖
very tasty
SO happy that you enjoyed it! Thank you so much!
I really enjoyed this recipe! I live in China and can usually only find Sweet and Sour Pork, but I much prefer it with chicken. I have a question, would it be possible to just mix the egg and corn starch together and then coat the chicken instead of doing the back and forth? It kinda all turned into a gloopy mess for me anyway. However, the chicken came out lovely and crunchy….so it was fine!
Hi Emily! I’m glad that you liked it! Combining the egg and cornstarch isn’t ideal, you really want to keep them as separate as possible for the best results.
This was the BEST sweet and sour chicken we have ever tasted. The entire family loved it. We doubled the sauce as our family likes lots of sauce and I made fried rice to go with it instead of plain white rice. Excellent!!!
I’m so happy it was such a hit Janice! I love extra sauce too! Thanks so much for taking the time to leave a review💖