 Get my Cookbooks!
 Manicotti
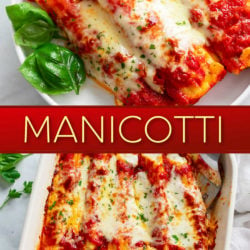
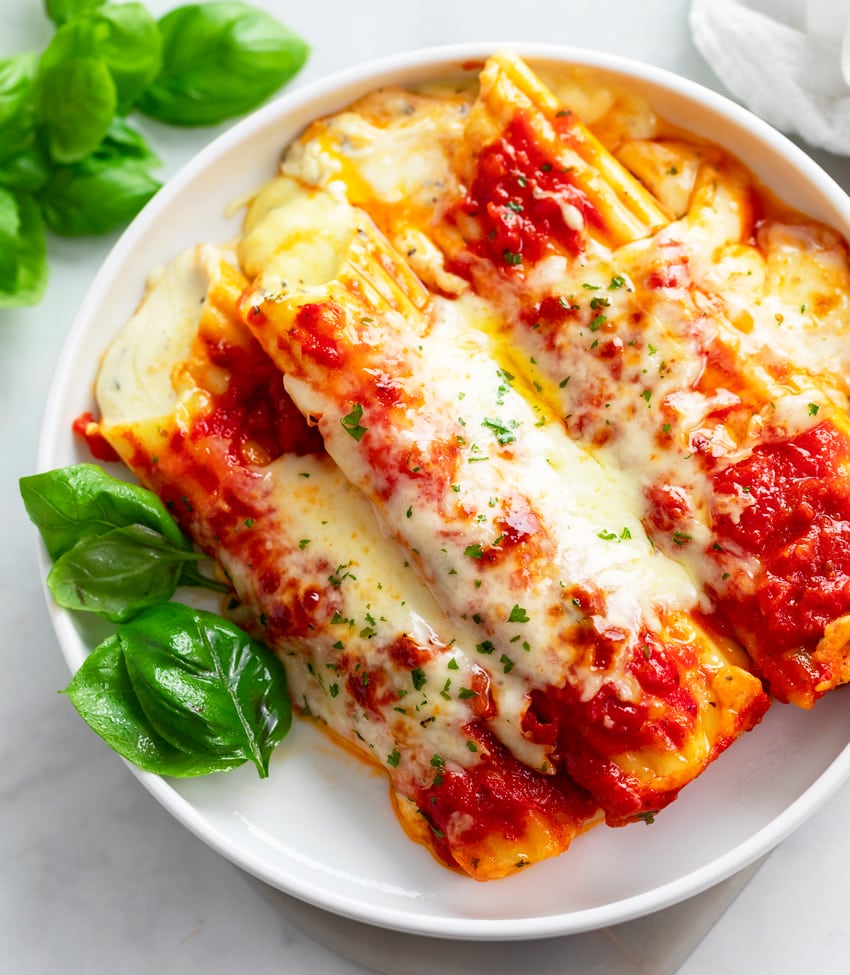
This classic Manicotti recipe has a 4-cheese filling that can be made with or without meat, as well as spinach! It’s a great freezer meal and make-ahead recipe that your family will love.

Manicotti
When you’re in the mood for an Italian feast, there’s nothing more satisfying than a classic Manicotti dinner. (With a side of garlic bread, of course.) This recipe has an incredible 4-cheese filling that you just can’t beat.
Ricotta cheese is a must for manicotti, (cottage cheese can be used as a substitute in a pinch). Cream cheese ensures that the filling is incredibly creamy, (and not grainy). Parmesan and mozzarella cheese round it all out, along with the best combination of herbs and some garlic for enhanced flavor. And finally, whisked eggs, which binds the filling and adds more body/substance to it.
This is a great make-ahead and freezer meal as well, read on for everything you need to know, (including how to add meat or spinach to this)!
What is Manicotti
Manicotti translates to “little sleeves” in Italian, and consists of large tubes of pasta with ridges on the outside. They are designed to be filled and baked. The filling includes a ricotta cheese filling, and sometimes also includes spinach and/or ground meat.
How to Make It
See recipe card below this post for ingredient quantities and full instructions.
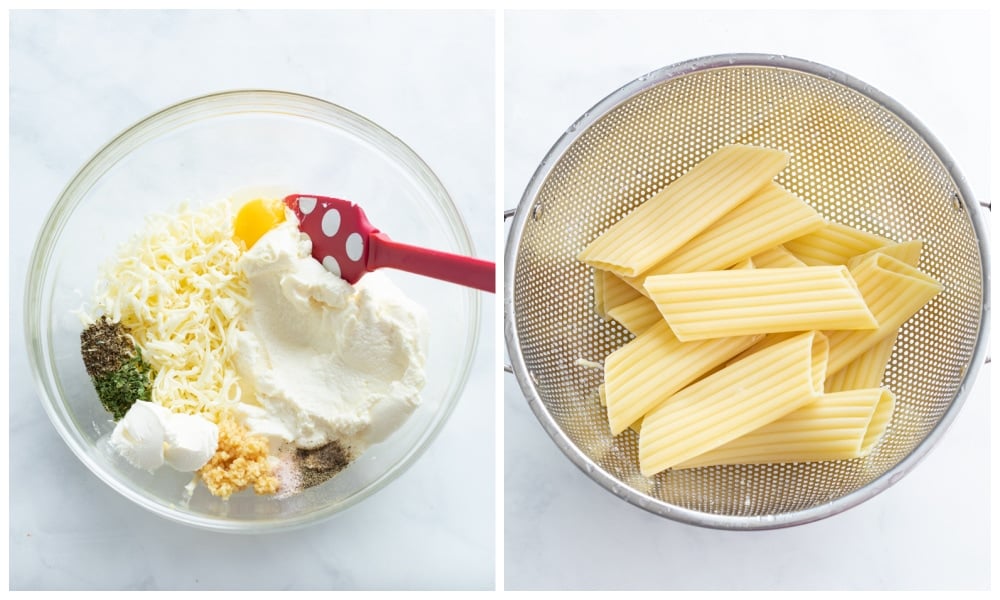
Combine the filling ingredients (Ricotta, parmesan cheese, mozzarella, cream cheese, eggs, and seasonings) in a large bowl and set aside. Boil manicotti shells for 1 minute less than al dente. Drain and rinse with cool water.
Want to save this recipe?
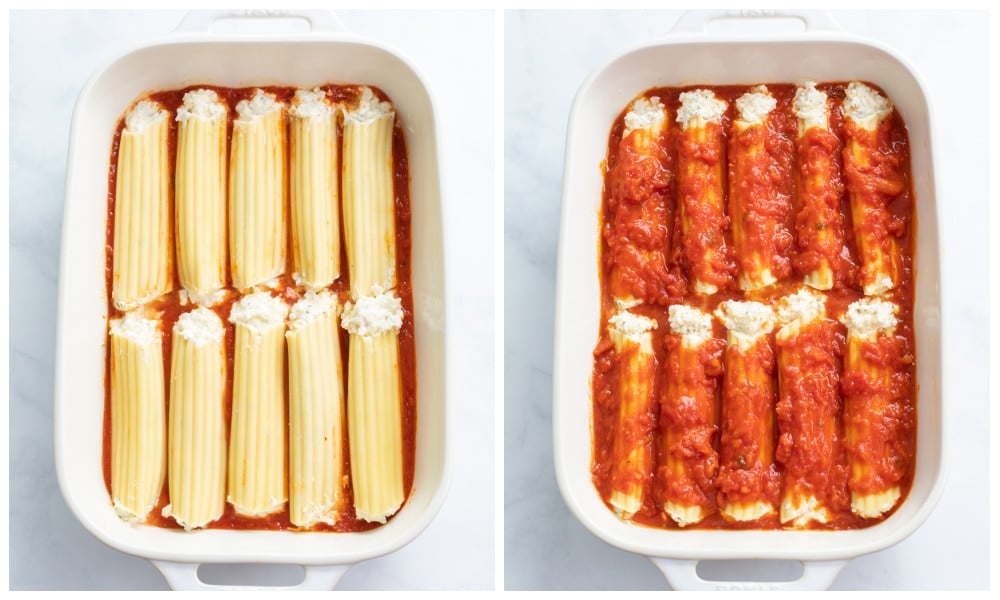
Spread 1/2 of the marinara on the bottom of a 9 x 13-inch casserole dish. Use a small spoon or piping bag to fill each manicotti noodle and transfer it to the casserole dish. Top with remaining marinara sauce.
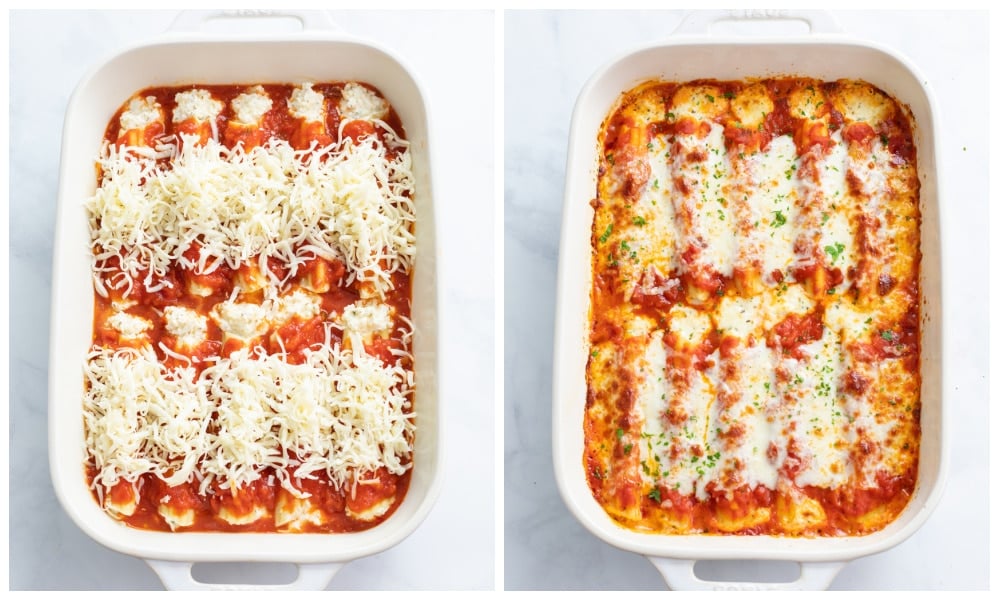
Top with mozzarella cheese. Cover and bake at 375° for 25 minutes. Remove cover and bake for 10 more minutes. If desired, broil at 425 for 1 minute, watch it carefully during this time. Garnish with parsley and serve with garlic bread with cheese.
How to Fill Manicotti Shells
- I like to position the manicotti noodle vertically and use a small spoon to fill it. I’ll give it a little shake to allow the filling to slide down into the shell, then I’ll continue to add more until it’s filled.
- You can also fill it halfway, flip it, and fill the other half.
- Instead of a spoon, you can also place the filling in a piping bag or a gallon freezer bag and cut the tip.
Adding Spinach
- Fresh Spinach– Sauté up to 4 cups of fresh spinach in a little olive oil. (Consider chopping the spinach into smaller pieces.) Let it cool and incorporate it into the cheese mixture.
- Frozen Spinach– Thaw 16 oz. of spinach by running it under warm water. Squeeze out excess moisture and combine it with the cheese mixture.
Adding Meat
- Option 1: Make this with my meat sauce recipe instead of regular marinara.
- Option 2: Brown up to 1 pound of ground meat (beef, sausage, turkey, and/or veal), along with 1/2 cup diced onions, if desired. Let it cool and combine it with the cheese mixture. Note that this will give you more filling, so you may want to fill up more than the 10 shells that are included in this recipe. A 9 x 13 inch casserole dish can typically fit as many as 12 shells.
Make Ahead Method
- Assemble the dish as outlined, but do not bake. Cover and refrigerate for up to 1 day, then add 10-15 minutes to covered baking time.
- Assemble, cover, and freeze for up to 3 months. Let it fully thaw in the fridge and add 10-15 minutes to covered baking time.
Pro Tips
- Boil extra shells in case some break during the boiling or draining process.
- Use a timer to ensure you don’t boil them too long, or they can fall apart/tear.
- This is one case where I like to use jarred, finely minced garlic (instead of fresh cloves). This ensures they’re nice and fine, and the flavor is more subtle which blends into the filling nicely.
- Low moisture whole milk mozzarella melts the best in this recipe, shred it from a block instead of using packaged shredded cheese. It will melt and taste much better.
- I use Dragone for the ricotta/mozzarella, BelGioioso for the Parmesan, and Philadelphia for the cream cheese.
- Rao’s is my go-to brand for marinara sauce, (it’s really good)!
Storage
- Store in an airtight container and refrigerate for up to 3 days or freeze for up to 3 months.
Tools For This Recipe
(Amazon affiliate links)- Check out all of my kitchen essentials here.
- Box Cheese Grater– Lets you finely shred the cheese. (Always shred from a block instead of using packaged shredded cheese.)
- Pasta Strainer– This is the one I use, it’s the perfect size.
- 9 x 13-inch Casserole Dish– This is the one pictured in this recipe.
Try These Next
-
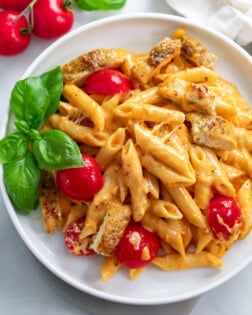
- Caprese Pasta
-
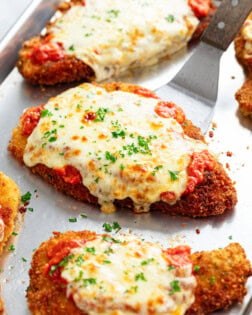
- Chicken Parmesan
-
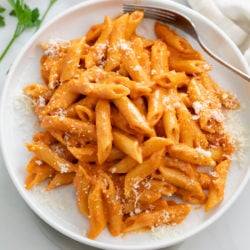
- Pink Sauce Pasta
-
- Chicken Alfredo Pasta
-
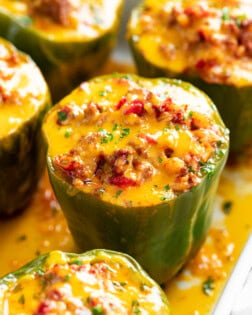
- Stuffed Bell Peppers
-
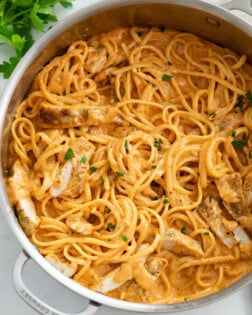
- Tomato Chicken Pasta
Get My Free E-Book!
- I’ve got a FREE e-Book with 7 super popular dinner recipes! Click here to join my email list and I’ll send your e-Book right over!
- And be sure to follow me on Instagram, Pinterest, & Facebook!
Tried This Recipe?
Leave a review, I love hearing your feedback! ⭐⭐⭐⭐⭐

Manicotti
Ingredients
Manicotti
- 10 manicotti shells, boil extra in case some break
- 15 oz. ricotta cheese
- ¾ cup Parmesan cheese, grated
- 3 ½ cups mozzarella cheese, shredded and divided
- 5 tablespoons cream cheese, softened
- 2 eggs
- 3 cloves garlic
- 24 oz. marinara sauce
Seasonings
- 1 teaspoon EACH: dried parsley, oregano
- ½ teaspoon EACH: dried basil, salt
- ¼ tsp pepper
Instructions
- Preheat oven to 375°.
- Reserve 1 ½ cups of mozzarella cheese for the top of the manicotti.
- Combine the ricotta, parmesan cheese, remaining mozzarella, cream cheese, eggs, garlic, and seasonings in a large bowl. Set aside in the fridge.
- Boil shells in salted water for 1-2 minutes less than al dente, set a timer to avoid overcooking them. Drain in a colander and gently rinse with cold water until the shells are cool. Set aside.
- Spread half of the marinara sauce on the bottom of a 9 x 13 inch casserole dish.
- Use a spoon or a piping bag to fill each manicotti shell, letting a little extend over the top. Transfer the filled shells to the casserole dish.
- Top with remaining marinara sauce and mozzarella cheese.
- Cover and bake for 25 minutes. Remove cover and bake for 10 more minutes. If desired, broil at 425° for 1 minute, watch it carefully during this time. Garnish with fresh parsley and serve with Garlic Bread with Cheese!
Notes
- See blog post for instructions on how to add meat and/or spinach.
- Boil extra shells in case some break during the boiling or draining process.
- This is one case where I like to use jarred, finely minced garlic (instead of fresh cloves). The flavor is more subtle which blends into the filling nicely.
- Low moisture whole milk mozzarella melts the best in this recipe, shred it from a block instead of using packaged shredded cheese. It will melt and taste much better.
- I use Dragone for the ricotta/mozzarella, BelGioioso for the Parmesan, and Philadelphia for the cream cheese.
- Rao's is my go-to brand for marinara sauce, (it's really good)!
Storage
- Store in an airtight container and refrigerate for up to 3 days or freeze for up to 3 months.
Make Ahead Method
- Assemble the dish as outlined, but do not bake. Cover and refrigerate for up to 1 day, then add 10-15 minutes to covered baking time.
- Assemble, cover, and freeze for up to 3 months. Let it fully thaw in the fridge and add 10-15 minutes to covered baking time.
Nutritional information is an estimate and is per serving. This recipe makes 5 servings (each equal to 2 manicotti).


OMG, this is very good! Salt level is perfect (I used BJs Kosher salt) and garnished with fresh basil & chives from my very small garden. TYSM for a tasty recipe – I didn’t change a thing!
On a side note, the cheese mixture filled 10 manicotti shells, as the recipe suggests. If u want to feed more than 5 people, without a side dish, this will feed 5 people (with 2 stuffed shells as a serving). I would highly rec having a veggie side or salad with it if 2 generously stuffed shells aren’t enough for 1 person.
I am sooo happy that you loved it Natalie, EXCELLENT!! 🙂 You made my day, thank you so much for taking the time to leave a review!! -Stephanie
This recipe looks amazing!!! Just wondering if I could use cannelloni pasta for this recipe since I have some at home? I also wanted to let you know that I love all of your recipes!! They always turn out perfect!!! Thank you so very much. Stephanie 😊
Hey Stephanie!! Yes you definitely can! Manicotti is larger (and has ridges which doesn’t really impact anything here), but since cannelloni is smaller, you may find yourself filling more of them up! Roughly 18 I might say! I’m so glad that you are enjoying the recipes, I appreciate your support so much!! Thank you!! ❤️❤️❤️ -Stephanie
Great recipe first time make it except was it being a little messy it was very tasty. Definitely a keeper ❤️
I’m so glad that you enjoyed it Shay! Thank you so much for the review!! 🙂 -Stephanie
I made this recipe for dinner tonight. The absolute best mannicotti I have ever had!!
WONDERFUL!!! I am sooo thrilled to hear that Kelly, you made my day, thank you so much!!
Forgot the picture! The dish was beautiful. Made just as directed and I will certainly make again!!
Excellent!! I’m so happy that you loved it Maryjo, thank you sooo much! SO glad that you plan on making it again!! ❤️
This dish was Delicious. I will be making this a lot more
AWESOME! I’m so thrilled to hear that Jeanette!! Thank you so much for the review, you’re the BEST! 🙂 -Stephanie
I made the manicotti for a potluck at church and it was a big hit! I cam home with an empty dish.
AWESOME! There’s no better compliment than an empty baking dish, thank you so much for taking the time to leave a review Denise, I really appreciate it! 🙂 -Stephanie