 Get my Cookbooks!
 Chicken Parmesan Recipe
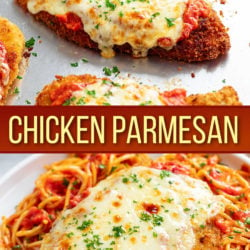
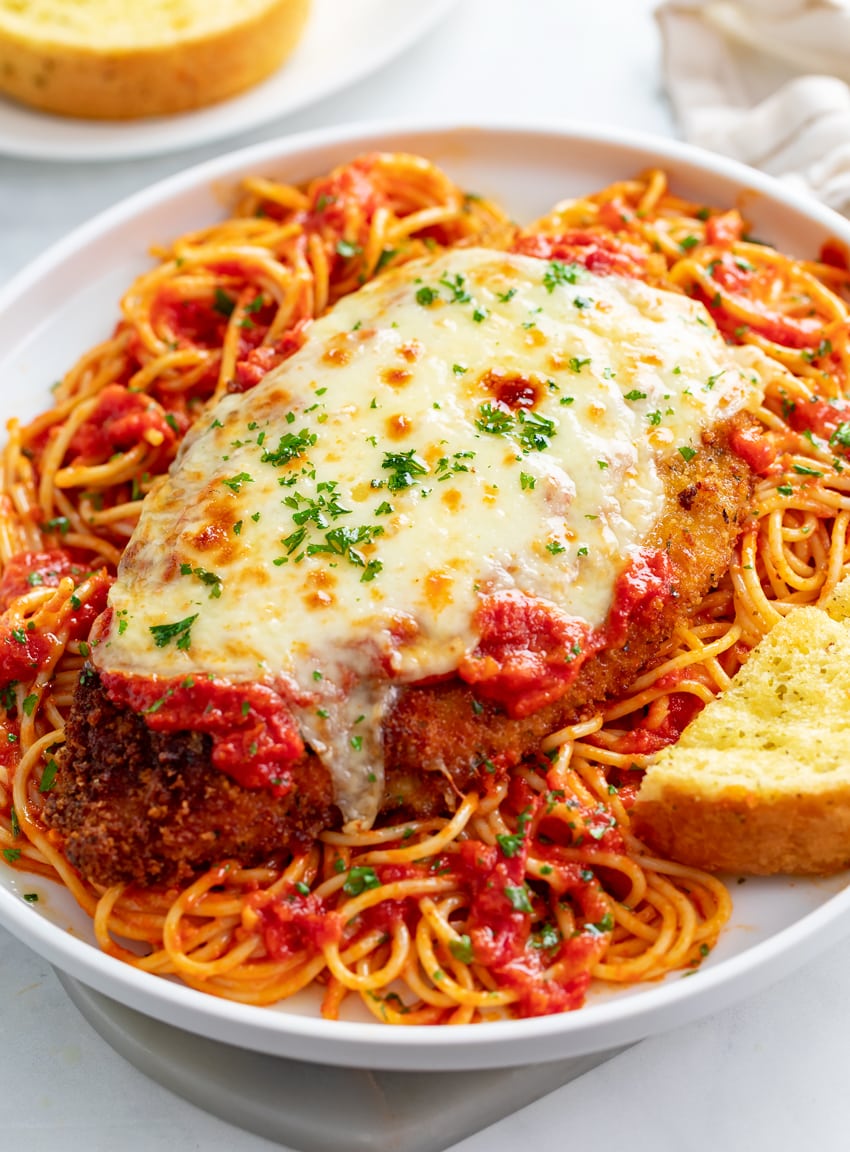
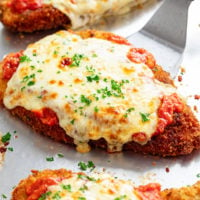
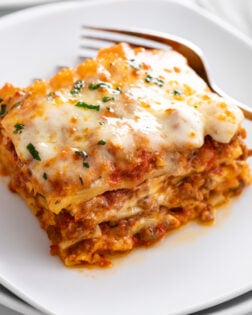
This restaurant-worthy Chicken Parmesan recipe is easy to make and bake in the oven with marinara and mozzarella! Serve this with pasta for an Italian dinner that your family will love!
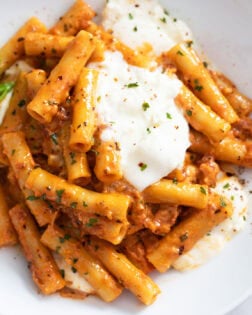
Be sure to try my Italian Sausage Pasta recipe next!
Chicken Parmesan
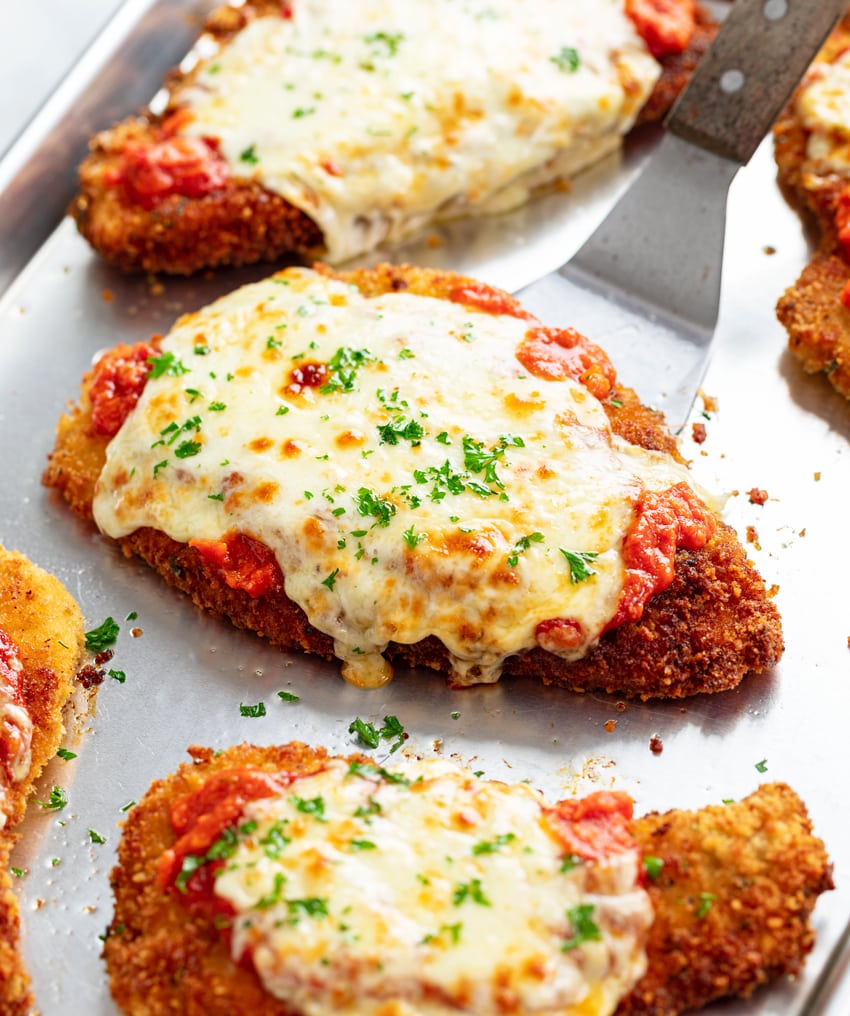
You’ve just found the crispiest, most restaurant-worthy Chicken Parmesan recipe out there! In this recipe, I use some chef-inspired techniques combined with years of my own chicken parmesan-making experience to create the best dish that you and your family will love!
Each layer in this breading has the best flavors and textures. And baking the chicken parmesan on a baking sheet (instead of in a dish with marinara sauce), ensures that you have super crispy chicken that will stay crispy until the very last bite.
Be sure to read through my pro tips to guarantee success with this recipe, and to see why it really is the best!
How to Make It
See recipe card below this post for ingredient quantities and full instructions.
Want to save this recipe?
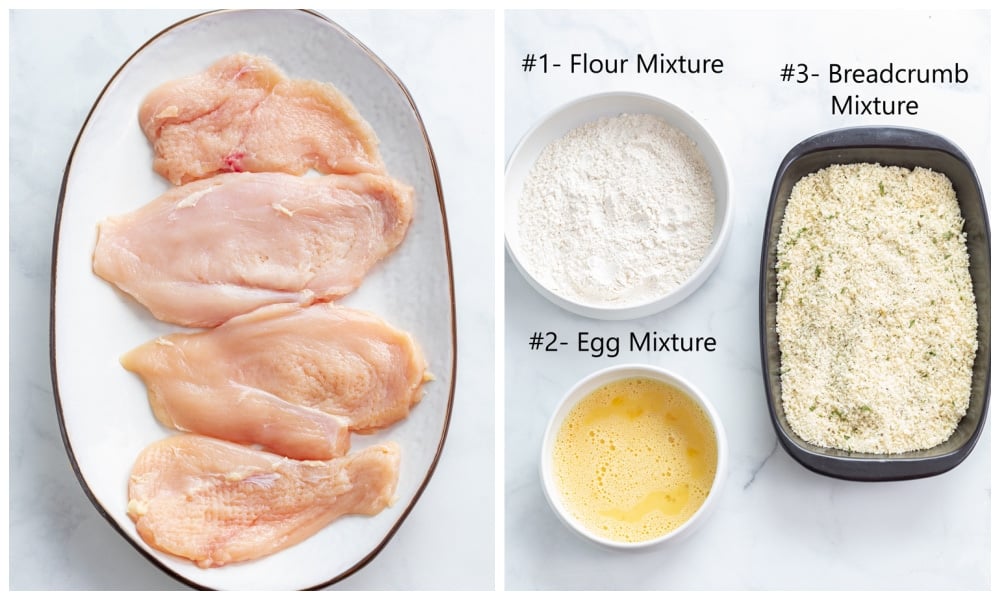
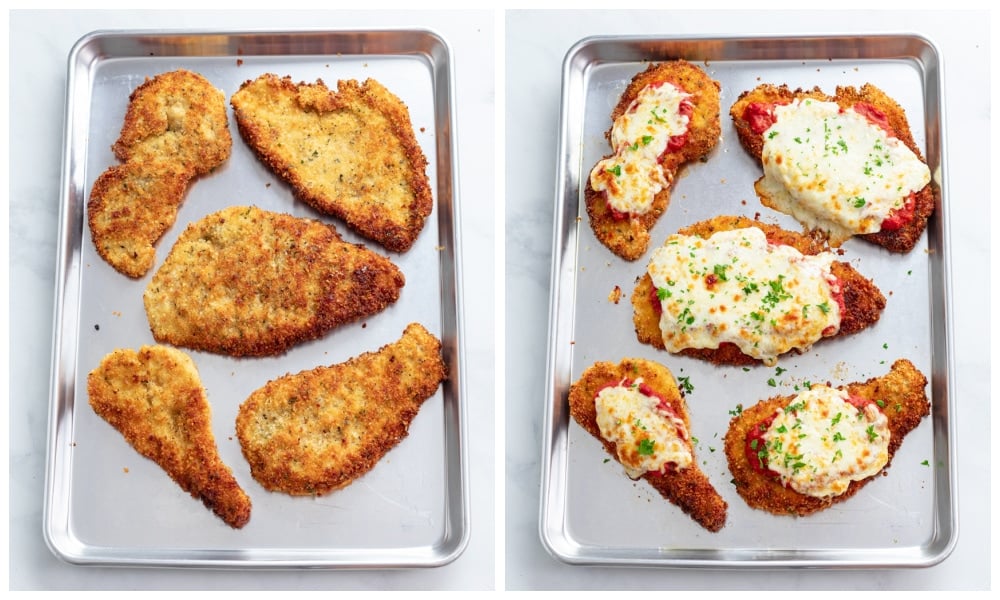
Slice the chicken to create 2-3 thinner slices. Use a meat tenderizer to pound to 1/2-inch thick. Pat dry and season with salt and pepper. Dredge in flour, egg, and breadcrumb mixtures and fry in oil until crispy. Set aside on a wire cooling rack.
Transfer chicken to a baking sheet and top with marinara sauce and mozzarella cheese. Bake for 15 minutes. Garnish with parsley and serve!
Make Ahead Method
Refrigerator Method (1-2 days ahead)
- Prepare and refrigerate: Bread and fry the chicken as outlined, don’t add sauce/cheese. Let it cool completely. Cover in an airtight container and refrigerate for 1-2 days.
- When ready to serve: Place chicken in a casserole dish (without cheese/sauce), cover and bake at 425° for 10 minutes to heat it through. Remove cover and spoon sauce on top and add cheese. Bake uncovered for 15 minutes, or until cheese is melted. Serve!
Freezer Method: (3-4 months ahead)
- Prepare and freeze: Bread and fry the chicken as outlined, don’t add sauce/cheese. Flash freeze on a large plate for 1-2 hours. Wrap individually in foil and place in a labeled gallon freezer bag, seal out the air. Store for 3-4 months.
- When ready to serve: Let thaw completely overnight. Place breaded chicken in a casserole dish. Cover and bake at 425° for 10 minutes to heat it through. Remove cover and spoon sauce on top and add cheese. Bake uncovered for 15 minutes, or until cheese is melted. Serve!
Pro Tips
- Pound the chicken thin: This is how the restaurants serve it. Note the chicken plumps up a little bit when cooked, so go thin!
- For the egg layer: Beat the eggs until super frothy to make them light and airy, that’s key! Use your fingers to slide excess egg coating off of the chicken gently, so that it is wet enough to grip the breadcrumbs, but not so much that it will bleed through the breading.
- Make sure the oil is sufficiently heated before you add the chicken, this ensures the breading stays intact as it should fry immediately. Otherwise it can get soggy and won’t be as crispy.
- I like to bread 1-2 pieces of chicken at a time instead of all at once. While the first batch fries, I’ll bread the next batch. This keeps things extra crispy.
- Small adjustments to the heat, up/down, will be needed throughout frying to ensure it doesn’t get too hot or too cool.
- Low Moisture, Whole Milk mozzarella will melt the best. Shred it from a block, it will melt and taste best that way.
- I use Dragone mozzarella and Belgioioso parmesan cheese for this recipe.
- Bake these on a baking sheet instead of in a skillet/casserole dish. This ensures the bottom and sides stay super crispy, and there is plenty of room for the chicken. Overlapping or crowding a dish will also lead to soggy results. I’m all about the crisp. You can always spoon marinara on a plate and serve the Chicken Parmesan on top!
- Be sure to serve this with some Garlic Bread with Cheese. My Pink Sauce Pasta is a nice addition as well!
- 📘 Find this recipe on page 94 of my 2nd cookbook, Let’s Eat!
Storage
- Store in an airtight container and refrigerate for up to 3 days or freeze for up to 3 months. Leftovers freeze well!
- To reheat: Thaw completely and bake in a covered casserole dish at 350° for 20-25 minutes.
Tools For This Recipe
(Amazon affiliate links)- Check out all of my kitchen essentials here.
- Meat Tenderizer– To pound the chicken flat and make it extra tender.
- Slotted Spatula– I use this to remove the chicken from the oil and place it on a wire cooling rack. It allows excess oil to drip underneath which keeps it crispy.
- Kitchen Tongs– I use these (along with a spatula) to carefully handle the chicken for flipping. This keeps it intact and allows me to ensure oil doesn’t splatter.
- Wire Cooling Racks– Placing the chicken on this after frying allows excess oil to drop from the bottom, keeping it extra crispy.
- Large Baking Sheet– I use this light colored baking sheet. There is plenty of room- for all of the chicken.
- Box Cheese Grater– Shred/grate the cheese from a block for best texture and flavor.
- Meat Thermometer– To ensure the middle of the chicken is cooked to 165°.
Try These Next
-
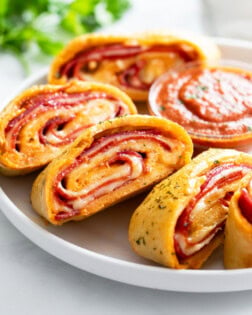
- Stromboli
-
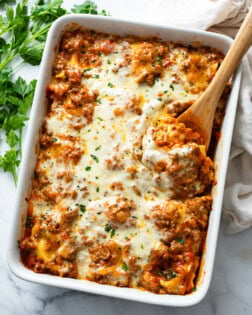
- Baked Ravioli
-
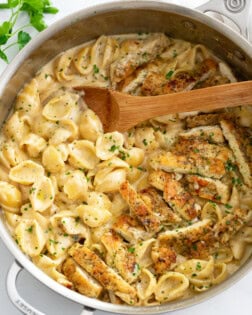
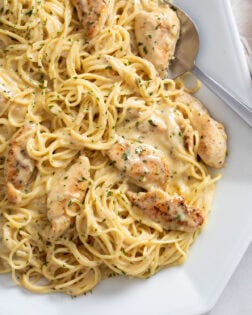
- Creamy Chicken Pasta
-
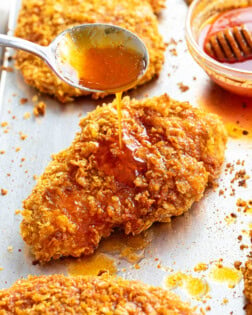
- Hot Honey Chicken
-
- Garlic Parmesan Chicken
-
- Burrata Pasta
Get My Free E-Book!
- I’ve got a FREE e-Book with 7 super popular dinner recipes! Click here to join my email list and I’ll send your e-Book right over!
- And be sure to follow me on Instagram, Pinterest, & Facebook!
Tried This Recipe?
Leave a review, I love hearing your feedback! ⭐⭐⭐⭐⭐
Chicken Parmesan Recipe
Ingredients
Chicken
- 2 large boneless skinless chicken breasts
- Salt/Pepper
- ¼ cup vegetable oil, or as needed
Flour Mixture
- ½ cup flour
- 1 ½ teaspoons seasoned salt
- ¼ teaspoon pepper
Eggs
- 2 eggs, beaten until frothy
- ½ teaspoon garlic powder
Breading
- 1 ½ cups panko breadcrumbs
- 1/3 cup Parmesan cheese, freshly grated
- 1 teaspoon dried parsley
- 1 teaspoon dried oregano
Cheese & Topping
- 1 cup marinara sauce
- 1 ½ cups mozzarella cheese, shredded
- Fresh Parsley, to garnish
Instructions
- Preheat oven to 425°.
- Combine the flour, egg, and breading mixtures in 3 separate shallow pans. (Be sure to beat the eggs until very frothy, this ensures they’re light/airy and not too dense.)
- Slice the chicken in half lengthwise to create 2-3 thinner slices. Cover with plastic wrap and use the textured side of a meat mallet to pound it to ½ inch thick. (Thin is key here.) Pat dry. Sprinkle each side lightly with salt/pepper.
- Dredge completely in the flour mixture, working the flour into every nook and cranny of the chicken. Tap off excess.
- Dip the chicken in the egg mixture until just coated, use your fingers to slide off excess. (Too much egg left on the chicken can bleed through the breading, which will make it less crispy.)
- Coat the chicken generously in the breadcrumbs.
- Heat oil over medium-high heat. Once glistening, add the first batch of chicken, don’t overcrowd the skillet. Brown on each side for 3-4 minutes, until golden. If the oil gets too hot, adjust it down slightly, and adjust it up again later if needed.
- Remove chicken with a slotted spatula and set on a wire cooling rack. Repeat with remaining chicken.
- Transfer the chicken to a large, light colored baking sheet. (Dark baking sheets attract more heat and can cook the chicken too quickly.)
- Top with marinara sauce and mozzarella cheese.
- Bake uncovered for 12 minutes. Broil at 425° for 1-2 minutes at the end if you’d like to brown the top a little more, watch it closely during this time.
- Garnish with fresh parsley and serve with spaghetti and garlic bread with cheese. Ensure the internal temperature is 165° prior to serving.
Notes
- Make sure the oil is sufficiently heated before you add the chicken, this ensures the breading stays intact as it should fry immediately. Otherwise it can get soggy and won't be as crispy.
- I like to bread 1-2 pieces of chicken at a time instead of all at once. While the first batch fries, I'll bread the next batch. This keeps things extra crispy.
- Small adjustments to the heat, up/down, may be needed throughout frying to ensure it doesn't get too hot or too cool.
- Low Moisture, Whole Milk mozzarella will melt the best. Shred it from a block, it will melt and taste best that way.
- I use Dragone mozzarella and Belgioioso parmesan cheese for this recipe.
- Ensure the internal temperature of the chicken is 165° prior to serving.
- 📘 Find this recipe on page 94 of my 2nd cookbook, Let’s Eat!
Storage
- Store in an airtight container and refrigerate for up to 3 days or freeze for up to 3 months. Leftovers freeze well!
- To reheat: Thaw completely and bake in a covered casserole dish at 350° for 20-25 minutes.
The nutritional information provided is an estimate and is per serving. There are 4 servings in this recipe.


This is the best recipe I have ever found for chicken parm. Thank you!
Excellent!! I am sooo thrilled to hear that Paula! Thank you so much for taking the time to leave a review, you’re the BEST! -Stephanie 💗
That was so amazing! The only thing I did different was marinated it in Italian dressing for 24 hrs and then patted it dry with paper towels. I didn’t want the Italian dressing to mess with your seasonings. Oh yeah, and I didn’t salt and pepper the chicken because I had marinated the chicken. I actually thought I hated chicken parmesan. I only made it for my father in law.
I am sooo happy that you loved it Amy!!! And that you have a newfound love for Chicken Parm maybe?! I love it! Thank you so much for taking the time to leave a review!! 🙂 -Stephanie
I made this tonight and it was phenomenal! My whole family loved it!
That makes me so happy Nicole!! Thanks so much!!❤️❤️❤️
What do you use for “seasoned salt” in the flour mixture?
Hi Jody! Seasoned salt is a product that you can find where the salt/seasonings are, Morton is a common brand!
By far my favorite recipe I’ve ever found online! I always worry cooking chicken and this is cooked perfect without a doubt, every time! It’s absolutely amazing and easy to throw together. I’m obsessed!
AWESOME NINA!!! That made my whole day!! Thank you sooooooooo much for the review! You’re the BEST!
Made this for dinner for my son and my husband and they both loved it. My son said I need to keep this in my rotation whenever he is in town. I will definitely make this again. Thanks, Pam
My pleasure Pam! I’m so happy your husband and son both loved it! My husband loves chicken parm and he actually does a good job making this one. Thanks so much for taking the time to leave a review!!😀
Ok. I feel like a stalker, as I have been on your page every day. Lol I made three of your recipes in the last two days. Chicken parm, wedding soup, and taco soup. All were incredible!!!! Thank you!!!
Please continue to stalk lol!!!! I’m so happy to have you hear Amy, thanks so much for your support!!!🩷
Delicious! An easy recipe to follow!
Thanks so much Sydney! My husband has this one down so he usually makes it for us. Comes out great every time! Thanks so much for the review!💖
This was so good! Close enough to a restaurant we like that I would choose this over theirs!
I might go just a little heavier on the seasoning next time but not by much.
I’m so happy you all enjoyed it, this is one of my husband’s favorites!! Thanks so much for the review!🩷