Garlic Parmesan Pasta (One Pot!)
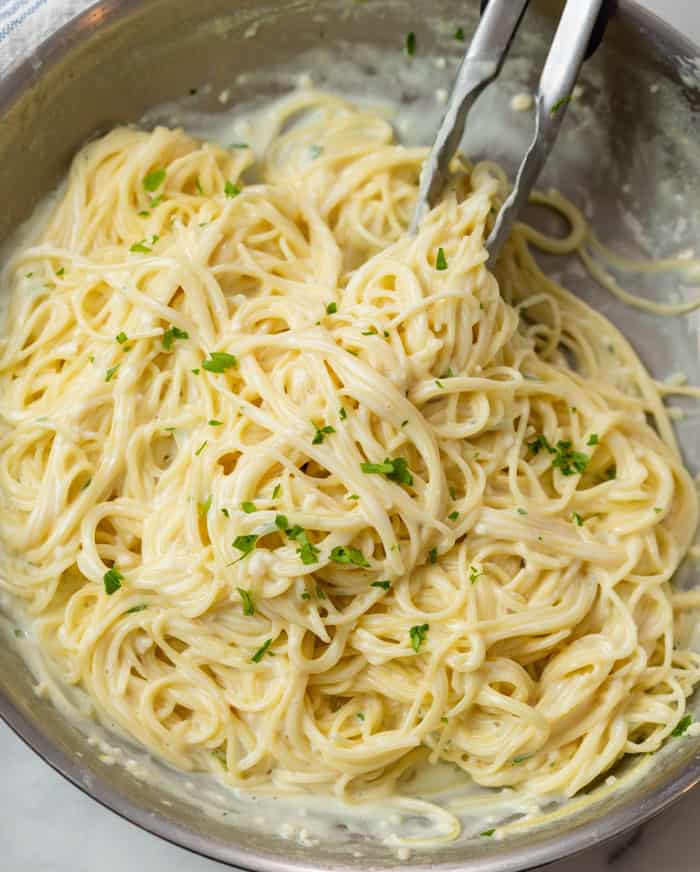
This creamy Garlic Parmesan Pasta is easy to make at home in one pot! Angel hair pasta cooks in a flavorful buttery cream sauce in just 10 minutes. Pair this with chicken, steak, or shrimp for a delicious meal that your family will love!
Serve this with Chicken Piccata, Garlic Parmesan Pork Chops, or Garlic Butter Shrimp!
Garlic Parmesan Pasta
This recipe is a GEM in our house. Even my super picky four year old loves this pasta. (I mean what kid can really say no to buttery pasta noodles?)
If you’re looking for something great to pair this with, I recommend my chicken piccata or creamy lemon chicken for that!
What’s great about this meal is that it takes 20 minutes from beginning to end, prep work and all. Set a timer, I kid you not! Nothing beats a 30 minute meal (or less) that you can rely on.
How to Make it
See recipe card below this post for ingredient quantities and full instructions.
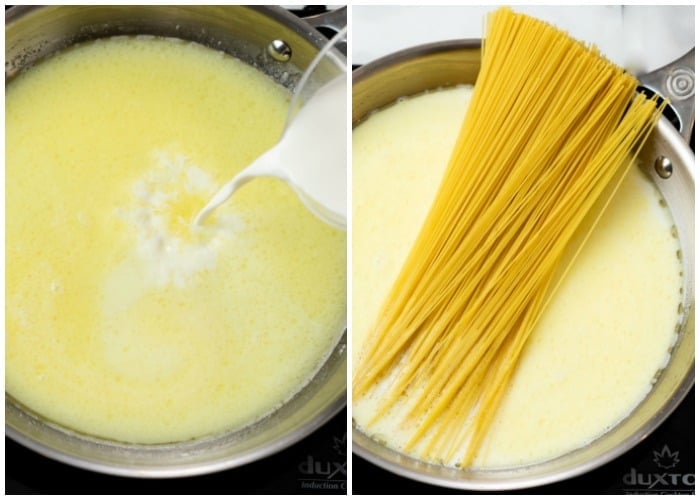
Melt the butter over medium heat. Add the garlic, cook for one minute. Then add the chicken broth
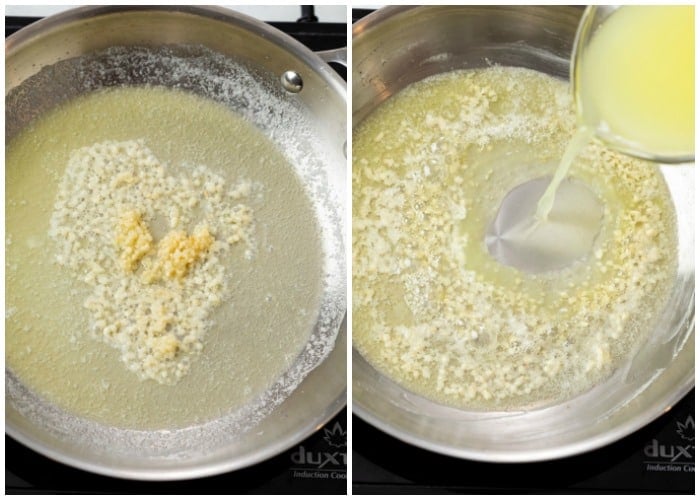
Stir in the milk. Bring the liquid to a boil, then add the pasta.
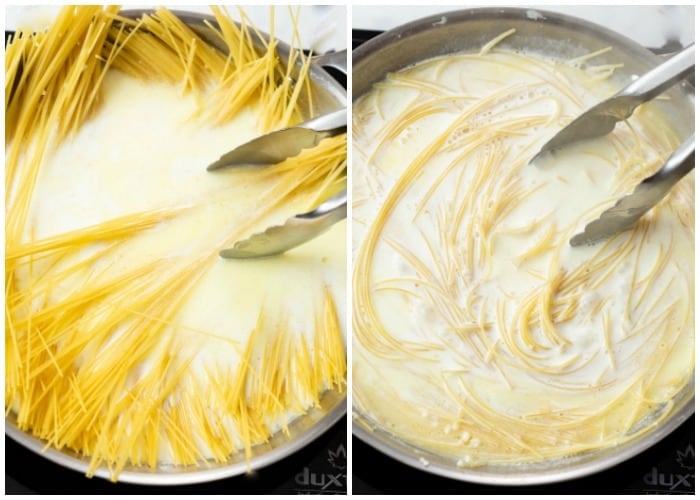
You will eventually be able to twist the pasta into the pan as it heats up. Kitchen tongs work well for this.
Let the pasta cook for 4-5 minutes. Once the pasta is done, reduce heat to low. Add 1 tbsp butter and toss to coat. Sprinkle the Parmesan cheese into the sauce and stir to combine. It will thicken upon standing.
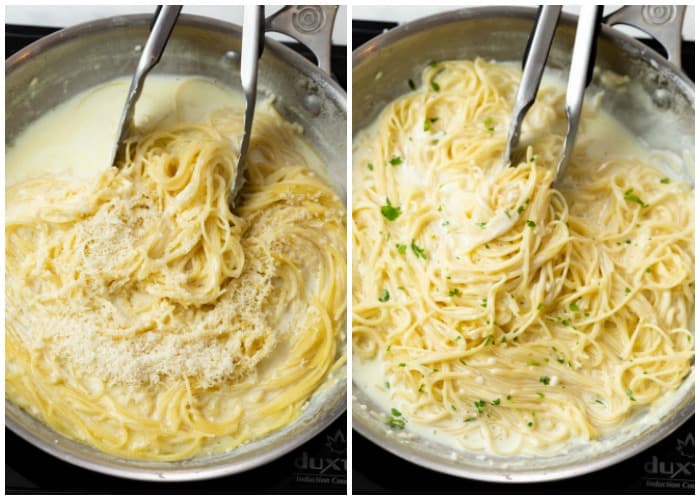
The Trick to Extra Creamy Sauce
- Purchase a block of high-quality Parmesan cheese. Always shred the cheese yourself, it will taste and melt much better. I use Belgioioso Parmesan cheese. Note that cheese that is very aged will not melt as well.
- Turn off the heat before adding the cheese, if the base is too hot, the dairy will separate and you’ll have a grainy consistency instead of creamy.
- Add the cheese gradually as opposed to all at once. Stir it continuously as it’s added.
What to Serve with Garlic Parmesan Pasta
- Creamy Garlic Shrimp
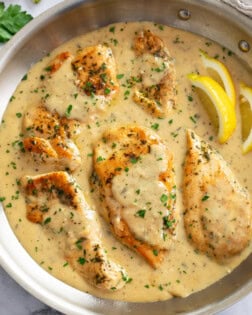
- Chicken Piccata
- Creamy Lemon Chicken
- Chicken Florentine
- Minced clams 1 or 2 (6.5 oz.) cans. Add them when you add the chicken broth.
- Chicken Milanese
- Grilled Chicken or Steak
- Garlic Bread with Cheese
- Roasted Broccoli
Storing Leftovers
- Leftovers should be stored in an airtight container in the refrigerator for up to three days.
- You can also freeze it and store it for up to 3 months.
Try These Next
- Beef Fried Rice
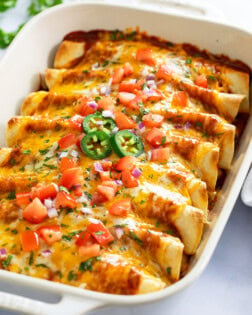
- Chicken Enchiladas
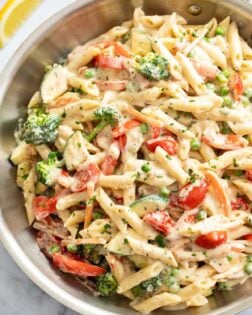
- Pasta Primavera
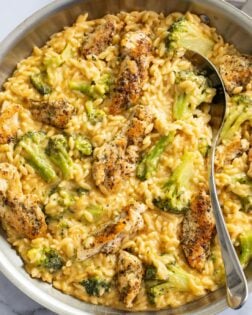
- Chicken Broccoli Rice Casserole
- Chicken and Orzo
- Garlic Parmesan Chicken
Get My Free E-Book!
- I’ve got a FREE e-Book with 7 super popular dinner recipes! Click here to join my email list and I’ll send your e-Book right over!
- And be sure to follow me on Instagram, Pinterest, & Facebook!
Tried This Recipe?
Leave a review, I love hearing your feedback! ⭐⭐⭐⭐⭐
Garlic Parmesan Pasta (One Pot!)
Ingredients
- ½ cup Parmesan cheese, finely grated
- 3 Tablespoons butter, divided
- 4 cloves fresh garlic, minced
- 2 cups chicken broth
- 1 cup milk
- 8 oz. angel hair pasta
- Fresh Parsley, to garnish
Optional seasonings: ¼ tsp of each: onion powder, oregano, thyme, parsley, pepper.
Instructions
- Note: Angel hair cooks very quickly. Refer to the time on package and set a timer to avoid overcooking it in the sauce in step 6, as overcooked noodles become clumpy.
- Grate the Parmesan cheese and set it aside to allow it to get to room temperature.
- Melt 2 tablespoons of butter over medium heat in a large skillet.
- Add the minced garlic and cook for 1-2 minutes, stirring occasionally.
- Add the chicken broth and optional seasoning mix. Slowly add the milk, stirring as you do so. Bring to a boil.
- Add the pasta noodles. You can break them in half for a better fit, or allow them to heat and use kitchen tongs to twist them into the skillet as they soften.
- Let the pasta simmer for 4-5 minutes, stirring occasionally to ensure the noodles don't stick together. Reduce heat to low.
- Add 1 tablespoon of butter to the warm pasta and toss to coat.
- Gradually sprinkle in the Parmesan cheese, stirring as you do so, until smooth and well-combined. Note: The sauce will be thin at first but will thicken nicely upon standing. The pasta will continue to absorb more of the sauce as well.
- Sprinkle with fresh parsley and serve with Garlic Bread with Cheese!
Notes
- Make sure the liquid is boiling when the pasta is added for the right consistency.
- The video shows this being made with half and half. I tend to use milk now, as the sauce ends up thickening up just a tad more than I would like with half and half, but I have successfully made it with either one! 🙂
- Purchase a block of high-quality Parmesan cheese. Always shred the cheese yourself, it will taste and melt much better. I use Belgioioso Parmesan cheese. Note that cheese that is very aged will not melt as well.
- Turn off the heat before adding the cheese, if the base is too hot, the dairy will separate and you'll have a grainy consistency instead of creamy.
- Add the cheese gradually as opposed to all at once. Stir it continuously as it's added.
- Only have spaghetti? Try my Garlic Parmesan Chicken Pasta recipe with spaghetti and chicken!
Serve this with:
- Lemon Pepper Chicken
- Creamy Garlic Shrimp
- Chicken Piccata
- Creamy Lemon Chicken
- Chicken Florentine
- Garlic Bread with Cheese
- Roasted Broccoli
Nutritional information is an estimate and is per serving. There are 4 servings in this recipe.


 Get my Cookbooks!



This was soo delicious! Only thing I did differently was I used spaghetti pasta because it’s what I had. I saw another reviewer mentioned that and Stephanie had said to add an extra half cup of broth and of milk (and up to 1/3c more cheese) which was great- it did need more liquid than angel hair would have but it came out just perfect! Don’t skip the optional seasonings, I thought they were divine! Basil might be a good addition too but I wanted to try it just as written because we all know Stephanie gets it bang on every time. I will definitely be making this frequently. Next time I’m at the store I’ll stock up on angel hair but spaghetti works just great too! I paired ours with honey lemon salmon and steamed vegetables. Thank you for another wonderful recipe!
Thanks so much for the wonderful comments Alexandra, I’m so happy you’re enjoying the recipes!! I love how easy this one is and it’s one of those dishes I go to when I need something fast and not really sure what to make. Thanks again!!❤️
This was so good! I’ve made it twice now and my husband and I absolutely loved it both times! I did add a bit more chicken broth than what the recipe calls for, but otherwise followed the recipe exactly and it turned out perfect!
I’m sooo happy that you love it Bailey!! Excellent! Thank you so much for taking the time to leave a review!! 🙂