Chicken Quesadillas
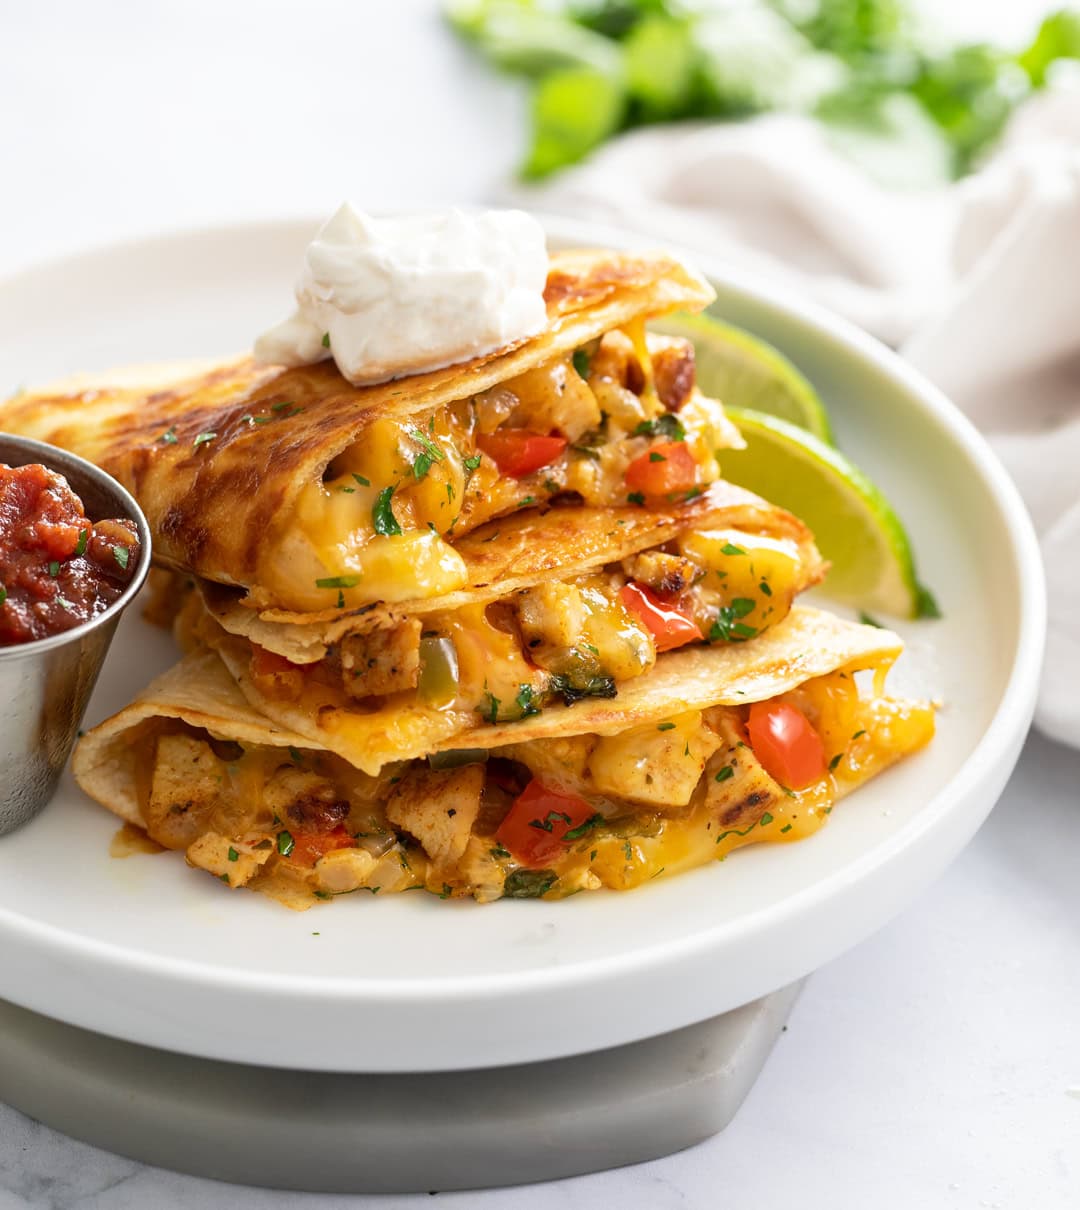
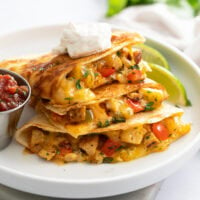
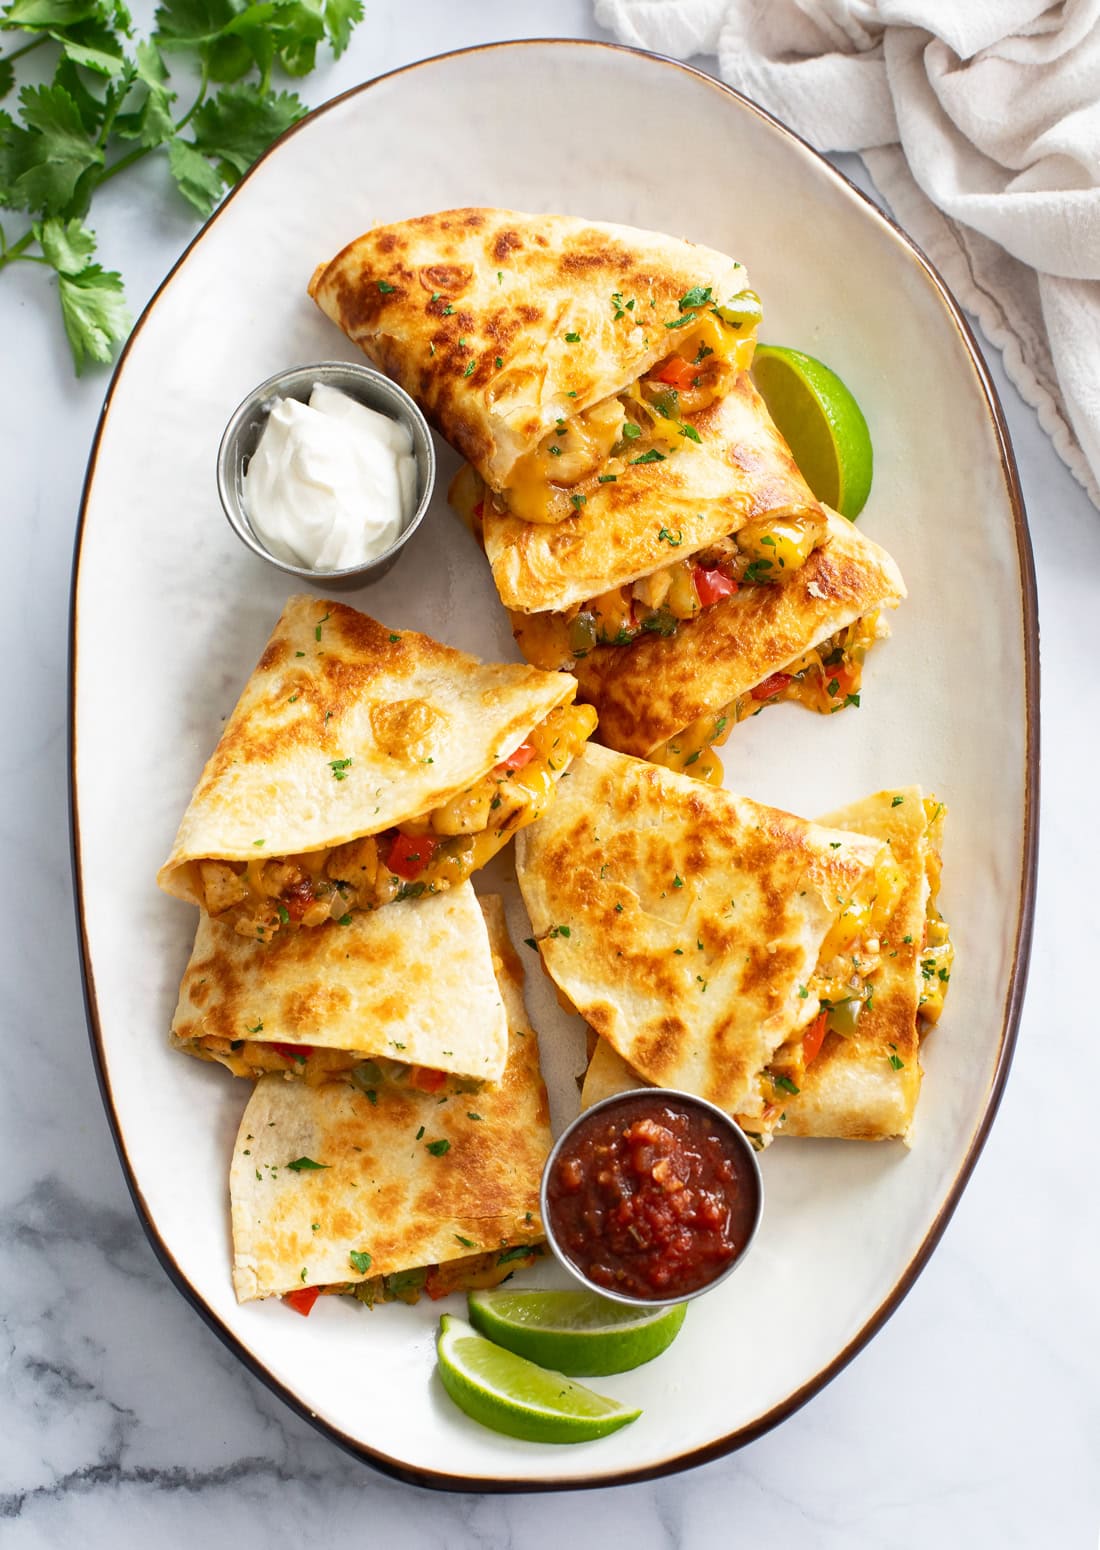
These Chicken Quesadillas are loaded with seasoned chicken, onions, peppers, and hot melty cheese. They’re golden and crispy on the outside, and warm and flavorful on the inside. You can’t beat this easy recipe!
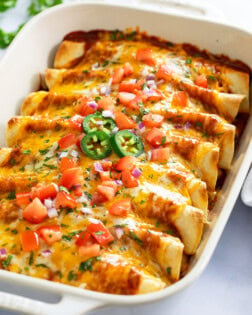
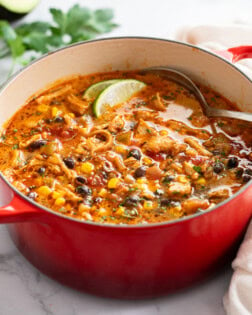
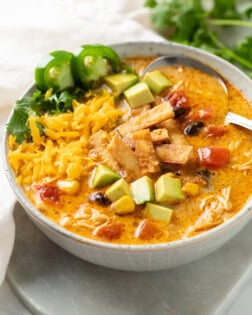
Be sure to try my Chicken Enchiladas, Baked Tacos, and Chicken Taco Soup recipes next!
Chicken Quesadillas
Nothing beats a delicious batch of Chicken Quesadillas, and this recipe makes sure they’re done right! The seasonings and flavor combinations here can compete with any restaurant, you’ll know it when you taste it!
The best part is that there is no flipping required, making this a seamless, clean process with all fillings remaining intact! (Speaking of fillings, the options here are endless!)
Don’t miss my PRO TIPS below!
How to Make It
Note: This is an overview. See recipe card below this post for ingredient quantities and full instructions.
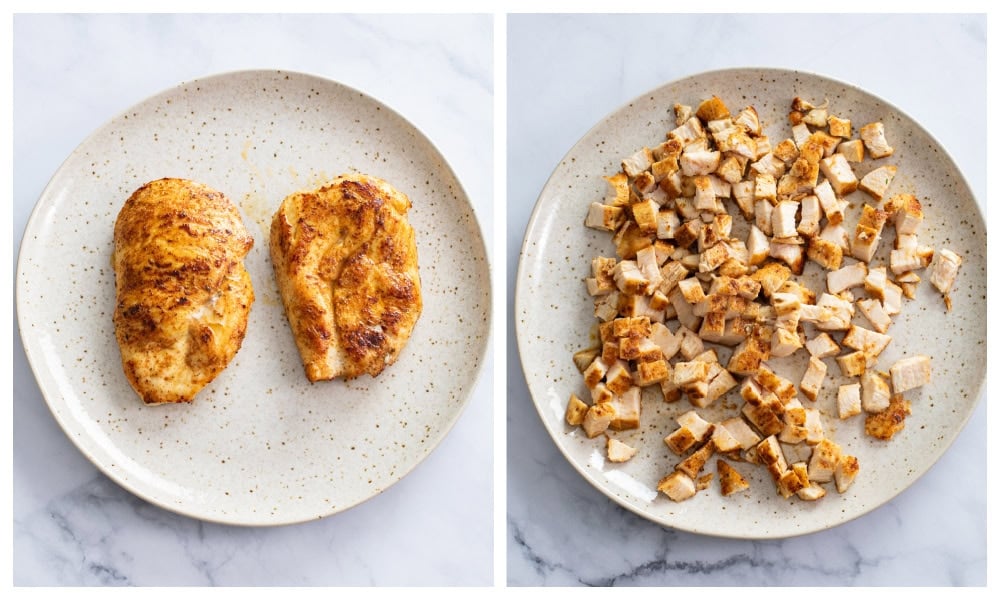
Season and sear chicken breast. Let it rest, then dice and set aside.
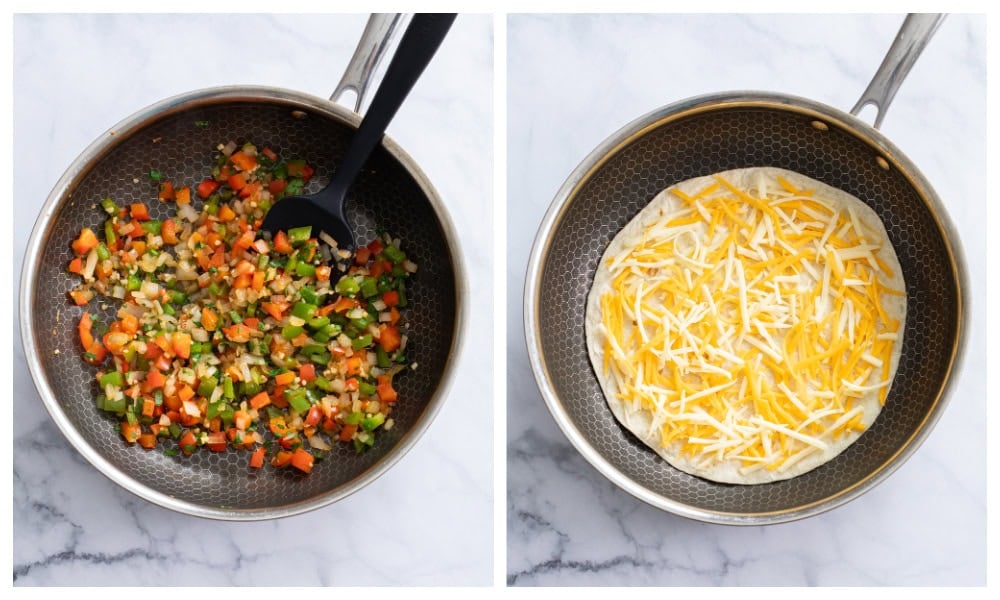
Add a splash of chicken broth or wine. Soften onions and peppers in the skillet and add the garlic, cilantro, lime juice, hot sauce, honey, and remaining seasoning. Set aside and wipe the skillet clean. Brush one side of the tortilla with melted butter and place it buttered side down. Top with cheese.
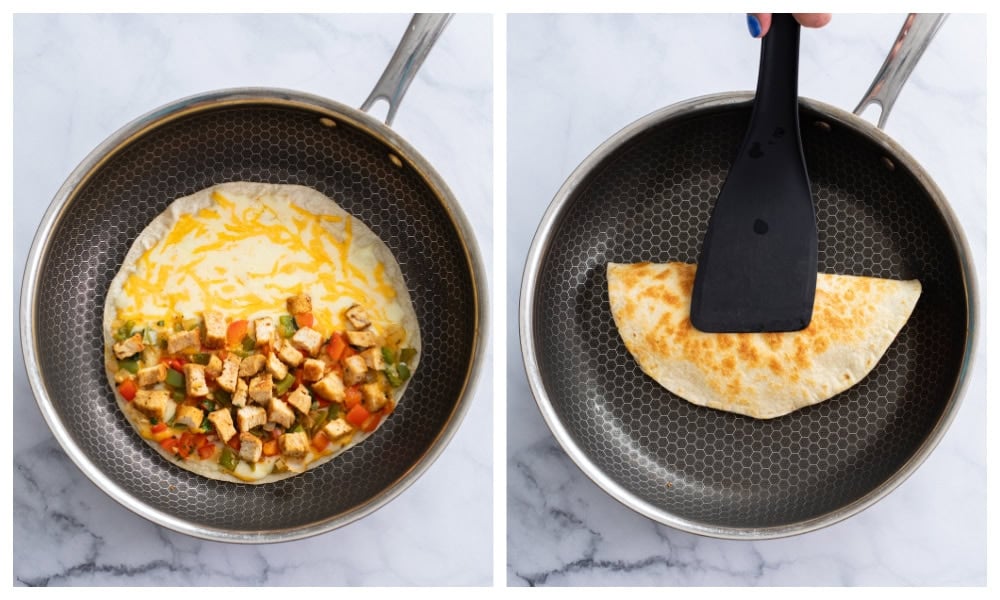
Add the chicken, onions, and peppers on one half and heat over medium-low until the cheese is melted and the tortilla is golden brown. Fold in half to form a half moon shape. Slice in half and serve with salsa and sour cream!
Pro Tips
- Add-on options include: Black beans, mushrooms, jalapenos, bacon, avocado, and corn.
- Cheese Options Include: Any blend of Monterey Jack, Cheddar, Cheddar Jack, and Colby Jack. I like to shred it from a block for this but you can use packaged shredded cheese as well.
- Veggies: I like to dice the veggies for easy eating! Strings of veggies tend to slide out of the quesadilla as you’re eating!
- Be sure to serve this with Salsa and Guacamole, and try my Chicken Enchiladas, Beef Enchiladas, and Beef Fajitas next!
Storage
- Store in an airtight container and refrigerate for up to 3 days or freeze for up to 3 months. Leftovers do freeze well!
- To Freeze: Cool completely, place on a plate or baking sheet, and flash freeze for 1 hour. Remove and transfer to an airtight freezer bag. (This way you can stack them without them sticking to each other.)
- To reheat:
- Stove: Reheat in a skillet over low heat until hot and melted, flipping halfway through.
- Oven: Bake on a baking sheet at 300° for 10-15 minutes, or until the cheese is melted and the surface is hot. If frozen, bake at 350 for 15-20 minutes.
Tools For This Recipe
(Amazon affiliate links*)- Check out all of my kitchen essentials here.
- 12-inch Nonstick Frying Pan– Perfect for this recipe.
- Spice Rack– This is the one I have, it’s a snap to measure out your seasonings quickly and easily. (Big time saver.)
- Measuring Spoons– I have these magnetic ones which stay nice and organized in my utensil drawer.
- Box cheese grater – I always shred cheese from a block in my recipes. It melts and tastes better than packaged shredded cheese.
- My Favorite Chef Knife
- Cutting Boards
*As an Amazon Associate, I earn from qualifying purchases.
Try These Next
- Taco Pasta
- Chicken Enchiladas
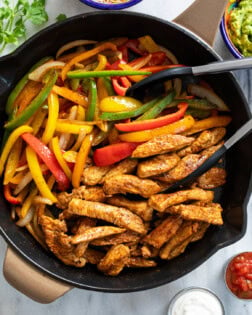
- Chicken Fajitas
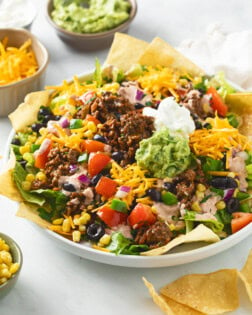
- Taco Salad
- Chicken Taco Soup
- Chicken Tortilla Soup
Get My Free E-Book!
- I’ve got a FREE e-Book with 7 super popular dinner recipes! Click here to join my email list and I’ll send your e-Book right over!
- And be sure to follow me on Instagram, Pinterest, & Facebook!
Tried This Recipe?
Leave a review, I love hearing your feedback! ⭐⭐⭐⭐⭐
Chicken Quesadillas
Ingredients
Quesadillas
- 1 boneless skinless chicken breast, just under ¾ lb.
- 1-2 tablespoons avocado oil, can cub olive oil
- 1 splash chicken broth, or dry white wine
- 1 small yellow onion, diced
- 1 cup bell pepper, diced. I use red and green.
- 2-3 cloves garlic, minced
- 1 tablespoon cilantro, roughly chopped
- 1 tablespoon lime juice
- 1 teaspoon hot sauce
- 1 teaspoon honey
- 4 (8-inch) flour tortillas, burrito size
- 1 tablespoon melted butter
- 2 ¾ cups Mexican blend cheese, see notes
Seasonings
- ¾ teaspoon salt
- ¼ teaspoon EACH: onion powder, garlic powder, cumin, paprika, dried oregano, chili powder
Instructions
- Combine the seasonings and set aside.
- Slice the chicken in half to create 2 thinner slices. Cover with plastic wrap and use the textured side of a meat tenderizer to pound it ½ inch thick. Pat completely dry and rub each side with 2 teaspoons of the combined seasoning. Reserve the remaining seasoning for the vegetables.
- Heat oil in a large nonstick skillet over medium-high heat. Add the chicken and sear for 4-5 minutes per side, until a golden crust has developed. Set aside and let rest for 5 minutes, then finely dice.
- Add a splash of chicken broth or white wine over medium heat and use a silicone spatula to “clean” the bottom and sides of the skillet, this will add more flavor to the filling.
- Increase heat to medium-high heat and add the diced onions and peppers. Soften for 2-3 minutes. Add the garlic, cilantro, lime juice, hot sauce, honey, and remaining seasoning and stir to combine and heat through for 2 minutes. Remove and set aside.
- Turn the heat off and wipe the skillet clean. Brush a little melted butter over one side of each tortilla. (This will make the outside crispy and golden.)
- Add a tortilla to the skillet, butter-side-down, over medium-low heat. Sprinkle a heaping ½ cup cheese evenly over the surface.
- Sprinkle one-quarter of the chicken and vegetable filling on one half of the tortilla. Allow the cheese to melt and the bottom of the tortilla to turn golden brown. Once browned, fold it in half to make a half moon shape and press down gently with a spatula. Remove and set aside, repeat for all. Make slight adjustments to the heat (up/down) if/as needed throughout cooking.
Notes
- Add-on options include: Black beans, mushrooms, jalapenos, bacon, avocado, and corn.
- Cheese Options Include: Any blend of Monterey Jack, Cheddar, Cheddar Jack, and Colby Jack. I like to shred it from a block for this but you can use packaged shredded cheese as well.
- Veggies: I like to dice the veggies for easy eating! Strings of veggies tend to slide out of the quesadilla as you're eating!
- Be sure to serve this with Salsa and Guacamole, and try my Chicken Enchiladas, Beef Enchiladas, and Beef Fajitas next!
Storage:
- Store in an airtight container and refrigerate for up to 3 days or freeze for up to 3 months. Leftovers do freeze well!
- To Freeze: Cool completely, place on a plate or baking sheet, and flash freeze for 1 hour. Remove and transfer to an airtight freezer bag. (This way you can stack them without them sticking to each other.)
- To reheat:
- Stove: Reheat in a skillet over low heat until hot and melted, flipping halfway through.
- Oven: Bake on a baking sheet at 300° for 10-15 minutes, or until the cheese is melted and the surface is hot. If frozen, bake at 350 for 15-20 minutes.
Nutritional information is an estimate and is per serving. There are 4 servings in this recipe.


 Get my Cookbooks!




I made these as written except I used diced rotisserie chicken and they were amazing! Better than any restaurant quesadillas we’ve had. I served them with pico and guacamole. Thanks for the great recipe!
rotisserie chicken is so good and a great time saver! I’m so happy you enjoyed the quesadillas Angela!!
All looks good
Do you think it would be ok to cook and combine the chicken and vegetables and freeze?
Absolutely, that’s a fabulous meal prep step! 🙂
Made these for dinner tonight. Excellent flavor. I served with my homemade Pico de Gallo. Will definitely make again. Like that I can freeze filling for easy dinner another time.
I’m soo thrilled to hear that Dianne! I love that you served it with your own Pico de Gallo- that’s one of my all-time favorite sides and I’m sure it took it up so many levels! Thank you so much for taking the time to leave a review, I really appreciate it! 🙂 -Stephanie
I made these quesadillas today. They are delicious. Thank you so much for sharing this recipe.
You’re very welcome Natalia! I’m so happy you enjoyed them. This is my daughters new favorite dinner!❤️
Excellent taste and easy to make. I made a few adjustments..no cilantro for us. But regardless they were delicious!
I’m so happy that you loved them Paula!! Thank you so much! 🙂 -Stephanie
My kids LOVED these! Now that I know I can freeze them, I’m going to make a whole bunch and stack them in my freezer for quick meals. This is GOLD!!!! I’m going to try your guacamole and salsa recipes to go with them. Thank you!
I’m so happy the kiddos liked them Kristina! My 8-year-old is obsessed with these now. Thanks so much for the great review!❤️