 Get my Cookbooks!
 Chicken Milanese

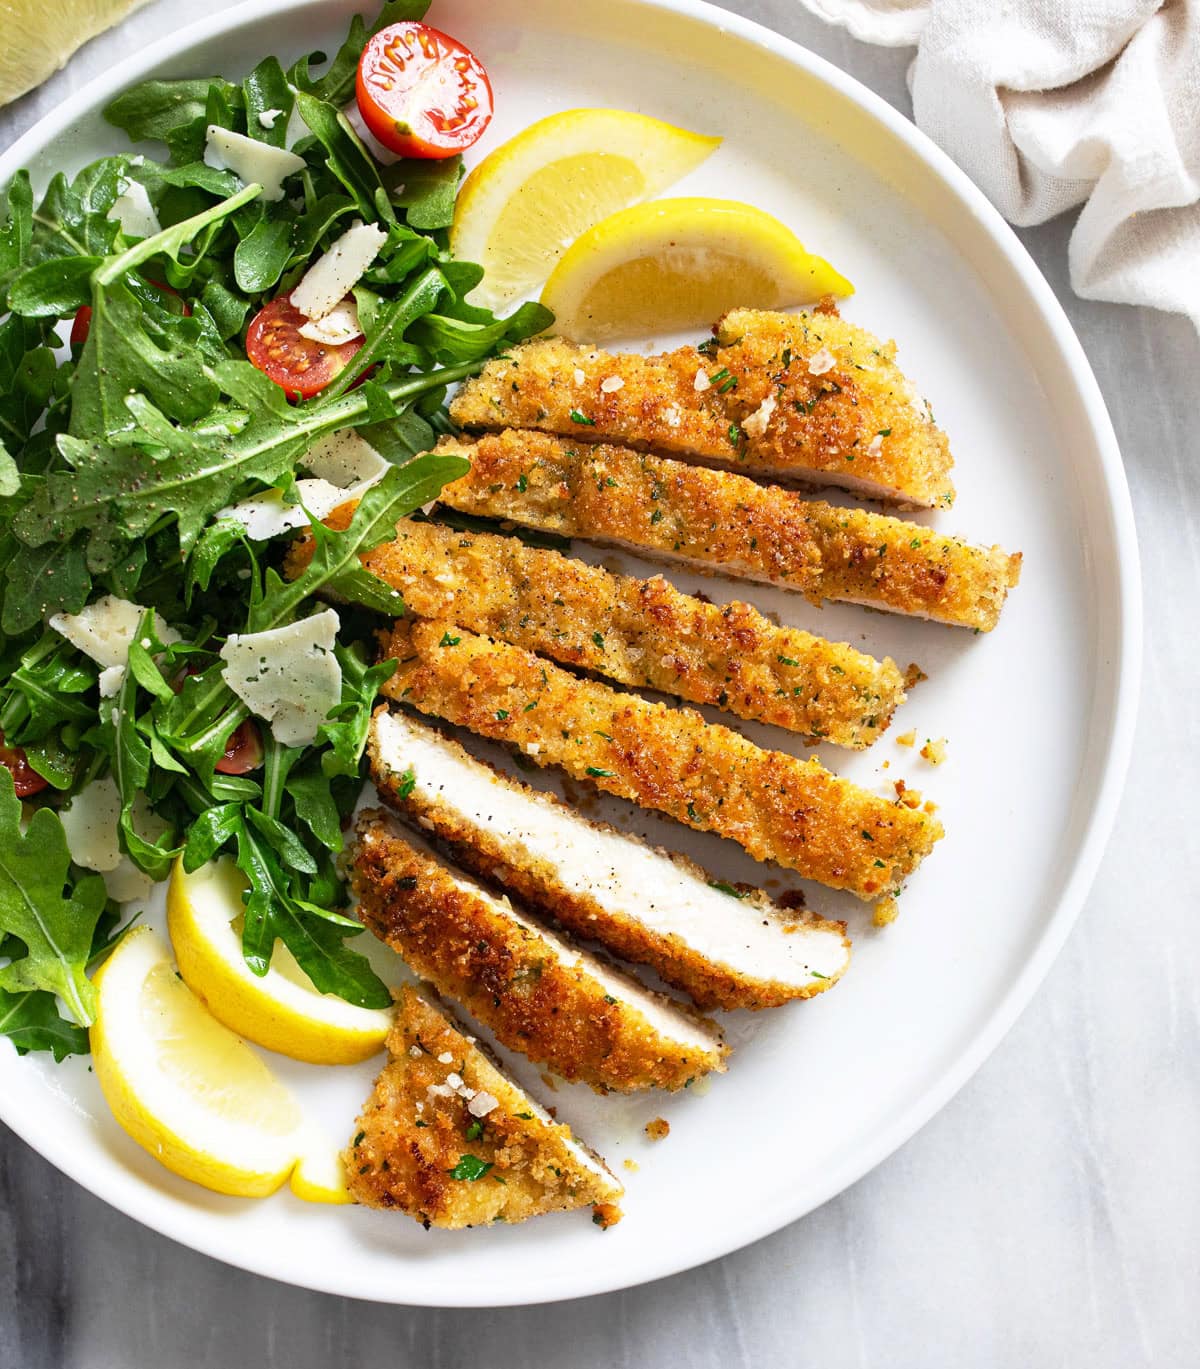
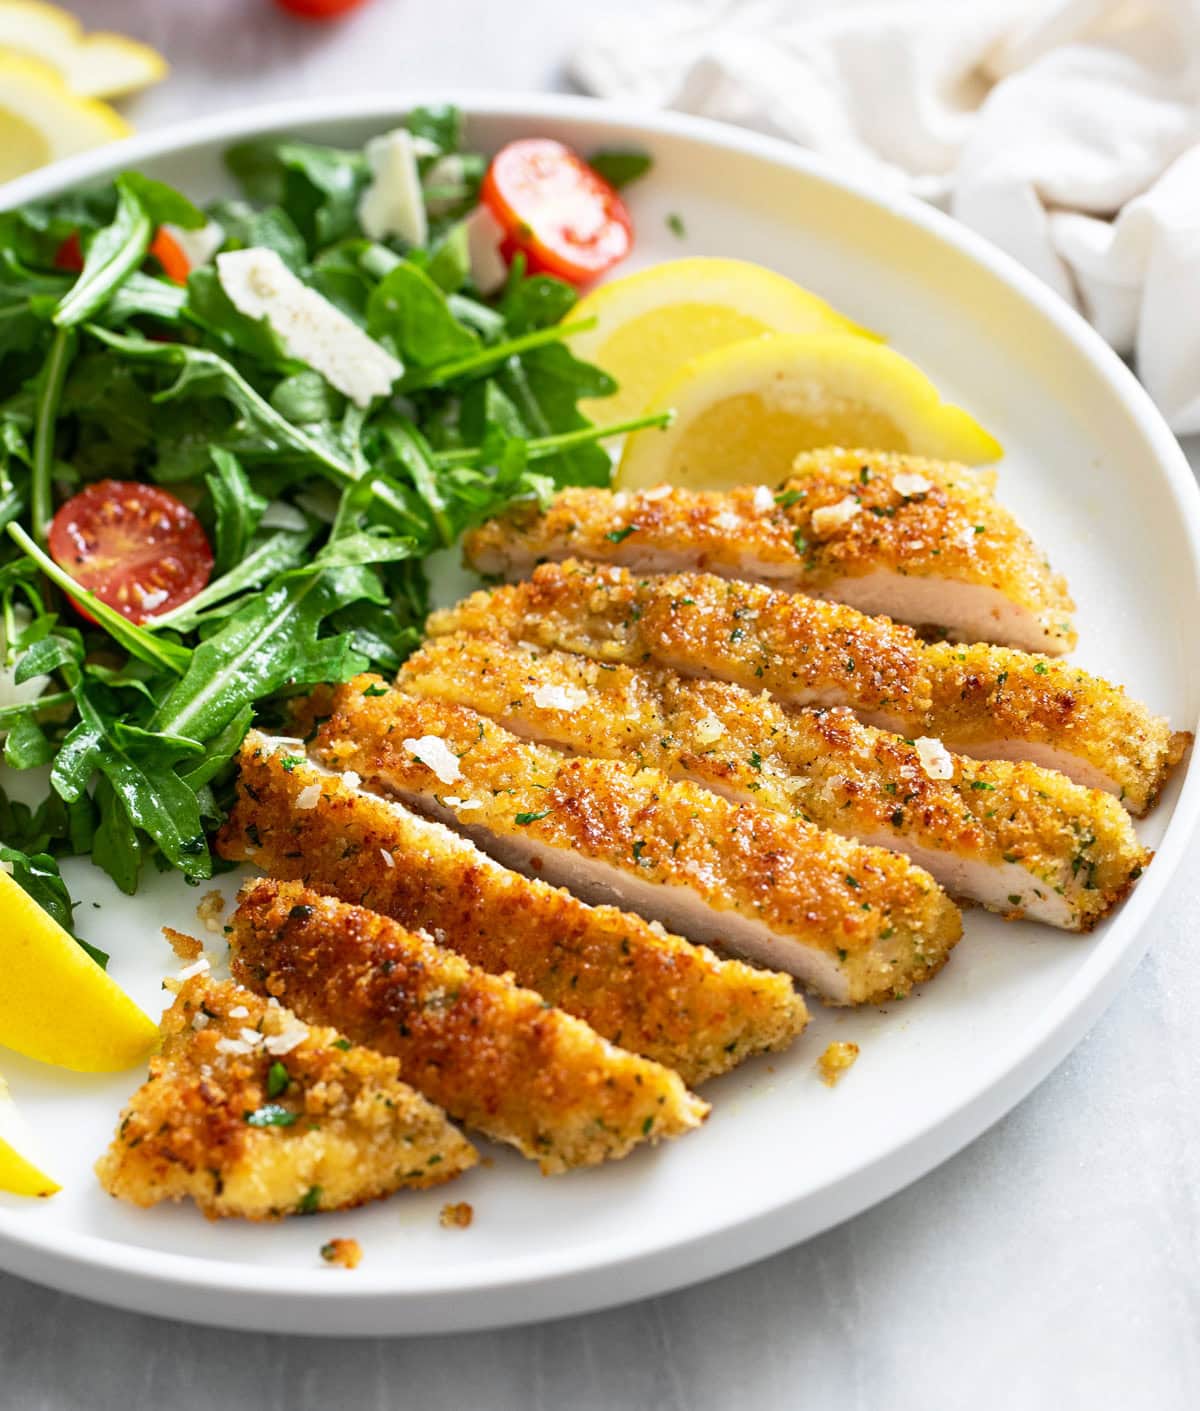
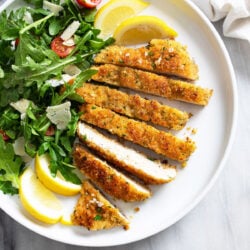
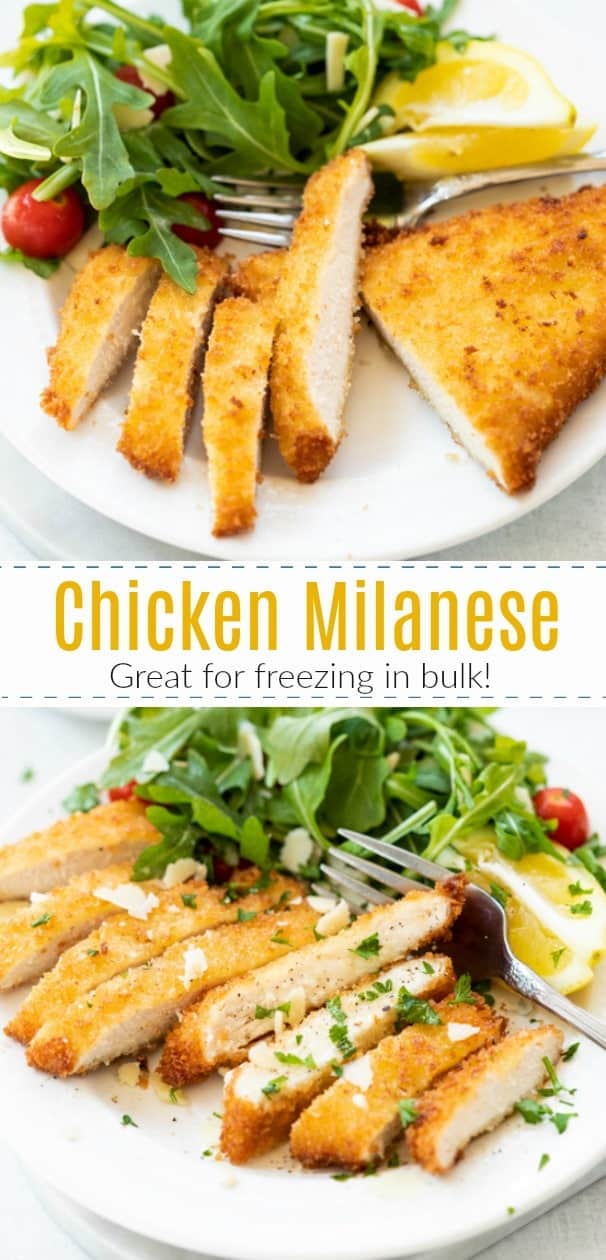
This classic Chicken Milanese features crispy fried chicken cutlets served with arugula, tomatoes, lemon wedges, and shaved parmesan. It’s a simple, classic Italian dish that you’ll love making at home!
Be sure to try my Hot Honey Chicken and my Greek Chicken Bowls next!
Chicken Milanese
If you’re looking to transform ordinary chicken into a truly delicious, restaurant-worthy dish, this Chicken Milanese is the way to go! It’s got thin slices of juicy chicken coated in the most flavorful crispy breading. Every layer of this breading has some secret flavor enhancers and you can really taste the difference in the final result!
This is the perfect dish to serve with a squeeze of fresh lemon, some arugula, tomatoes, shaved parmesan cheese, and freshly cracked pepper. This promises to become your new g0-to recipe for life. Don’t miss my pro tips below!
How to Make It
Note: This is an overview. See recipe card below this post for ingredient quantities and full instructions.
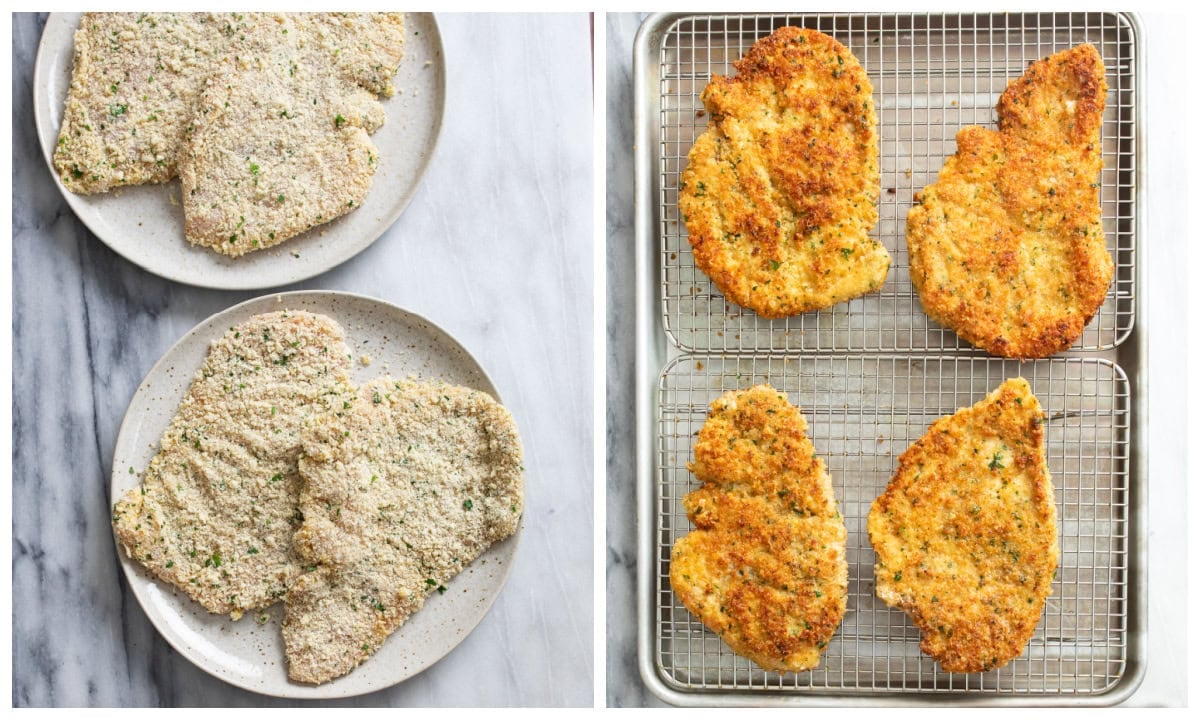
Slice the chicken to create 2 thinner slices. Use a meat tenderizer to pound to 1/4-inch thick. Pat dry and season with salt and pepper. Dredge in flour, egg, and breadcrumb mixtures. 
Preheat oil and butter in a large skillet. Add the chicken and fry in batches until crispy on each side. Set aside on a wire cooling rack. Serve with lemon wedges, arugula, and shaved parmesan!
Pro Tips
- Pound the chicken nice and thin, this is key to restaurant-quality results. It takes time/patience, but it’s worth it, and also makes the chicken very tender! Chicken plumps up more as it cooks so keep that in mind.
- For the egg layer: Use your fingers to gently slide excess egg coating off of the chicken. We want it wet enough to grip the breadcrumbs, but not so much that it will bleed through the breading.
- Breading: Freshly grated Parmesan adds a lot of flavor to the breading. I grate Belgioioso Parmesan from a block. I use 4C Plain Panko Breadcrumbs.
- A little butter is used to fry the chicken to add more golden color. Oil has a higher smoke point and can withstand the high heat necessary in order to fry without burning.
- Make sure the oil is sufficiently heated before you add the chicken, this ensures the breading stays intact as it should fry immediately. Otherwise it can get soggy and won’t be as crispy.
- Make adjustments to the heat (up/down), as needed throughout frying. I usually have to turn the heat down slightly after the first batch is fried.
- Fry in batches and leave room around the chicken to make sure the edges get crispy.
- A large (10-inch or larger) Cast Iron or Enamel Cast Iron skillet will achieve the best result for this recipe.
- Clean as you go. By the time I’m ready to fry, I’ve wiped down the counter and I always wash the dishes as I go. This way you’re not left with a big mess to clean up afterward.
- Leftovers are perfect for making Chicken Parmesan! This is also a great dish to make in bulk and freeze after breading. Let it thaw completely, then fry as outlined!
- Be sure to try my Hot Honey Chicken next! It’s super crispy and baked, not fried!
Storage
- Store in an airtight container and refrigerate for up to 3 days or freeze for up to 3 months.
- Leftovers freeze really well. Flash freeze on a plate for 1 hour, then stack them in a freezer bag and seal out all of the air.
Tools For This Recipe
(Amazon affiliate links*)- Check out all of my kitchen essentials here.
- Meat Tenderizer– To pound the chicken flat and make it extra tender.
- 12-inch Cast Iron Skillet or Enamel Cast Iron skillet – will achieve the best result for this recipe.
- Slotted Spatula– I use this to remove the chicken from the oil and place it on a wire cooling rack. It allows excess oil to drip underneath which keeps it crispy.
- Kitchen Tongs– I use these (along with a spatula) to carefully handle the chicken for flipping. This keeps it intact and allows me to ensure oil doesn’t splatter.
- Wire Cooling Racks– Placing the chicken on this after frying allows excess oil to drop from the bottom, keeping it extra crispy.
- Large Baking Sheet– I use this light colored baking sheet. There is plenty of room- for all of the chicken.
- Box Cheese Grater– Grate the cheese from a block for best texture and flavor.
*As an Amazon Associate, I earn from qualifying purchases.
What to Serve with Chicken Milanese
-
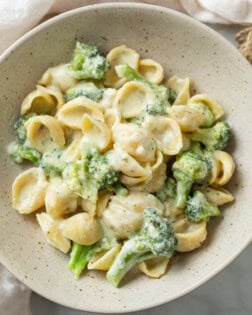
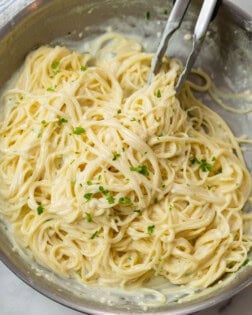
- Creamy Broccoli Pasta
-
- Garlic Parmesan Pasta
-

- Garlic Butter Pasta (One Pot!)
-
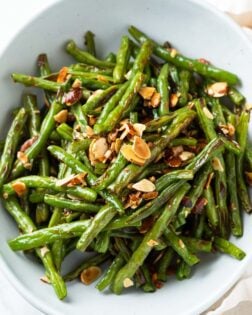
- Roasted Green Beans
-
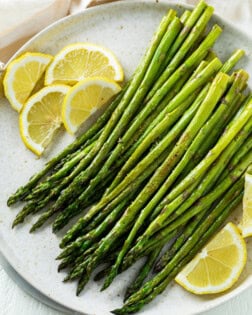
- Roasted Asparagus
-
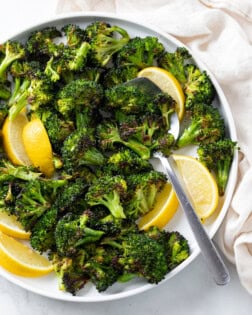
- Roasted Broccoli
Get My Free E-Book!
- I’ve got a FREE e-Book with 7 super popular dinner recipes! Click here to join my email list and I’ll send your e-Book right over!
- And be sure to follow me on Instagram, Pinterest, & Facebook!
Tried This Recipe?
Leave a review, I love hearing your feedback! ⭐⭐⭐⭐⭐
Chicken Milanese
Ingredients
Chicken
- 2 large boneless skinless chicken breasts, about 1 ½ lbs.
- salt/pepper, to taste
Flour
- ⅔ cup all-purpose flour
- ½ teaspoon EACH: onion powder, paprika
Eggs
- 2 large eggs, whisked well
- 1 teaspoon Dijon mustard
- 1 tablespoon heavy cream, optional
Breadcrumbs
- 1 ½ cups Panko breadcrumbs
- 2/3 cup grated parmesan cheese
- 2 tablespoons freshly chopped parsley
- ½ teaspoon garlic salt
For Frying
- 5 tablespoons olive or vegetable oil, plus more as needed
- 2 tablespoons butter
For Serving
- Arugula, tomatoes, shaved parmesan cheese, lemon slices, fresh parsley
Instructions
- Combine the flour, egg, and breadcrumb mixtures in 3 separate shallow bowls. (Be sure to beat the eggs until very frothy, this ensures they’re light/airy and not too dense.)
- Slice the chicken in half lengthwise to create 2 thinner slices. Cover with saran wrap and use a meat tenderizer to pound each to ¼-inch thick (no thicker). 2 layers of saran wrap will further protect the chicken if needed.
- Pat the chicken dry and season each side with salt and pepper. Dredge completely in the flour mixture, working the flour into every nook and cranny of the chicken. Tap off excess.
- Dip the chicken in the egg mixture until just coated, use your fingers to slide off excess. (Too much egg left on the chicken can bleed through the breading, which will make it less crispy.)
- Coat the chicken very generously in the breadcrumbs, turning to coat on each side a few times.
- Heat oil and butter over medium-high heat. Once hot and glistening, add the first batch of chicken, don’t overcrowd the skillet. Brown on each side for 3-4 minutes, until golden. If the oil gets too hot, turn it down slightly, and turn it up again later if needed. Add small splashes of additional oil as needed throughout frying.
- Remove chicken with a slotted spatula. If possible, set cooling racks over a baking sheet and let the chicken cool on top for maximum crispiness. Otherwise, transfer to a paper towel lined plate.
- Repeat with remaining chicken. Serve with a side of arugula, tomatoes, dressing of choice, and shaved parmesan. Squeeze with fresh lemon and top with freshly cracked pepper.
Notes
- Pound the chicken nice and thin, this is key to restaurant-quality results. It takes time/patience, but it's worth it, and also makes the chicken very tender! Chicken plumps up more as it cooks so keep that in mind.
- For the egg layer: Use your fingers to gently slide excess egg coating off of the chicken. We want it wet enough to grip the breadcrumbs, but not so much that it will bleed through the breading.
- Breading: Freshly grated Parmesan adds a lot of flavor to the breading. I grate Belgioioso Parmesan from a block. I use 4C Plain Panko Breadcrumbs.
- A little butter is used to fry the chicken to add more golden color. Oil has a higher smoke point and can withstand the high heat necessary in order to fry without burning.
- Make sure the oil is sufficiently heated before you add the chicken, this ensures the breading stays intact as it should fry immediately. Otherwise it can get soggy and won’t be as crispy.
- Make adjustments to the heat (up/down), as needed throughout frying. I usually have to turn the heat down slightly after the first batch is fried.
- Fry in batches and leave room around the chicken to make sure the edges get crispy.
- A large (10-inch or larger) Cast Iron or Enamel Cast Iron skillet will achieve the best result for this recipe.
- Clean as you go. By the time I'm ready to fry, I've wiped down the counter and I always wash the dishes as I go. This way you're not left with a big mess to clean up afterward.
- Leftovers are perfect for making Chicken Parmesan! This is also a great dish to make in bulk and freeze after breading. Let it thaw completely, then fry as outlined!
- Be sure to try my Hot Honey Chicken next! It's super crispy and baked, not fried!
Storage:
- Store in an airtight container and refrigerate for up to 3 days or freeze for up to 3 months.
- Leftovers freeze really well. Flash freeze on a plate for 1 hour, then stack them in a freezer bag and seal out all of the air.
Nutritional information is an estimate and is per serving. There are 4 servings in this recipe.


Made this tonight, and this recipe didn’t disappoint. It’s right up there with so many others I’ve tried. It was excellent! My husband’s immediate comment was, “this is good!” I have to tell you that 75% of my dinners come from your site! Thank you so much for another delicious recipe.
Hi Tammy!!! This totally made my day!!! I’m so glad that so many of my recipes are in your rotation! I’m flattered. ❤️ The Chicken Milanese is amazinggg, I agree! We all love it too! Thank you so much for the wonderful review, you’re the best!! -Stephanie
Tonight was the 2nd time I’ve used this recipe a couple months apart, now my family wants this recipe more often. Absolutely delicious and easy to follow.
AWESOME!! I am so thrilled to hear that Joanne, this is one of my favorite chicken recipes on my site- I’m so glad that you and your family enjoy it too! Thank you so much for taking the time to leave a review, I really appreciate it! 🙂 -Stephanie
I made this for dinner tonight! I wish I could insert a picture. It was sooo good! The seasoned flour, egg, breadcrumb “enhancements” really added flavor to the chicken. Definitely let the cooked chicken rest on a wire rack. It comes out so nice and crispy. A lightly dressed arugula salad is so tasty with each bite of chicken. We really liked it! 100% making this again!
I’m SO thrilled to hear that Renee!! This is my absolute favorite way to make chicken for my family because we just devour it completely every time! I love that you pair it with the arugula, that’s a must! ❤️ You’re the best, thank you.
HOLY COW!!! Hubby would never tolerate this on the menu so I made it — late night after toddler was in bed — allllllll for me and 1000% worth it.
DELICIOUS!!!!
P.S. Just bought your cookbook and LOVE ❤️
OMG!!!! I LOVE that you made this for yourself, you are amazing!!!! Good for you- I’m so glad that you loved it. You made my whole day and I’M SO GLAD that you love my cookbook too!! You’re the best, thank you so so much!!! ❤️ -Stephanie
Oh my gosh! That was incredible! I never thought anything would bump your hot honey chicken from the top of our CC List, but this one finally did it! We had never had chicken Milanese before and you’ve turned us into fans. I was a little skeptical when I first put it together and thought it may be bland, but this was anything but. The chicken is so moist on the inside and the outside has the BEST crunch and flavor I think we’ve had on any chicken. I will be making this over and over again for sure. We had some leftovers and I’m going to toss it together for lunch for 2 of the sibs tomorrow (tho my brother thinks it’s sacrilegious to do anything else to that crumb coating.)
I added a fussili pesto pasta to the chicken/salad as a small side and it paired beautifully with all the flavors. Can’t wait to make it again. Is tomorrow too soon??? 😀
Wahoooo! I’m so happy it was such a success, thanks so much for the wonderful comments! I can promise you the next day is never too soon. In fact I’ve been known to eat leftovers for breakfast! Enjoy!!!😀